Valentine Treat Cone
It’s been awhile since I’ve shared a craft here at my Nest! I guess Valentine’s brings out my inner craft goddess! (Yep! I’m a craft goddess…in my mind!) (“Crazy? Party of one?”)
I’m always searching for a cute way to give my “Loves” Valentine Gifts!
Half of gift giving is the packaging! It makes it even more special if you take the time to package things beautifully.
I ran across this darling idea in an old magazine several years ago. I can’t even tell you which one. If I had to guess I’d say “Better Homes & Gardens”…but don’t hold me to that.
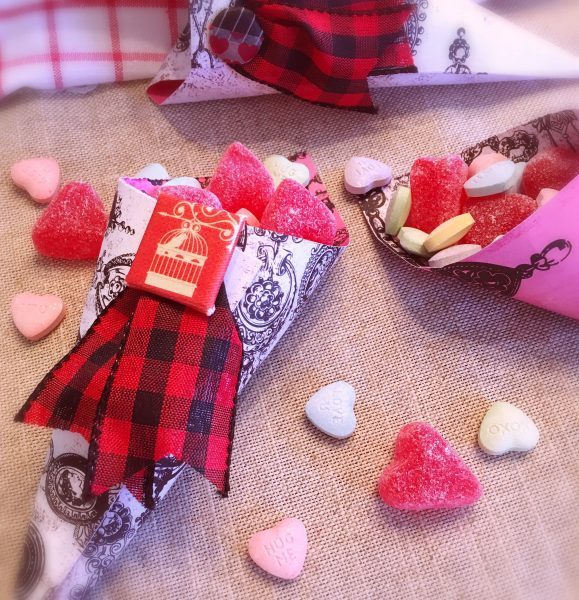
Anywho… I thought it was such a cute idea! It’s perfect for the “Loves” in your life this Valentine’s Day. So perfect… that I had to share it!
You’ll need the following supplies for each cone:
Scissors, Glue Dots, 3 inches of ribbon, 1 – half-inch metal brad, Washi Tape, and One 6 x 6 inch square of scrapbook paper.
Cut a small, one-fourth inch slit, diagonally through the tip of one corner of your card stock craft paper.
TIP: I like to get double-sided paper so that I can use both sides and the inside looks pretty too!
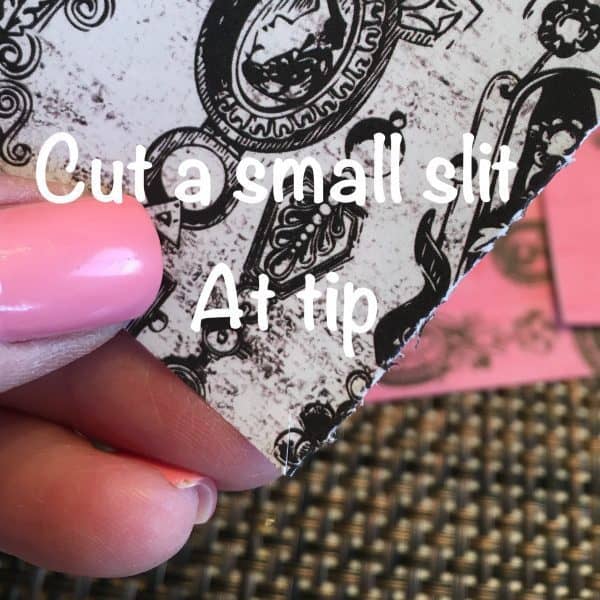
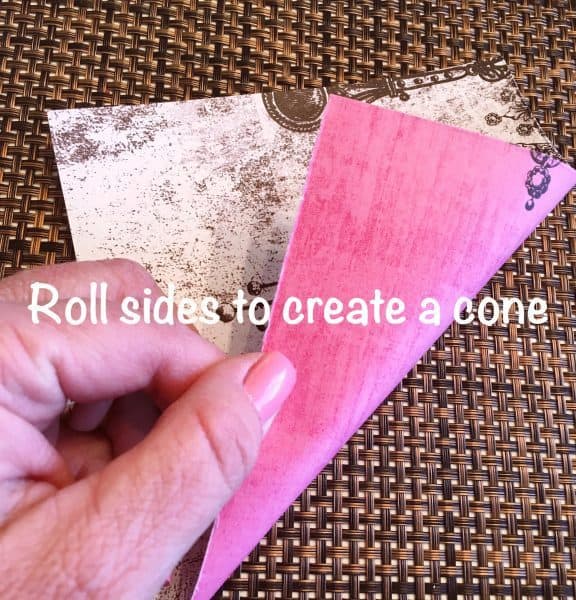
Roll Sides in, towards the center, to create a cone. Cut a slip at the bottom of the cone, right at the tip. This will help that thicker paper roll easier. (It didn’t take me long to realize I have a serious issue rolling paper! My skill set is amazing! Insert eye roll!)
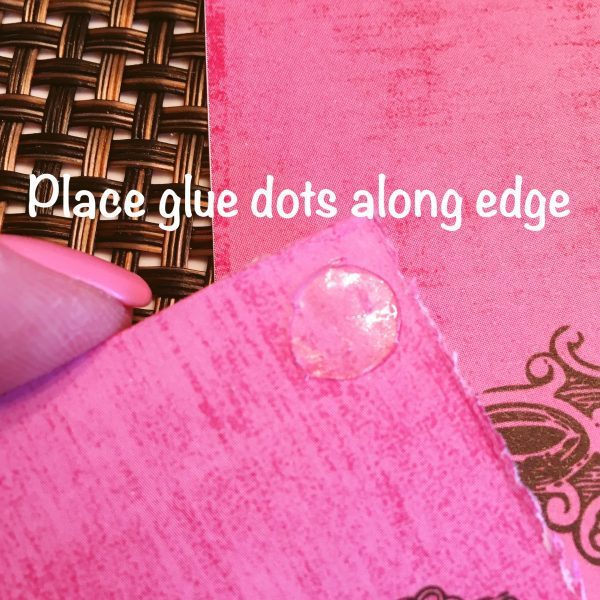
Place Strong glue dots along the inside edge of the cone. Press overlapping side down along the glue dots to hold the cone together. You could also use double-sided tape. (I wouldn’t try regular glue…unless cussing and throwing things is your idea of fun! Lol… I know that’s how some craft!)
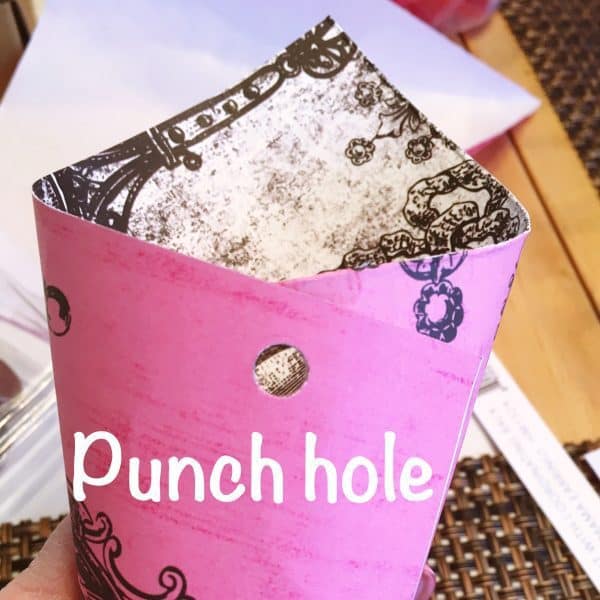
Using a hole punch, punch a hole in the front center of the front of the cone. Make sure to go through all layers of the cone.
Take the half-inch metal brad…(We are not judging how dry the “hand models” hands are! She’s usually doing dishes! Lol)
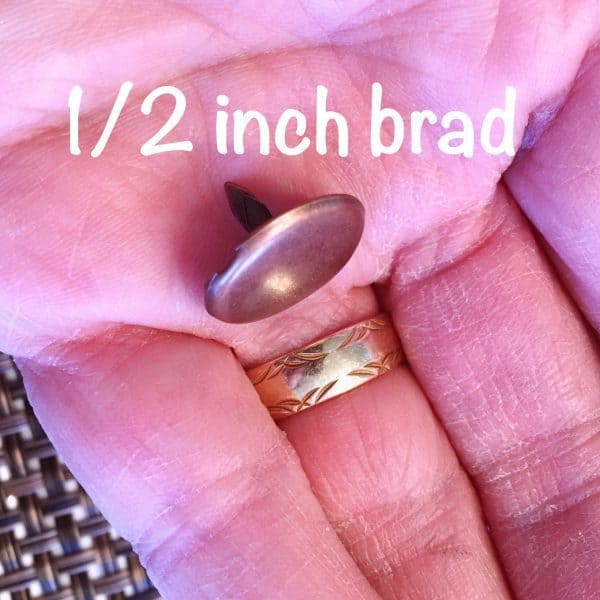
I love this next step. You get to decorate your brad any way you want to. (It’s the little things that make me happy friends!)
Take a 1-inch piece of Washi Tap and cover 1/4 of the brad.
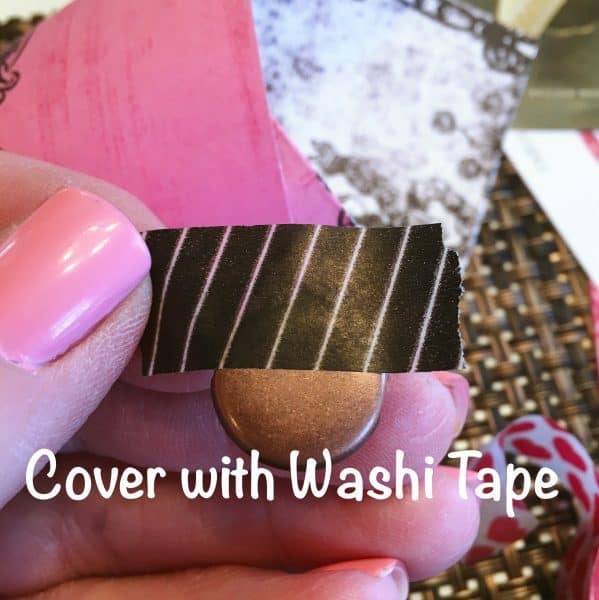
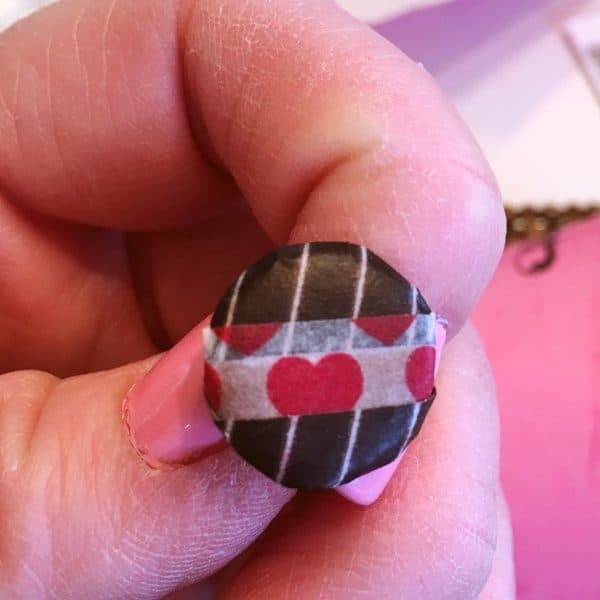
Take another 1 inch strip of Washi Tape, in a different pattern and color, and overlap it on top of the first layer of Washi Tape. Continue with one more strip. You should have three layers of Washi tape covering the brad.
Trim about 1/8 of an inch around the edge of the brad. Tuck ends under the brad, so you have nice clean, covered, edges.
Fold a 3-inch-long piece of ribbon in half. Cut a small slit near the top, through both layers of ribbon.
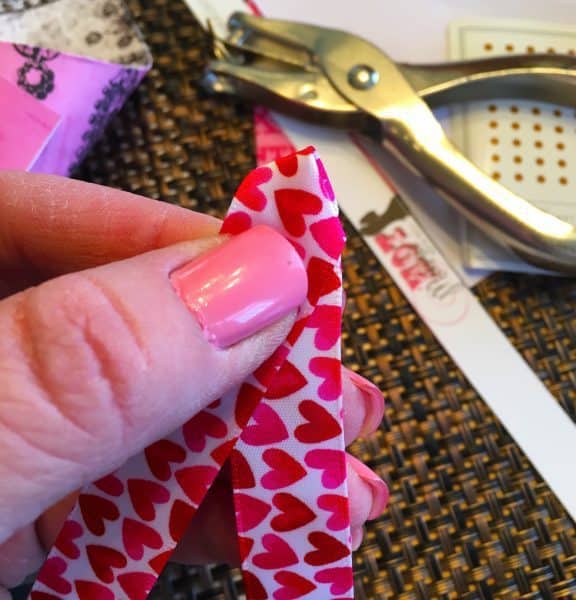
Place decorated brad through the hole in the ribbon. Push brad through the hole in the cone.
Open brad brackets to secure it to the cone. Trim ribbon edges.
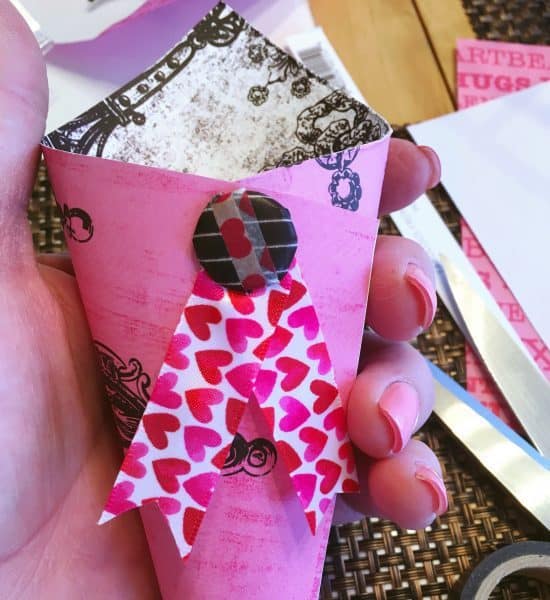
That’s it! A simple Valentine Gift packaging idea.
Now you have a darling Valentine Treat Cone that you can stuff with candy, small cookies, chocolates, even jewelry! Anything you think the “Loves” in your life would enjoy! The perfect Valentine Gift!
You can also fill them with mini silk flowers and attach a ribbon and hang them for decor.
You could use a bigger sheet of paper and make one as your childs “Valentines Box” for School. The possibilities are endless.
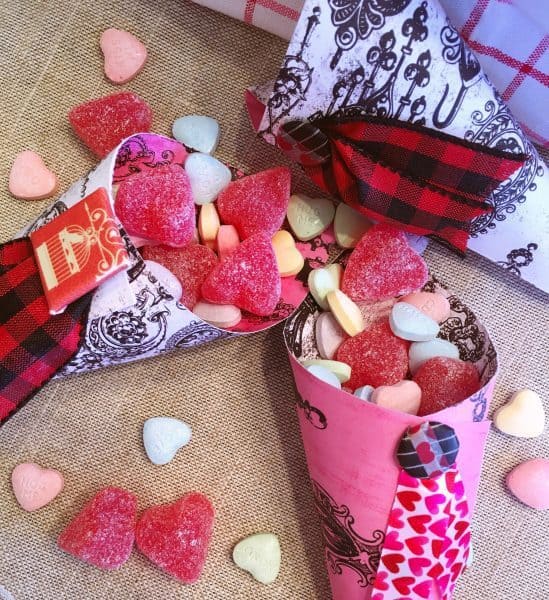
You can tuck the top point down, into the cone, to secure the goodies, so they won’t fall out!
You’ll notice some of my brads are covered with a cute 3-D sticker. Get creative! Think outside the box…or cone! I mixed ribbons, brads, papers, etc.
I love the buffalo plaid ribbon with this craft. I love it so much I don’t think I’m giving them away! (I know! Selfish!)
There ya go! A quick, simple, easy craft. If you’re like me, you probably have the supplies in your craft bins!
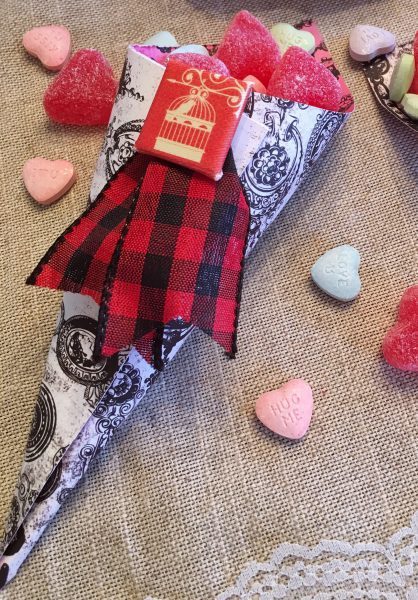
I hope you have as much fun as I have had with this fun little craft idea. I know I’m squeaking this in just under the wire!
It’s been a little crazy over here at this Nest! Grand baby number 3 is going to make her appearance any day now…and Grand babies trump EVERYTHING! Ask any Grandma! (wink-wink)
If you’re still looking for delicious and decadent dessert ideas for this Valentines…remember there’s lots of YUM here at Norine’s Nest!
Happy Valentine’s Day!
