Homemade salted caramel sauce is a decadent addition to your culinary arsenal. Its versatility knows no bounds, and its taste is unparalleled. You’ll love this easy delicious recipe!
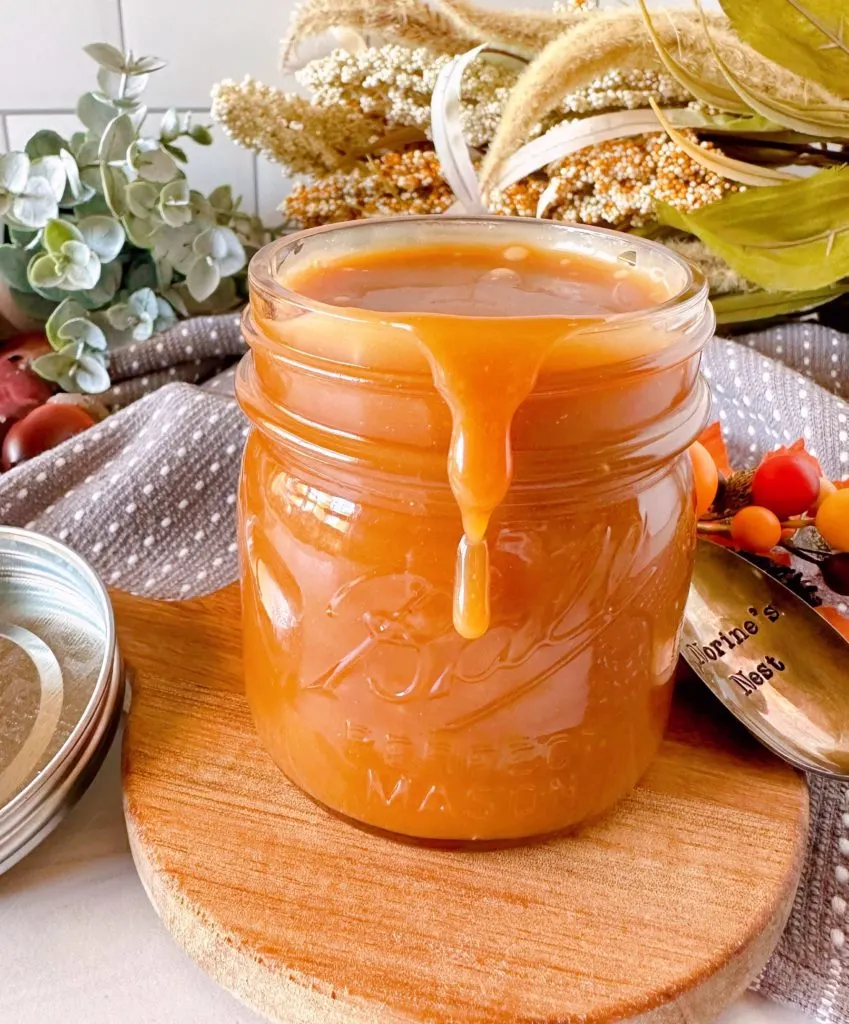
There’s something utterly irresistible about the velvety, smooth, golden goodness of homemade salted caramel sauce.
Its rich, buttery flavor with a hint of saltiness dances on your taste buds. It can elevate a dessert to a whole new level. (It can also elevate the scale…but we don’t care about that right now!)
While you can easily grab a bottle from the store, making your own caramel sauce from scratch is a rewarding experience that ensures a perfect balance of flavors. Plus it’s a lot easier to make than you’d think. A few simple ingredients and you have a tasty sweet salted caramel sauce. You just need a little patience! (Something I’m generally in low supply of! But it’s worth it for this amazing sauce!)
Ingredients
- 1 cup granulated sugar
- ¼ cup + 2 Tbsp water
- ¼ cup salted butter, diced into 1 Tbsp pieces
- ½ cup heavy cream
- ½ tsp fine sea salt, or more to taste
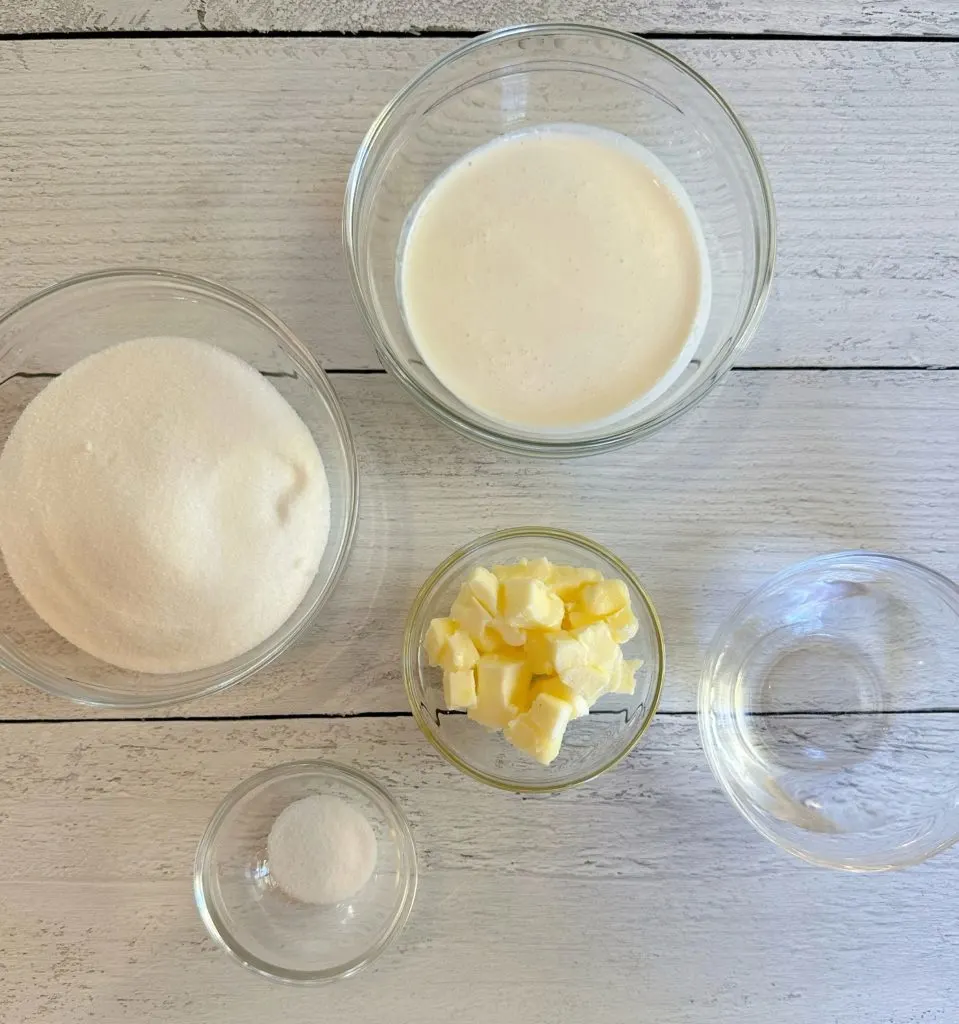
How to Make Caramel Sauce Recipe
My best advice in making this caramel sauce, besides a little patience, is to have all your ingredients gathered and standing nearby ready to add to the mixture as needed.
If you follow my step-by-step instructions you won’t need a candy thermometer, and even if you’re a first time caramel sauce maker…you’ll be a pro in no time. Let’s get cooking…
In a heavy-bottomed 2 to 3 quart medium sauce pan add sugar, salt and water over medium-high heat whisking constantly to dissolve sugar!
PRO TIP: When making this caramel sauce, do NOT use a dark bottomed pan. You need to be able to see the sugar turn to a caramel color and that is not possible when using a dark sauce pan.
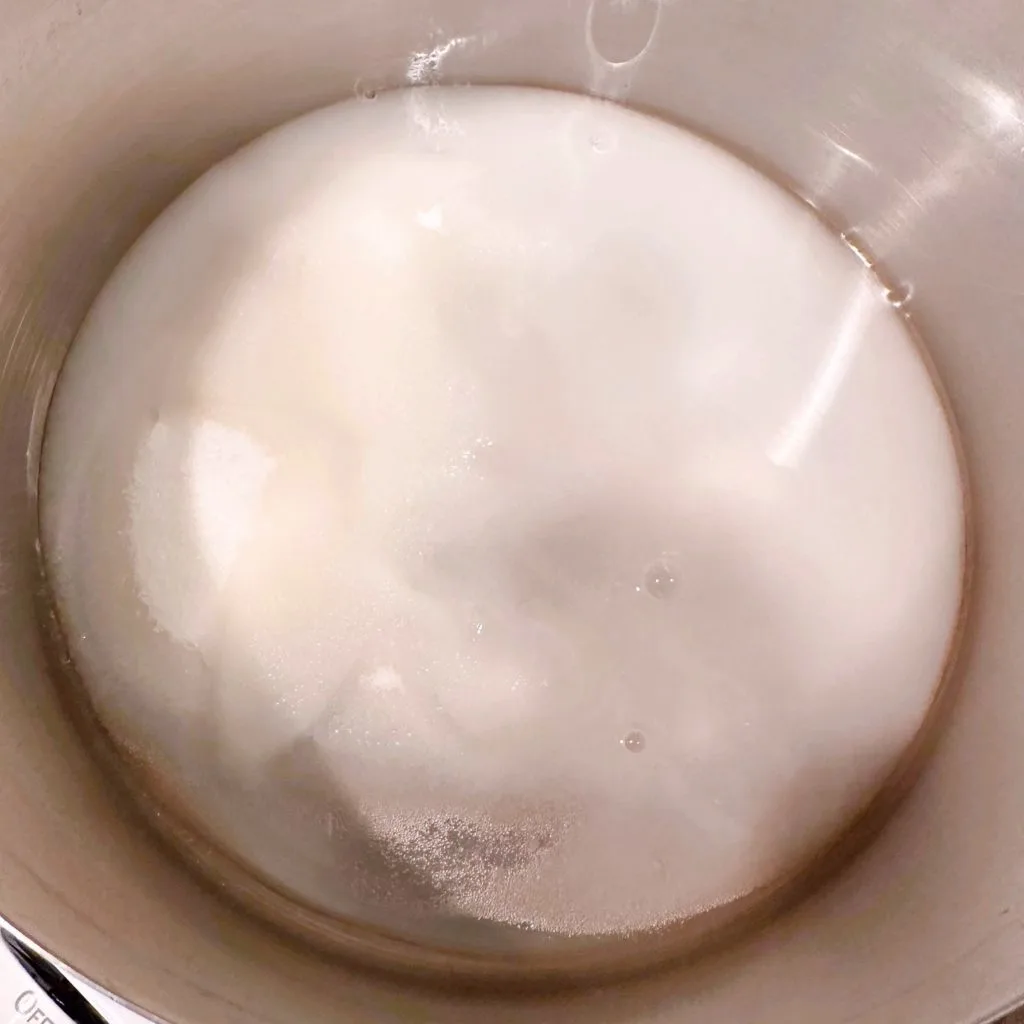
Mixture will reach a boil, stop whisking and allow the mixture to boil until it reaches a beautiful golden amber color.
Carefully swirl the pan occasionally and if using a stainless steal pan like I did, I highly recommend using a silicone spatula to run along the edge of the bottom of the pan so that the sugar water doesn’t burn. If it’s going to burn, it will be right around the outer edge of the bottom of the pan.
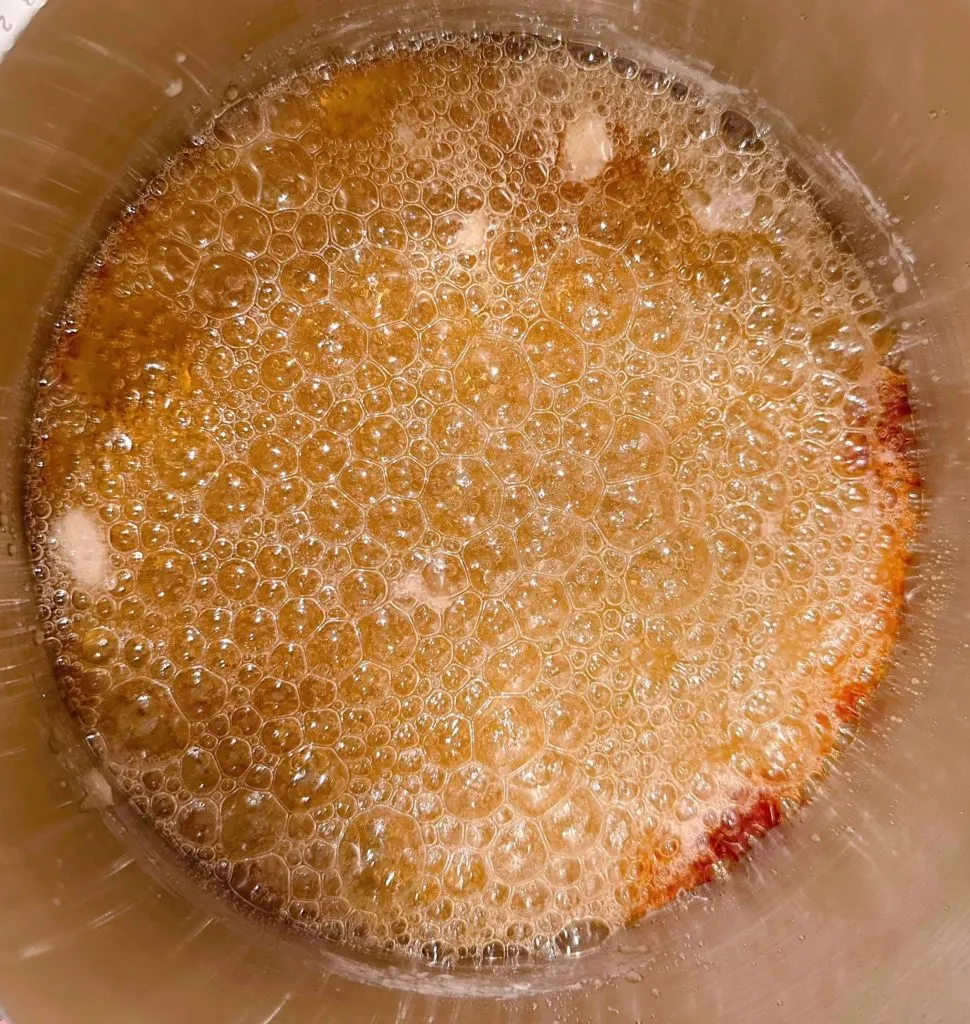
*Note the bubbles are large at this stage of the process.
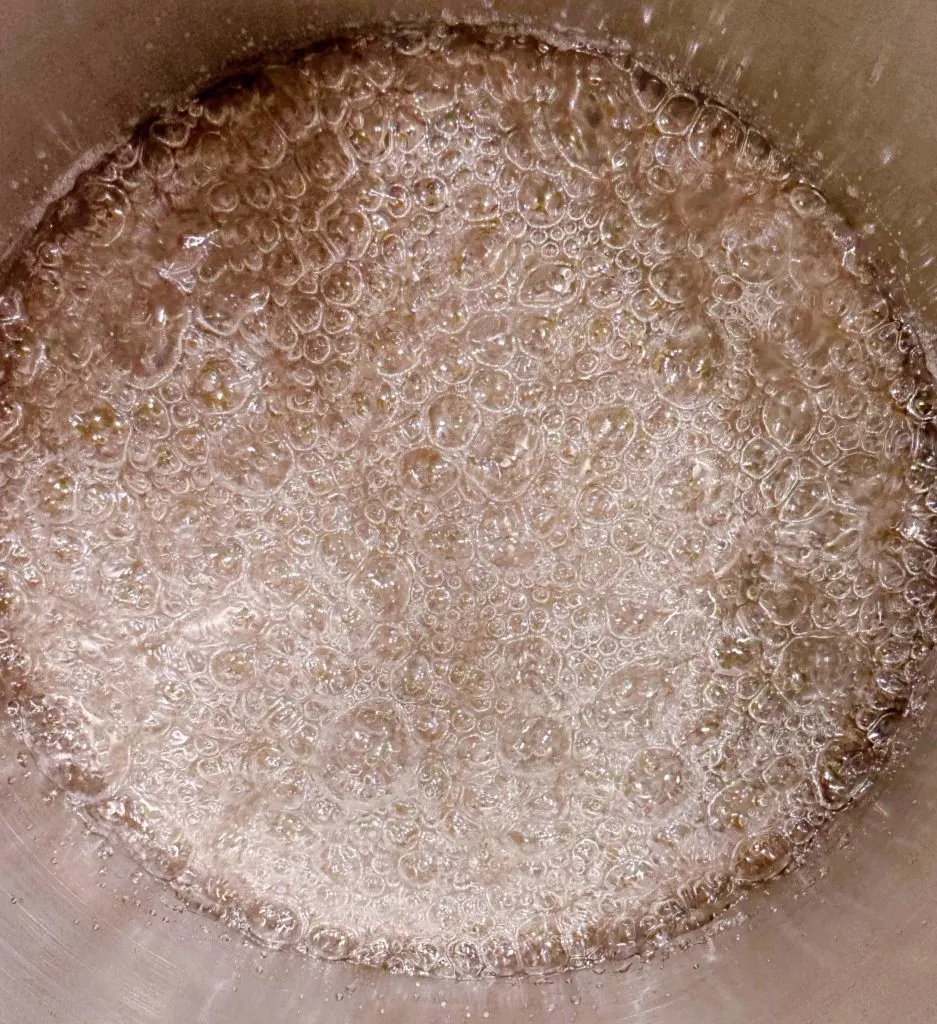
In the beginning the first boil will create a vigorous bubble and steam. It will be clear. Then the mixture will continue to bubble, but the bubbles will become smaller and slower with a very slight yellow tint.
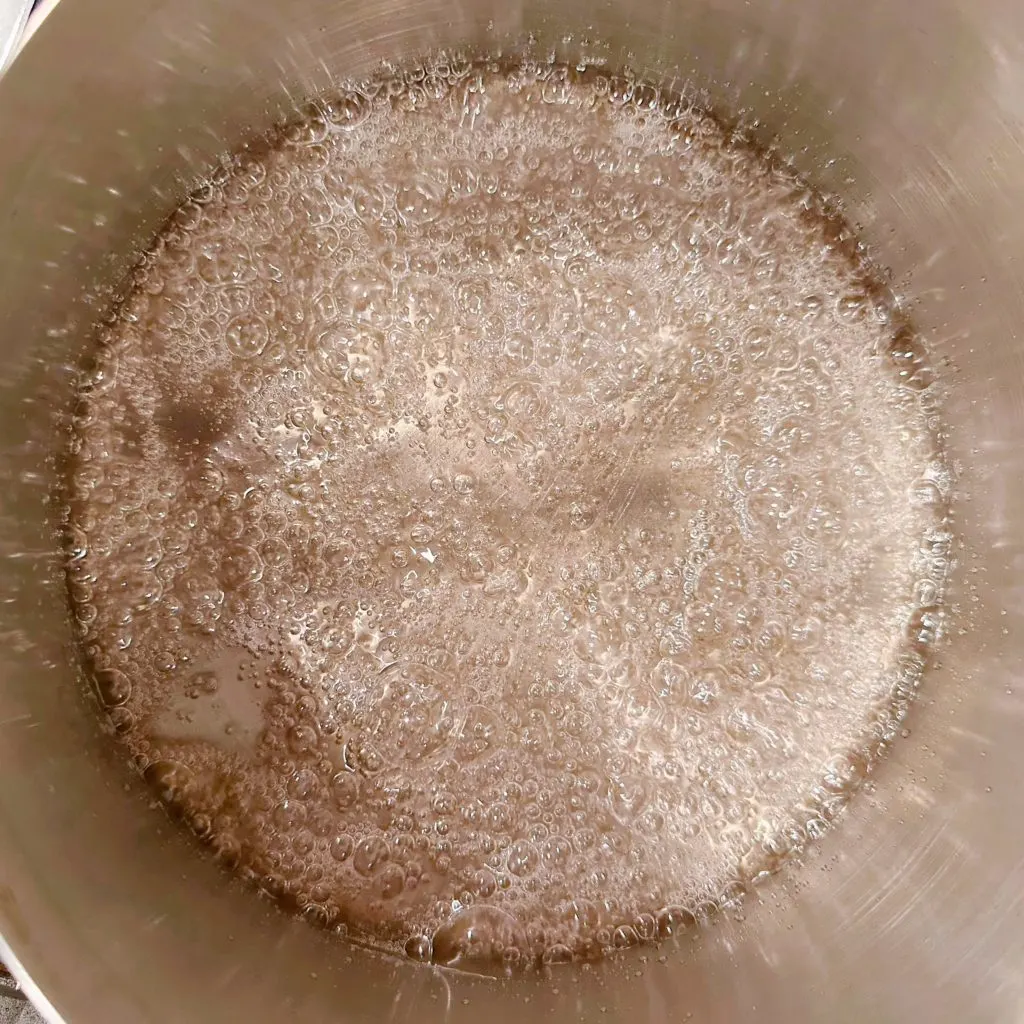
After the slight yellow tint, it will turn an orangish tint, then a deep caramel amber color! Now you’ve struck gold friends! That is the color you want! Be sure to pay close attention during this process. It can go from stunning golden amber to burnt quickly!
See the color around the outer rim? This is why you want to stir it with a spatula to move it around once in a while. NOT constantly! Just every so often!
Finishing the BEST Caramel Sauce!
Once the mixture reaches the dark amber stage, immediately add the pieces of butter and whisk until butter has melted. Quickly, and carefully, remove from the heat!
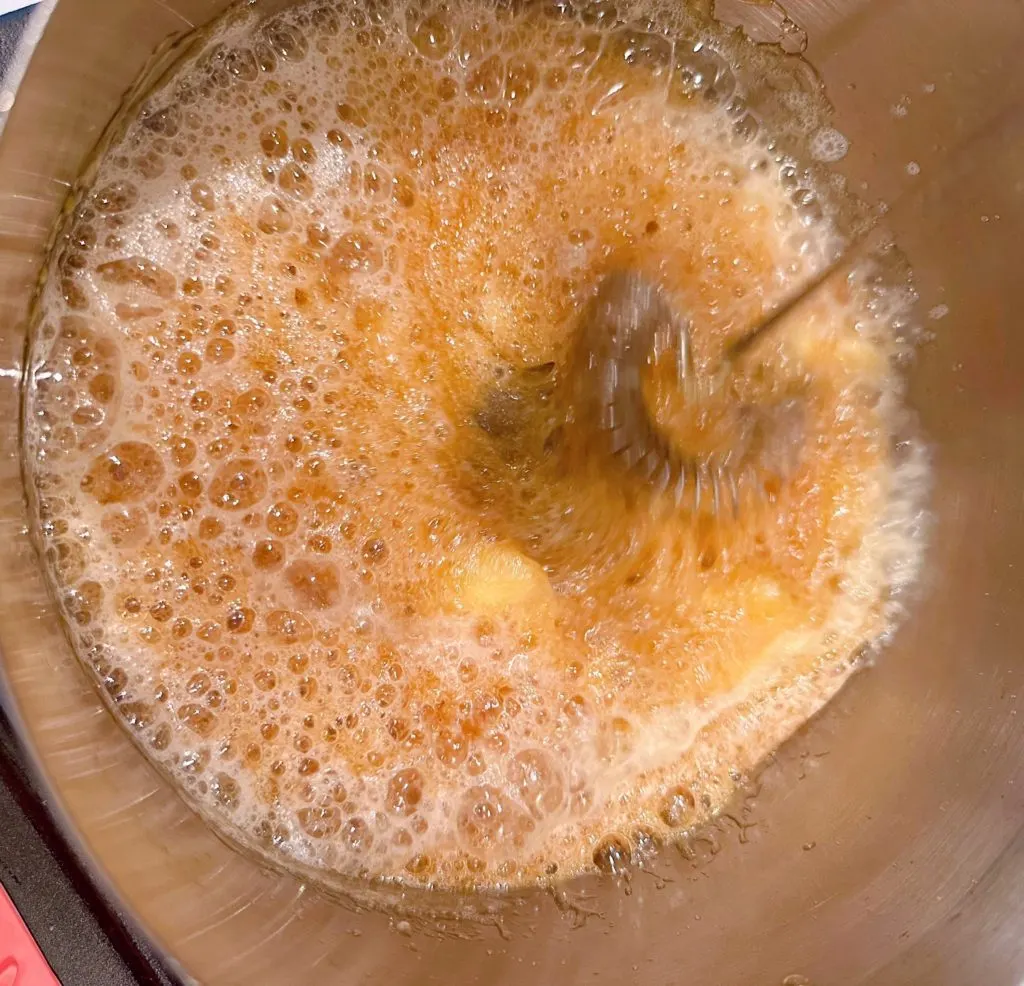
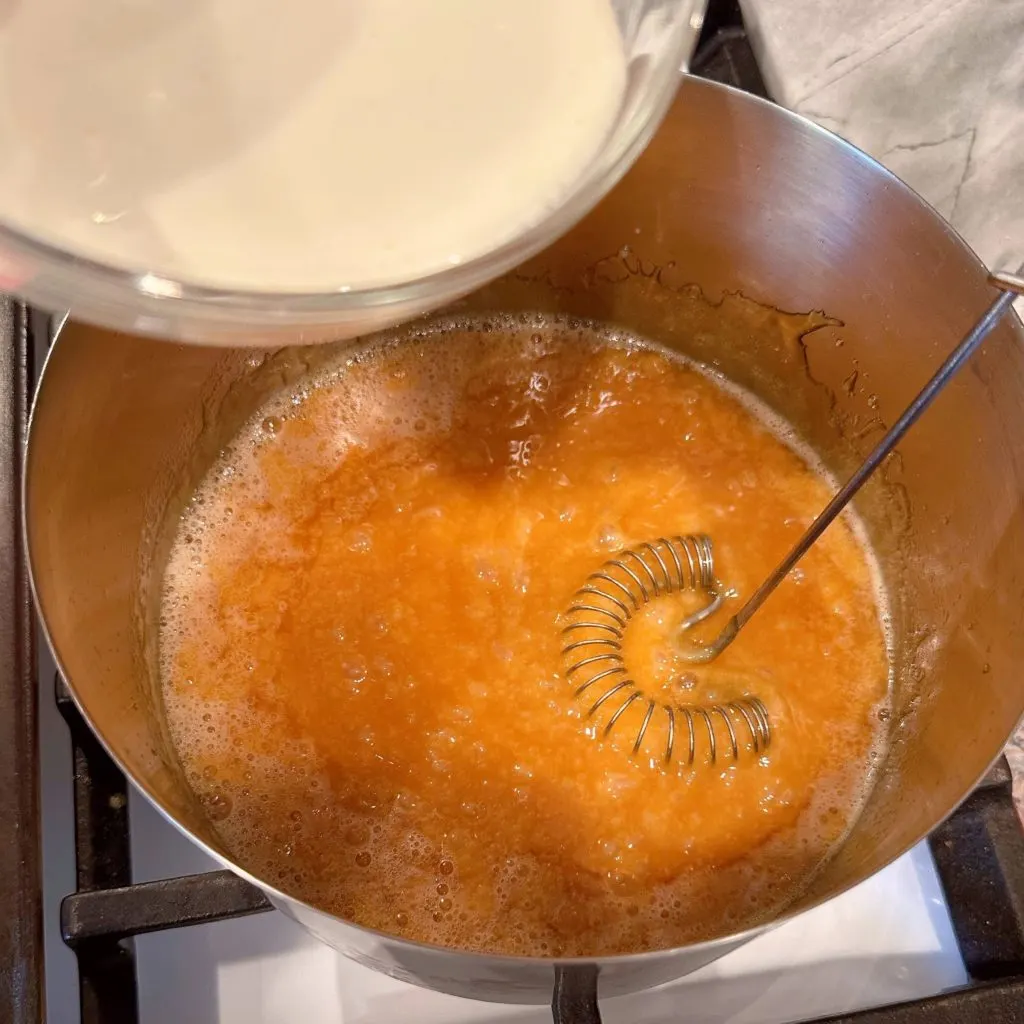
Carefully pour in heavy cream and quickly whisk with a long handled whisk to combine.
TIP: I recommend a long handled whisk because the mixture will bubble vigorously when adding the cream!
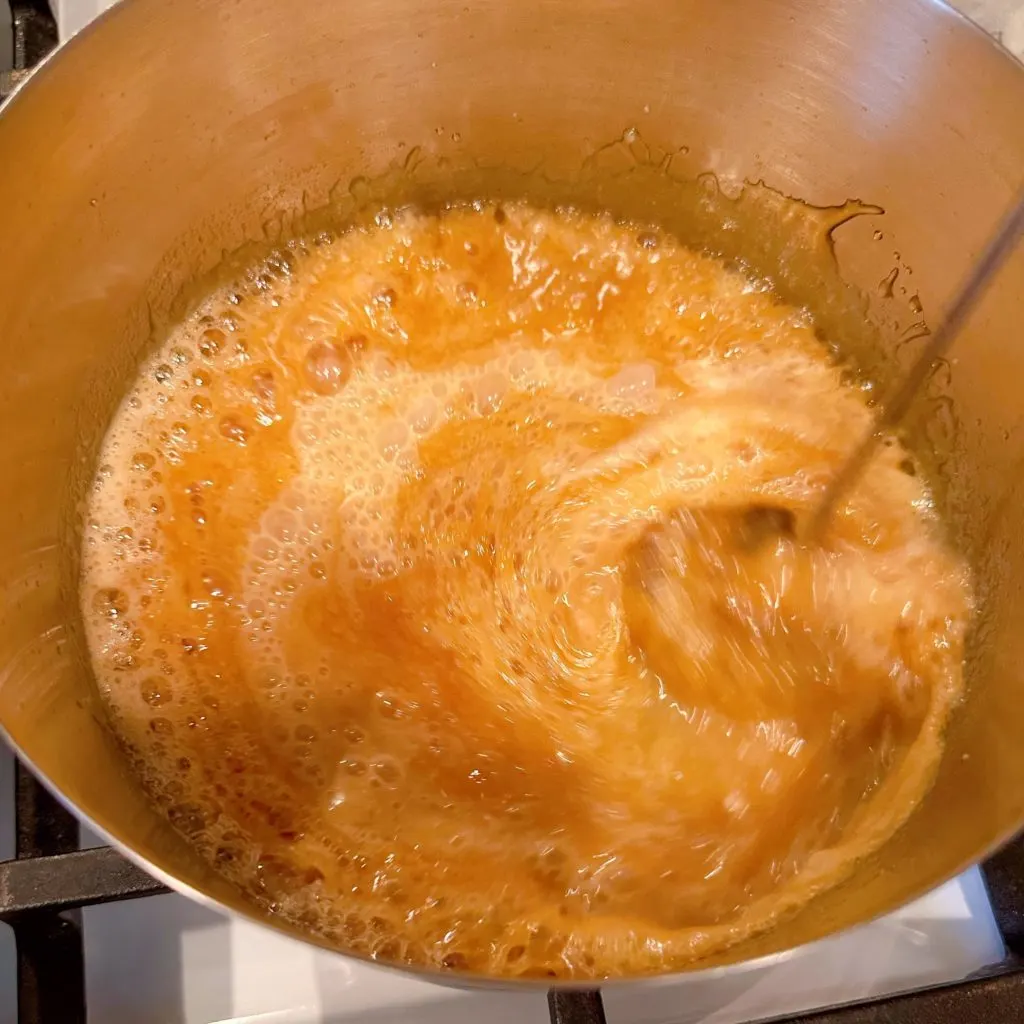
Whisk until mixture is smooth and creamy! This is such a satisfying process.
TIP: PLEASE BE CAREFUL HANDLING THIS MIXTURE. IT IS BOILING HOT!!!!
Carefully, as the mixture is extremely HOT, pour the caramel into a glass bowl, or mason jar, to cool. (Yes! I know I’m repeating myself. It’s what we mothers do…constantly!)
TIP: I prefer to pour the hot caramel into a microwave safe bowl first, then once cool move to a glass jar, or airtight container, I can store it in.
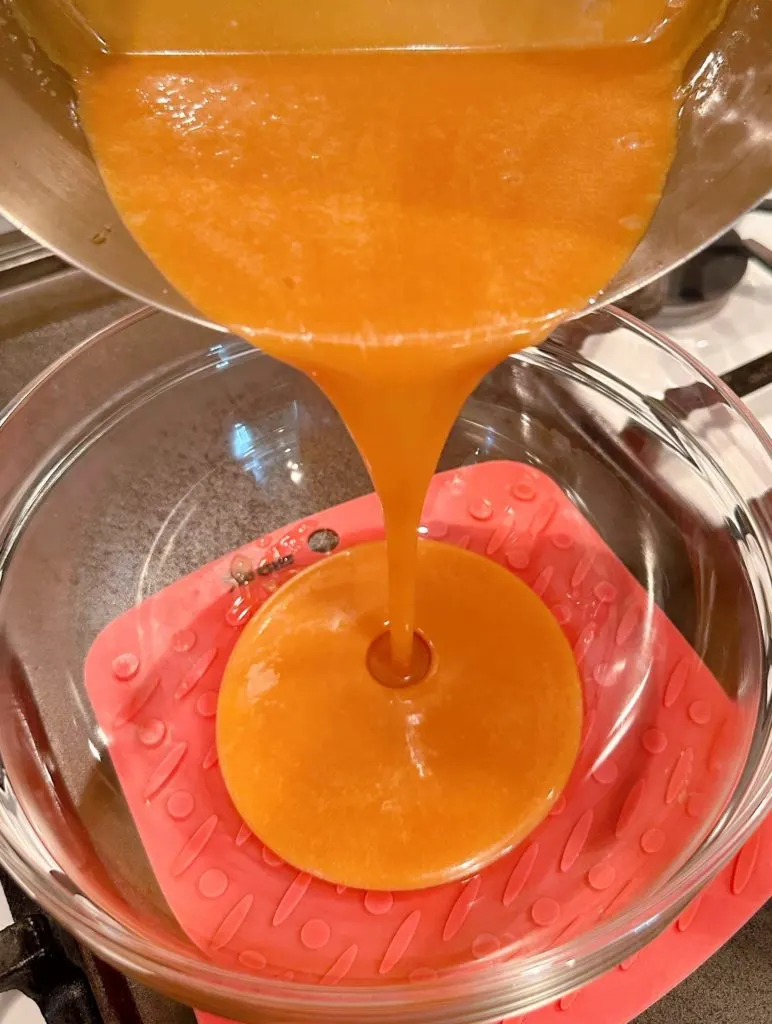
The caramel sauce thickens as it cools to room temperature.
I can’t say enough good things about this delicious caramel sauce! It reminds me of toffee and caramel all combined into one delicious sauce perfect for all your favorite desserts.
The sweet, buttery, and slightly salty flavor is sure to delight your taste buds and impress your friends and family.
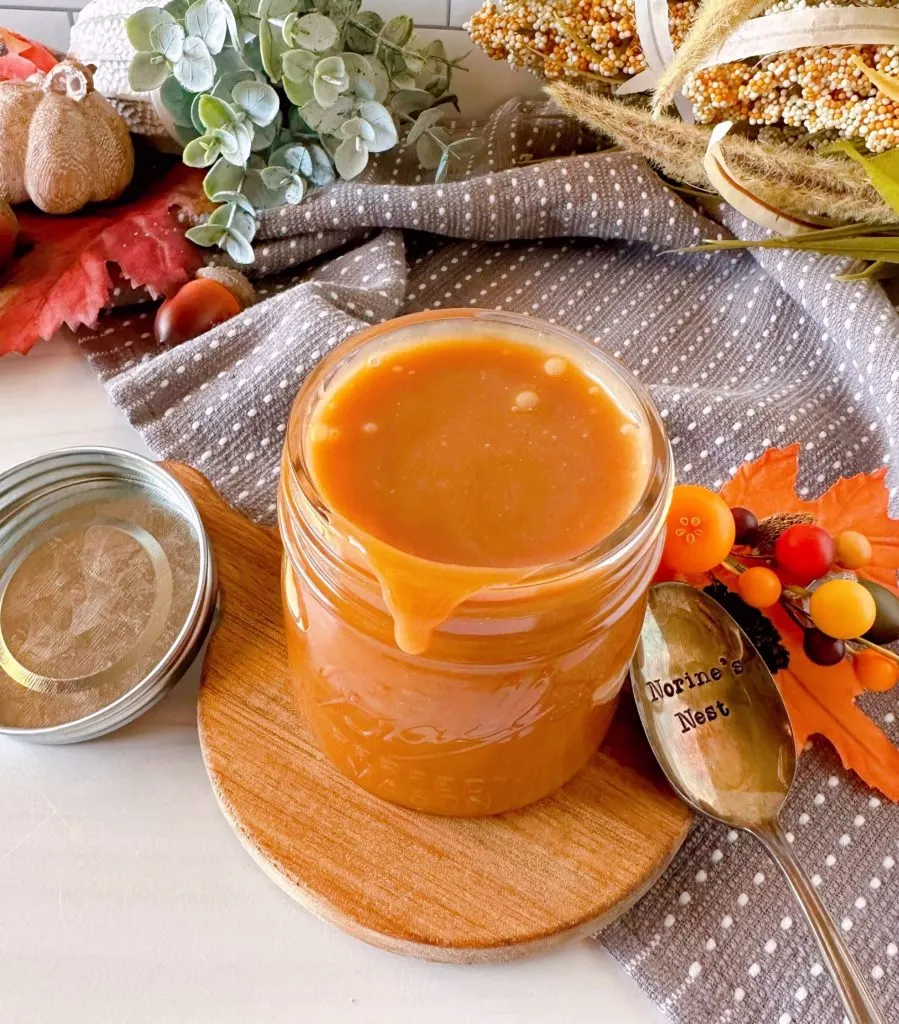
You can easily use sauce from the store, but making your own caramel sauce is so fun and rewarding. Plus this easy recipe has no High fructose corn syrup, brown sugar, or vanilla extract! It’s different from all the other caramel sauces…and it’s good! Superb in fact!
Whether you’re drizzling it over vanilla ice cream, dipping apple slices (my personal favorite), or incorporating it into your desserts, this homemade salted caramel sauce will elevate your baked goods! It’s excellent on my Pumpkin Bread Pudding!
Dessert Recipes that pair well Caramel Sauce
- Easy Old Fashioned Slow Cooker Apple Cider
- Spiced Caramel Apple Pie Recipe
- Pumpkin Pound Cake
- Chocolate Chip Cookie Pie
- Easy Chocolate Pecan Chess Pie
- Creamy Homemade Vanilla Ice Cream from Allrecipes.com
It’s going to be hard resisting licking that warm sauce off the spatula! I may be speaking from experience!
Next time you’re looking to sweeten up your life, make your own batch of salted caramel sauce – it’s a simple yet indulgent pleasure you won’t want to miss!
Happy Nesting Friends!

Homemade Salted Caramel Sauce Recipe
Ingredients
- 1 cup granulated sugar
- ¼ cup and 2 Tablespoons water
- ¼ cup salted butter cut into 1 Tablespoon pieces
- ½ cup heavy cream
- ½ teaspoon fine sea salt or more to taste
Instructions
- To make preparing this recipe easier, gather all of your ingredients beforehand to have them nearby to add as needed.
- In a heavy-bottom, 2-3 quart sauce pan, without a dark or black bottom, add sugar, salt, and water over medium-high heat. Whisk constantly to dissolve sugar.
- Once the mixture reaches a boil, stop whisking. It will boil vigorously and steam, but it will be clear in color.
- Carefully swirl the pan occasionally, and from time to time, run a silicone spatula along the bottom outer rim to prevent burning of mixture.
- The bubbling will continue, but the bubbles will become smaller and slower. It will slowly tint a light yellowish color, then light orange, and then a deep amber caramel color. This is the color desired.
- Immediately add butter slices and whisk until butter has melted. Remove from heat immediately.
- Carefully pour in cream and whisk. (It will bubble vigorously). Whisk until mixture is smooth and creamy.
- Pour caramel into a heat-resistant glass bowl. Cool completely. Once cool, pour into an airtight container and refrigerate. Use as desired.
Nutrition
Meet The Author
Hi! I'm Norine, the cook, baker, and recipe creator behind Norine's Nest. I love sharing and creating recipes that invite family, friends, and neighbors to gather around the dinner table. Sharing good food and creating memories with those we love brings me happiness. Thanks for stopping by my Nest!

