These are the BEST ever light and fluffy Homemade Dinner Rolls! They’re easy to make, feed a crowd, and so delicious!
If your Holiday dinner table is like our Holiday dinner table…there better be a big ol’ basket full of fluffy soft bread rolls on that table!
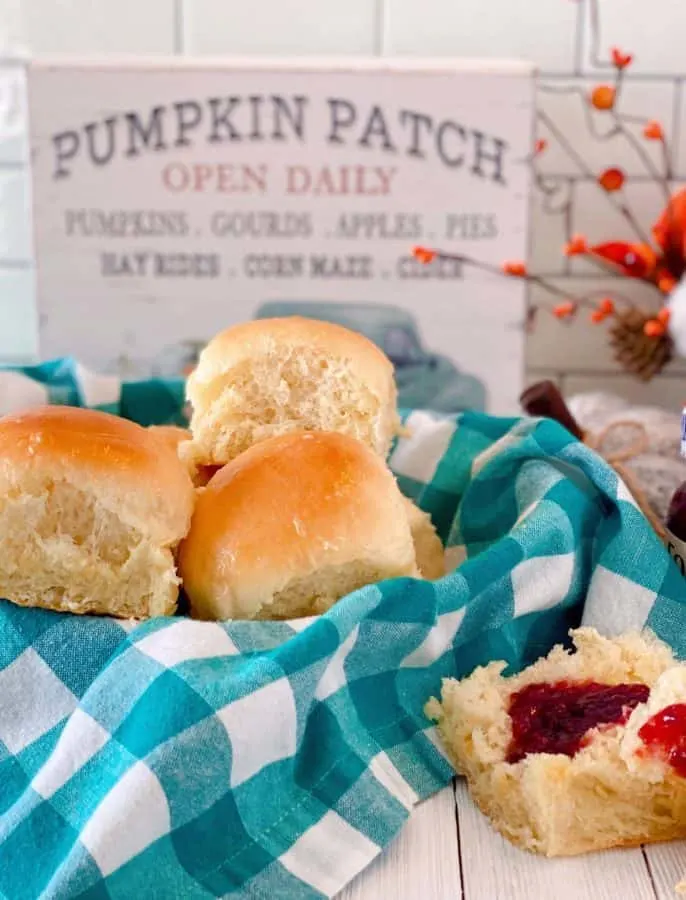
Doesn’t matter that I slaved for 5 days making incredible sides, the kids are only going to eat the Turkey and dinner rolls! (And by kids I mean anyone from 0-82! Can I get an “Amen”! Y’all know it’s the truth!)
Following in the tradition of the women in our family, I’ve always made one specific roll… shaped like crescent moons! I’ve never made a “pan dinner roll recipe”. Mainly because I’ve never found a recipe that was worthy, or pretty enough, of taking center stage next to “Tom” Turkey!
I’m pretty picky when it comes to my dinner rolls. (You gotta respect the carbs!)
I want a roll that you can sink your teeth into and makes your eyes rolls back into your head. I want a recipe that’s easy to follow and doesn’t require a ton of extra steps and ingredients! They have to be super soft, have a top and bottom that reluctantly pull apart because they’re so tender they want to hug each other in the middle. I also want a dinner roll recipe that makes a batch big enough to feed a crowd, and stay fresh for a few days! (I don’t ask much do I?!! Lol)
I tested this recipe several times to make sure it met all the criteria that I demand from a yeast roll! They are easy to make, rise big and fluffy during baking, have a beautiful golden top, and hold well for 4–5 days when stored in a zip lock bag! So they can be made ahead of time! You’re going to want these rolls on your dinner table this Holiday Season…or just because it’s Tuesday!
How to Make The BEST Homemade Pan Dinner Rolls
In a two cup liquid measuring cup, add 1/2 cup warm water, think baby bath water. If the water is too hot it will kill the yeast…yep, hot water murders yeast. (Save the yeast!! It should just be tepid…and tepid means the same temp you’d use for a baby’s bath!)
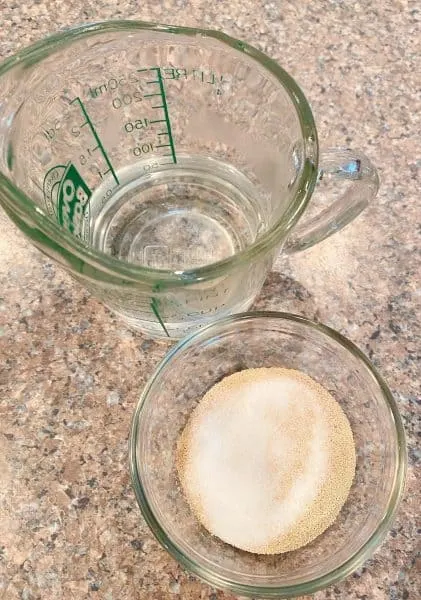
Add 1 and 1/2 Tablespoons Active Yeast and 1/2 Tablespoon Sugar. Give it a gentle little stir.
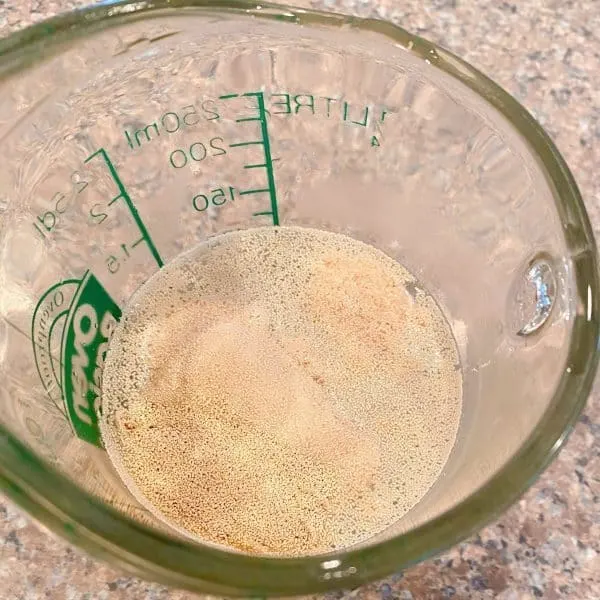
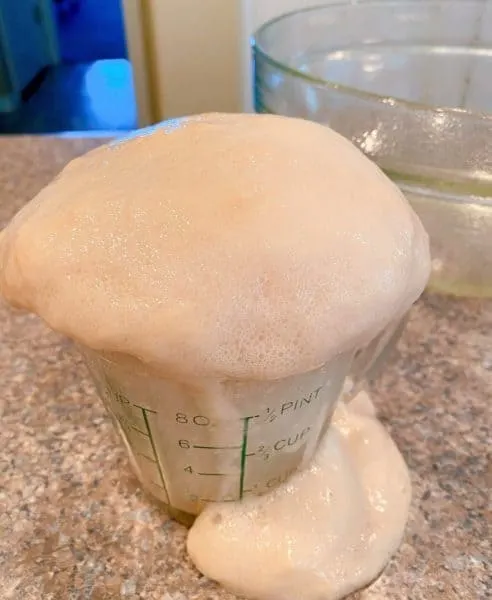
Allow mixture to bubble and foam to the top of the 1 cup mark. This is called “Proofing the yeast”. Now you might be saying to yourself…”Norine, that has bubbled over all over your counter top! How is this really helpful girlfriend?”. (Hey…we all learn one way or the other…this is what I learned!)
This is the EXACT reason I suggest you use a “two cup” measuring cup and not a “one cup” measuring cup! Now, when I make this recipe, I use my two cup liquid measuring cup. It works perfectly every time. I also recommend you not leave the room while the “yeast proofs”.
In the bowl of your mixer, add 5 cups of flour, 1/4 cup sugar, 1/2 Tablespoon of salt, the yeast mixture, and another 1 and 1/2 cups of warm water, and 1/4 cup of vegetable oil.
I love that this recipe has no egg and no milk. It’s a great pantry roll recipe.
Using the dough hook of your mixer, on low speed, mix everything together until the dough clings to the hook and the sides of the bowl are clean of dough.
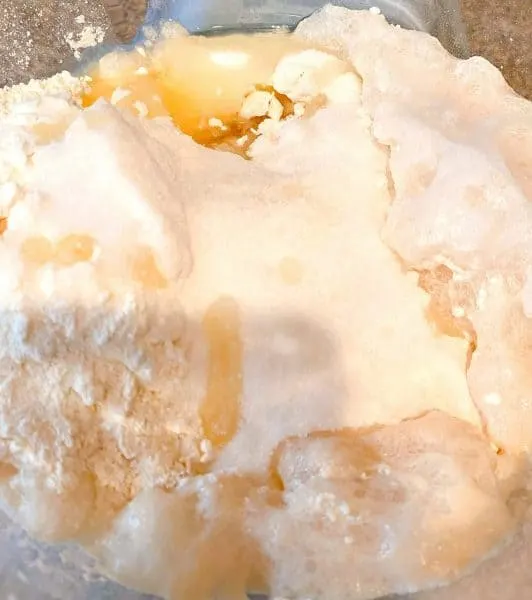
The dough will be slightly tacky, but not stick to your fingers. Add more flour if it is too sticky. I recommend adding a couple of Tablespoons at a time. I found Five cups of flour worked perfectly.
Place the dough in a bowl that has been sprayed with non-stick cooking spray. Turn the dough, so oiled side is up.
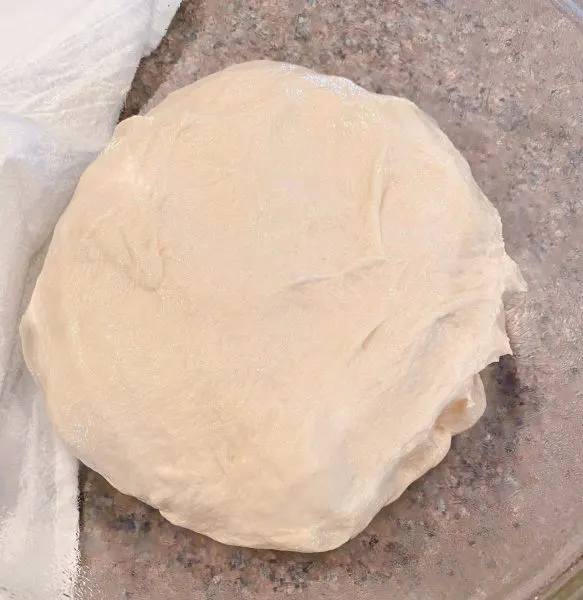
Cover with a clean cloth and place in a warm, draft free place, allow dough to rise for one hour until double in size. Look at that beautiful rise! That is what happens when all the elements come together in bread making.
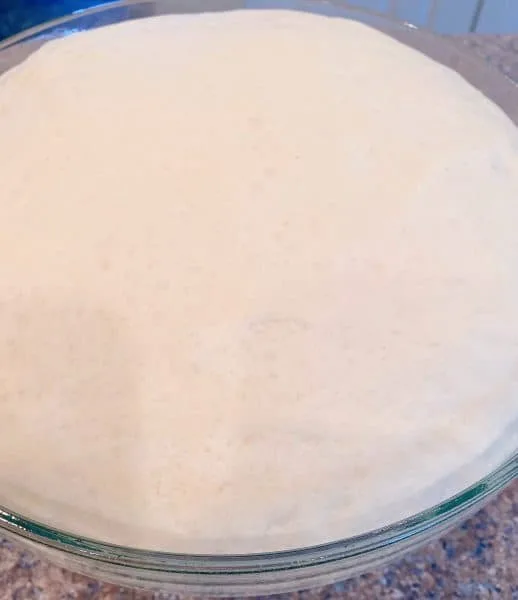
Now for my favorite part…the “Punch Down”! Honestly I find bread making so therapeutic! Especially this part…lol
Make a fist and give it a good ol’ punch! Ahhhh…didn’t that feel great! I love hearing the air escape and watching that mountain of dough go down. So gratifying.
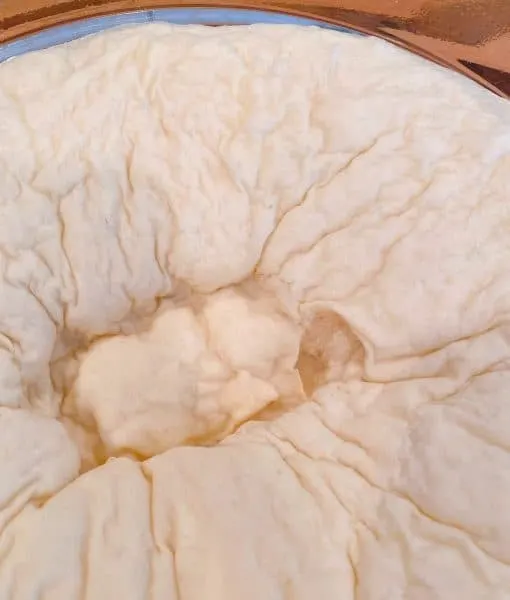
Flour a work surface, or use a well floured dough disc, give the dough a quick knead. Divide the dough in half. Roll each half into a log, cut each log in half and then cut each half into 6 equal portions for a total of 24 dough balls.
Prepare a large baking sheet, 21 x 15, and spray with bakers joy or another type of non-stick baking spray with flour. For a soft roll place parchment paper on top of the baking spray. For crispy bottom rolls grease the baking sheet only.
Tip: I’ve made them both ways…and I strongly encourage the parchment paper method. For the softer roll. They just hold up much better.
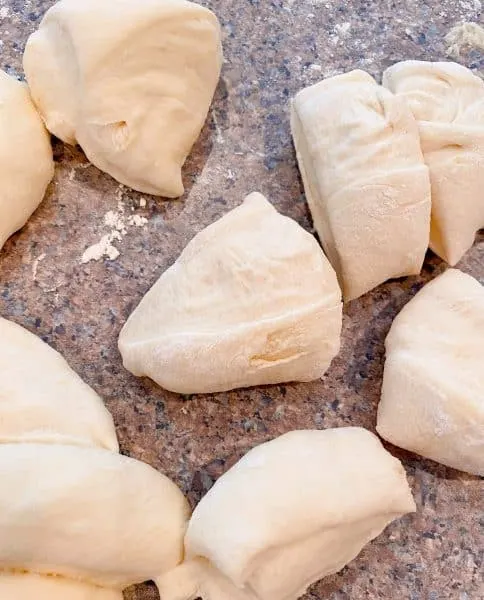
Using your hands (They work much better than your elbows or feet!) Roll each equal portion of dough into a ball. Space each roll 1/2 inch apart in 8 rows of four. Cover with the same towel you used to cover the dough when it was in the bowl.
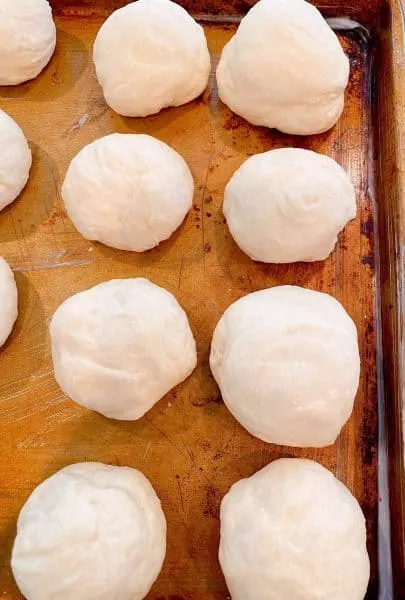
Let rise 1 hour. Remove cloth and place rolls in a preheated 375° degree oven. Bake for 20–30 minutes until tops are lightly golden brown.
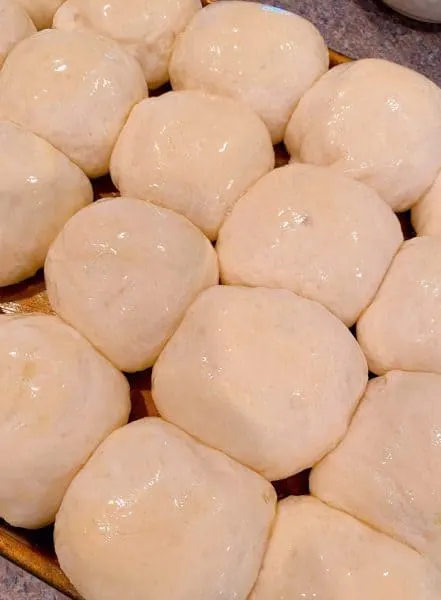
Brush the tops of each hot roll with melted butter. I get a little sloppy with my butter brushing and let it ooze into the nooks and valleys of the rolls. Butter and bread, bread and butter. It’s what foodie dreams are made of.
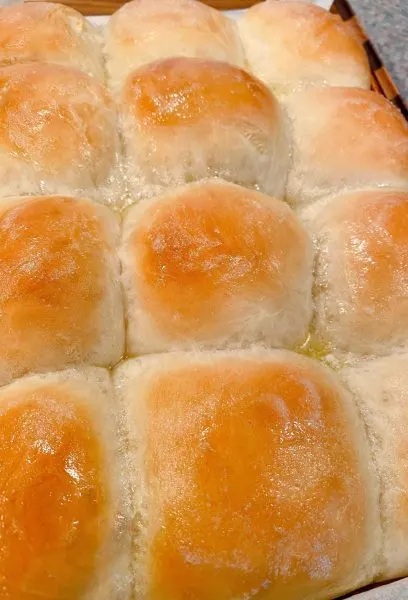
Separate the rolls and place in bread basket! Good luck getting them to the dinner table! There’s something about pulling piping hot dinner rolls out of the oven that has the family running to the kitchen like a puppy dog for bacon!
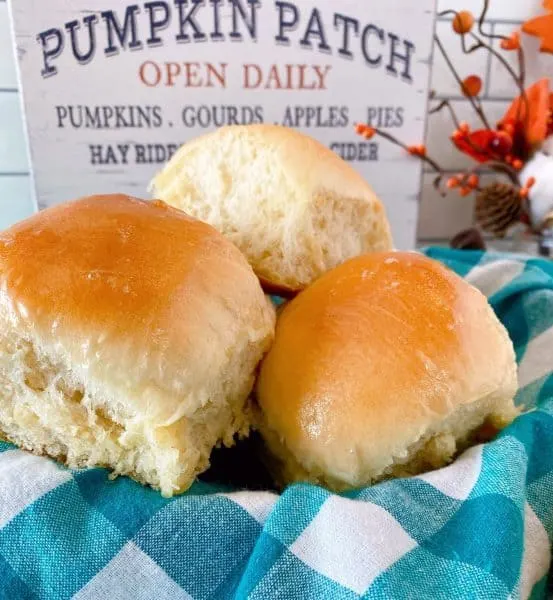
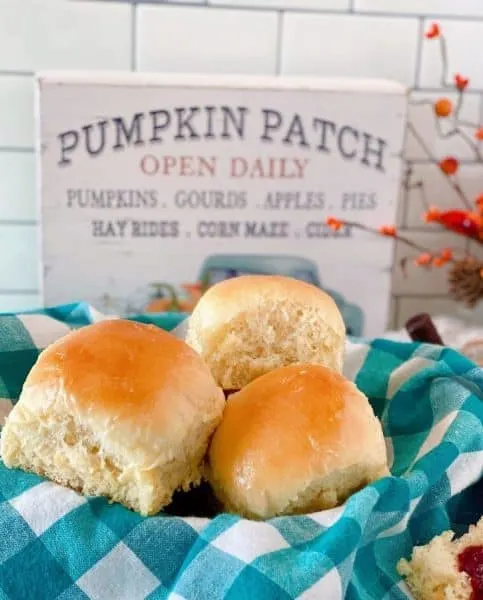
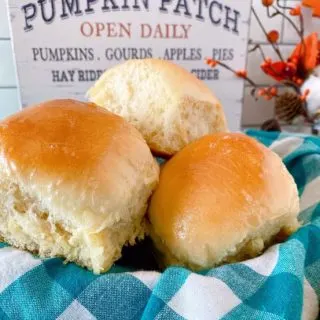
Look how big and puffy these rolls turn out. Sigh! They’re super soft…with the perfect pull! They have loads of fluffy little air pillows inside to hold the butter and jam that you’re going to slather all over them.
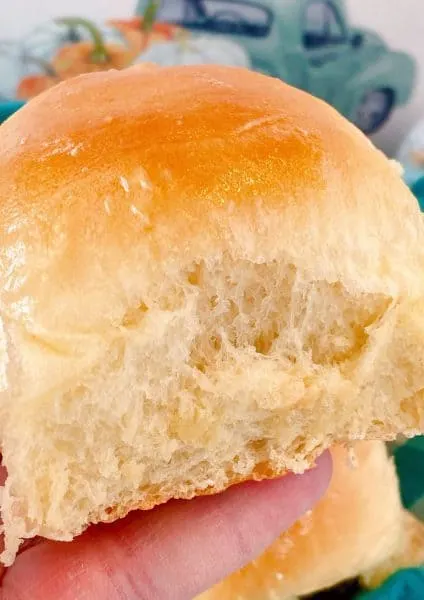
I love that this recipe makes a big batch of 24 dinner rolls. The recipe can be doubled, and you can make 4 dozen dinner rolls for your big family gatherings or potlucks! It’s the perfect Potluck dinner roll recipe! I’m so impressed with this recipe and so excited to use it myself this Holiday Season.
They store great! To store them, place a dozen in large zip lock bag, pressing out any extra air, sealed tight. Just reheat slightly in the microwave right before serving if you want them warm. I may have eaten a few of these when they were cold. They’re fantastic cold and would work great for sliders!
Here are a few of my other Favorite Dinner Bread Recipes
- Homemade Soft French Bread
- Easy Homemade Baking Powder Biscuits
- Buttery Sweet Corn Bread
- Seven Week Bran Muffins
- Lion House Bread Machine Dinner Rolls
I know the bread roll loving birds at your Nest are going to love this dinner roll recipe as much as I do! They’re really not hard to make at all if you just follow my step-by-step instructions. There won’t be any need for store bought rolls at your Holiday Dinner Table this year! You’ve got this!
As always, Thank you so much for stopping by and visiting with me today. I hope y’all have a great week and enjoy this beautiful Fall weather!
Happy Nesting!
Homemade Pan Dinner Rolls
Ingredients
- 1-1/2 Tablespoon Active Yeast
- 1/2 Tablespoon Sugar
- 1/2 Cup Warm water
- 5 Cups All-purpose flour
- 1/4 Cup Sugar
- 1/2 Tablespoon salt
- 1-1/2 Cups additional warm water
- 1/4 Cup Vegetable oil
- Melted butter for top of dinner rolls
Instructions
- In a two cup liquid measuring cup add 1/2 cup warm water, (think baby bath water), Active Yeast, and 1 Tablespoon of Sugar. When mixture bubbles and foams to to the top of the 1 cup mark it’s ready.
- In the bowl of your mixer, with the dough hook, add 5 cups of flour, 1/4 cup of sugar, salt, 1 1/2 cups warm water, 1/4 cup of oil, and the yeast mixture. Mix on low until dough clings to the dough hook and the sides of the mixing bowl are clean. Dough will be slight tacky, but should not stick to your fingers. Add more flour if it’s too sticky. *You can hand mix these rolls.
- Place dough in a large greased bowl. Flip dough over so oiled surface is up. Cover with a clean kitchen towel, place in a warm, draft free area, rise for 1 hour.
- Punch dough down after it has doubled in size. Give the dough a quick knead on well floured surface. About 5-10 kneads. Allow dough to rest for 5 minutes. Cut the dough in half. Roll each half into a large log. Cut each log in half again. Cut each half into 6 equal portions to make 24 balls of dough.
- Grease the bottom of a 20×15 baking sheet with non-stick baking spray. Cover baking sheet with a piece of parchment paper for soft dinner rolls. Omit the parchment paper if you want crispy bottom dinner rolls.
- Roll each portion of dough into a ball and place in 8 rows of 4 rolled dinner rolls spaced about 1/2 inch apart. Cover and allow to rise for one hour.
- Preheat oven to 375°. Bake rolls for 20-30 minutes until rolls are lightly golden brown. Remove from oven and brush tops with melted butter. Allow to rest for 5 minutes before breaking apart to serve.

Chicken and Dumplings Casserole - Soulfully Made
Wednesday 6th of October 2021
[…] pair it with cornbread or these pan rolls from my friend over at Norine's […]