Fresh Triple Berry Galette filled with tender ripe strawberries, blueberries, and raspberries in a tender flaky country crust.
Remember last week when I finally mosied on into the kitchen trying to shake off those vacation blues?
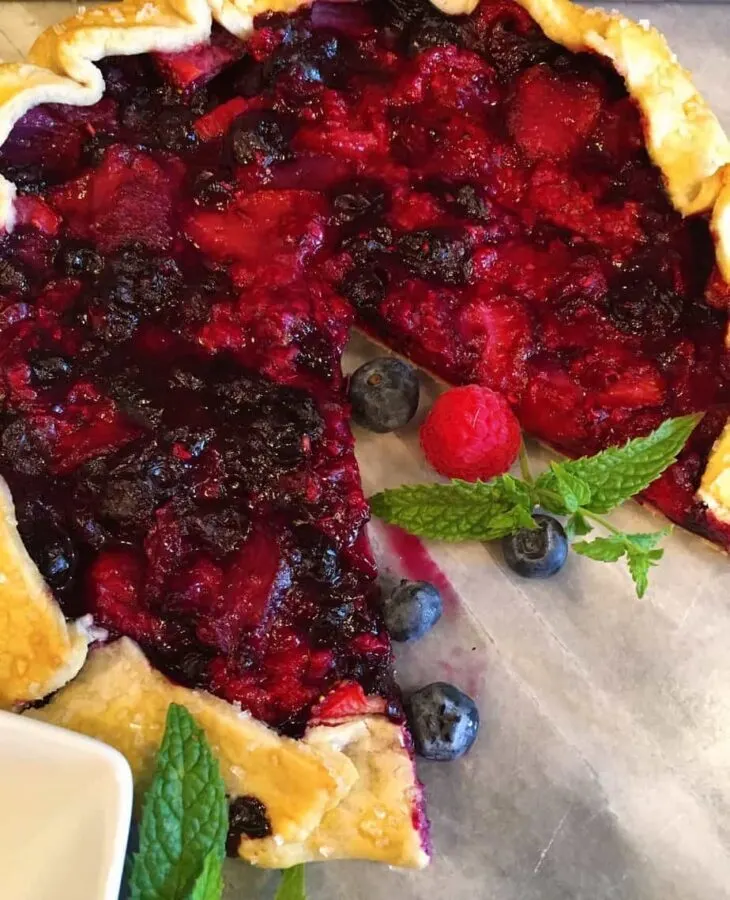
Well…the first thing I made was this Fresh Triple Berry Galette! (You had to know dessert was going to be first! I mean… I was depressed…not dead! Lol)
I bet you’re thinking to yourself “Okay what’s a “galette”? I’ve seen them around, but it just looks like a lazy man’s pie to me?” You’d be 100% right! Galette is a French word meaning… country tart with folded edges.
It’s free form. Meaning…we aren’t using a pan! (Kind of like the old neighbor lady whose tossed her bra!) They are easy to make, yet look so elegant and… European!
How To Make A Triple Berry Galette
Preheat oven to 350°.
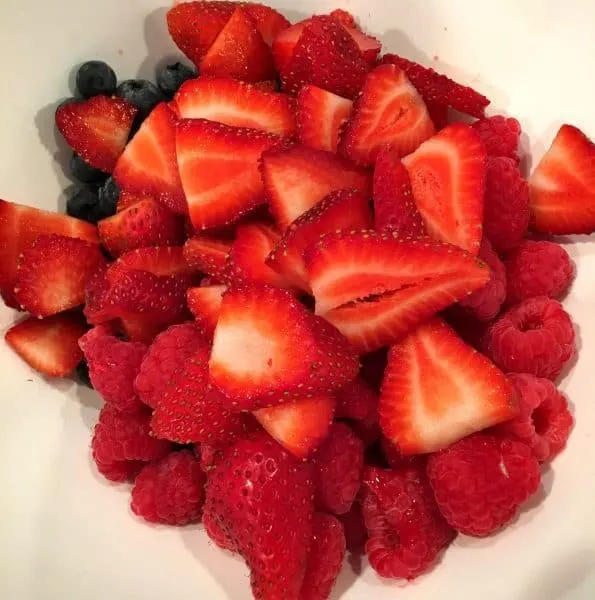
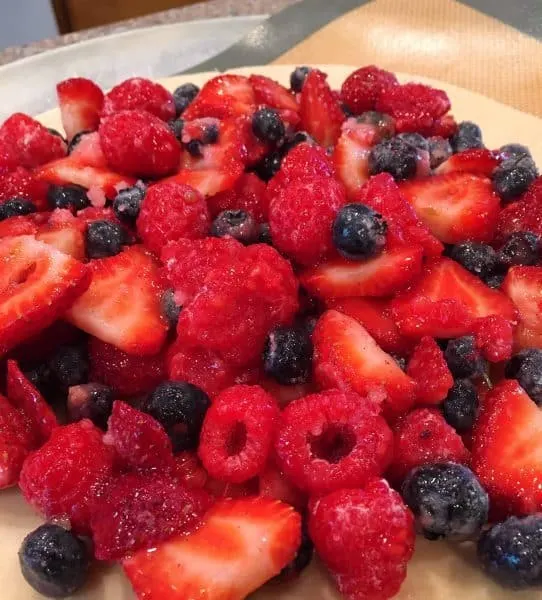
In a medium bowl add 1 cup fresh raspberries, 1 cup fresh blueberries, and 8-10 fresh sliced strawberries. (Don’t you love summer berries! I sure do!)
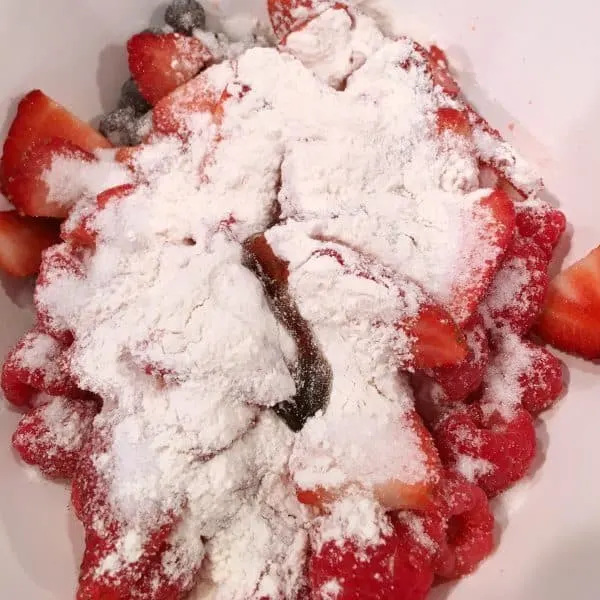
Next add 1/3 cup refined sugar, 3 1/2 Tablespoons Flour, and 1 tsp vanilla bean paste, or pure vanilla extract.
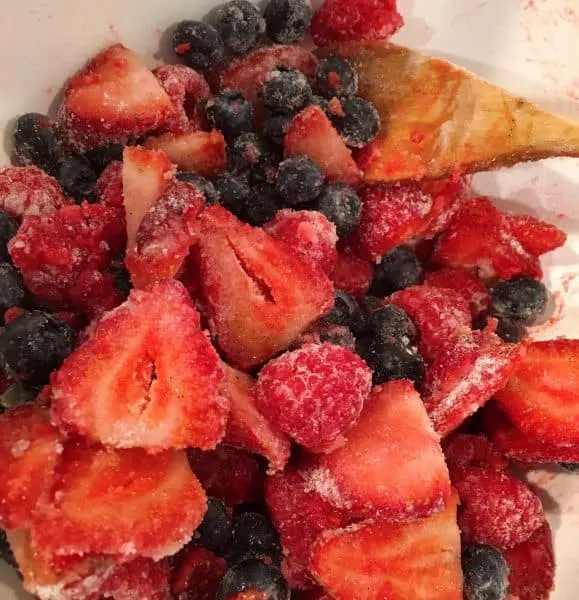
Gently stir that together. It doesn’t need to be mixed well…just until the berries are coated.
Set berries aside and start on the pie crust.
Start out with a single pie crust. Let me just insert here…I will always use my pie crust recipe. I’ve said it before, I’ll say it again…it’s perfection. We don’t mess with perfection.
However, I also want to insert here that if you are terrified of making pie dough…or you hate making it…you can use Pillsbury Pie dough or another store-bought dough. It’s really about your comfort level.
I’m not going to show up on your door step ready to strike ya down for using store bought pie dough! We all take the shortcuts we need to take to feed the birds at our nests and maintain sanity!
In a small bowl, measure out 1 cup of flour, 1/3 cup + 1 Tablespoon of Crisco shortening, 1/4 tsp salt. Use a pastry blender to cut shortening into the flour.
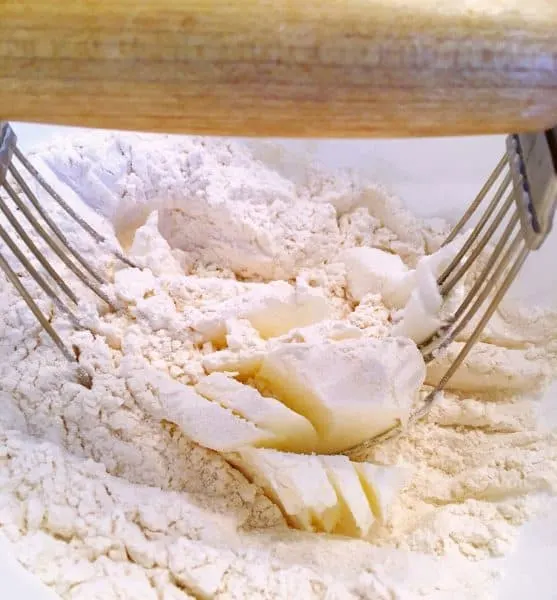
Continue cutting shortening in until a crumble forms…about the size of very small peas! Be sure ALL the flour is cut into the shortening.
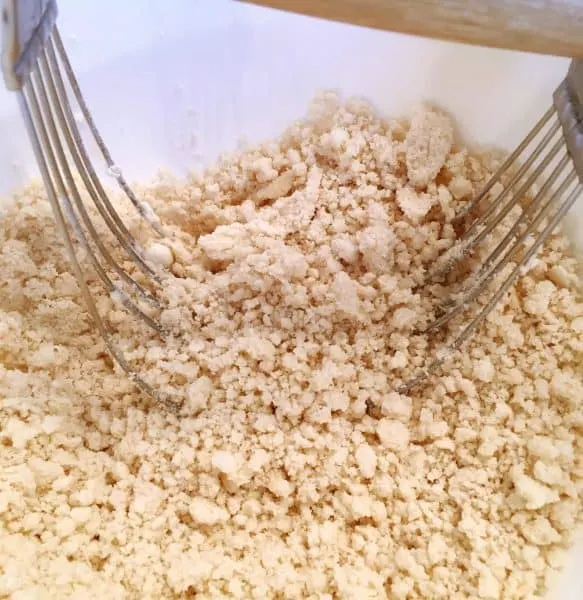
Add 3 tablespoons of ice-cold water into the center of the dough.
How To Make The Perfect Pie Crust
Here are my tips to making absolutely perfect pie dough! Read this part carefully!
Take the bowl and gently shake it around until the dough starts to create a ball. Not all the dough will stick to the ball. Only about half of it.
Take your hand and spread your fingers apart to create a “finger rake”. Reach into that bowl and gently start “raking” the dough together to form a soft ball. Once almost all the crumb mixture has formed a soft ball, run the ball around the bowl to collect the remaining crumbs.
Now gently form a ball. Trying to handle the dough as little as possible. (I seriously cringe when I see cooks make dough in a food processor. I know it works. Call me old school. That’s okay. I won’t be offended.)
Flour the surface of your dough disc board or counter top. Gently place the pie dough on the flour covered surface and press down.
Flip the dough over so the floured side is up. Flour your rolling-pin and roll the pie dough into a large circle. At least 12 – 14 inches around.
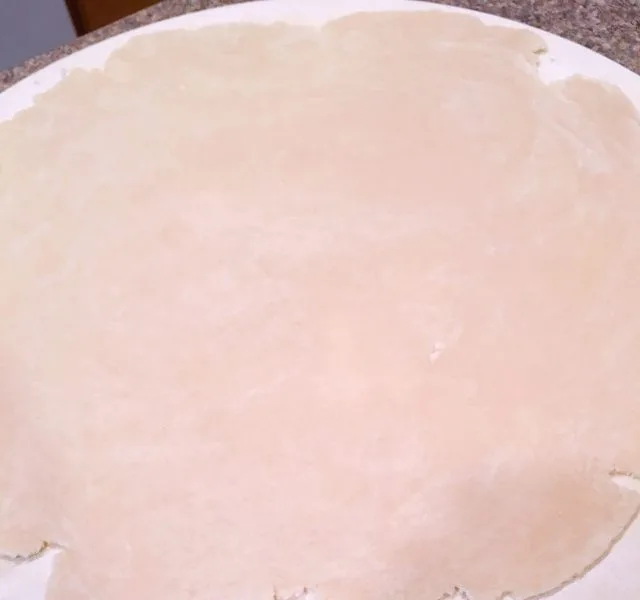
Cut the rough edges off the dough, so you have a perfect circle.
Tip: I used a large plastic bowl, face down, and ran a knife around the edge.
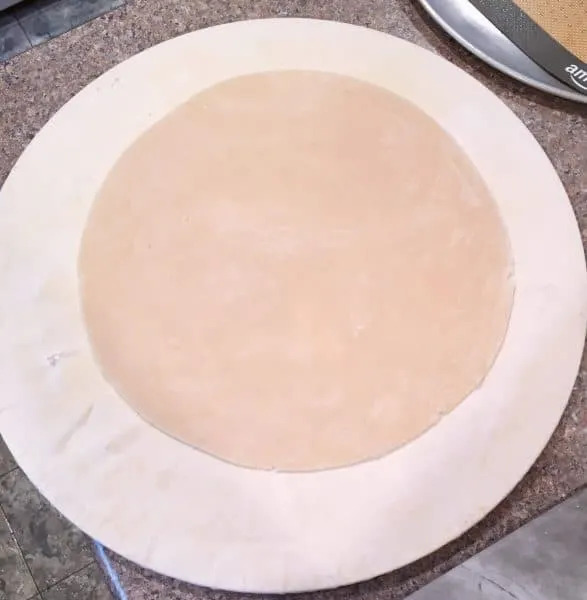
Combining the Crust and Filling to create a Galette
Gently fold the dough in half, move to your baking sheet.
Tip: I used my pizza pan lined with a silicon mat to bake this Galette for baking.
Once you have the dough on your silicone mat grab that bowl of fresh berries and spoon them right unto the center of the pie dough. Make sure you leave about a two-inch border all the way around the crust.
Fold the crust up, and over the edges of the fruit filling, and gently “pleat” as you lift another section of the dough. Continuing to lift and pleat as you go around the filling. Gently press those pleats together so they hold.
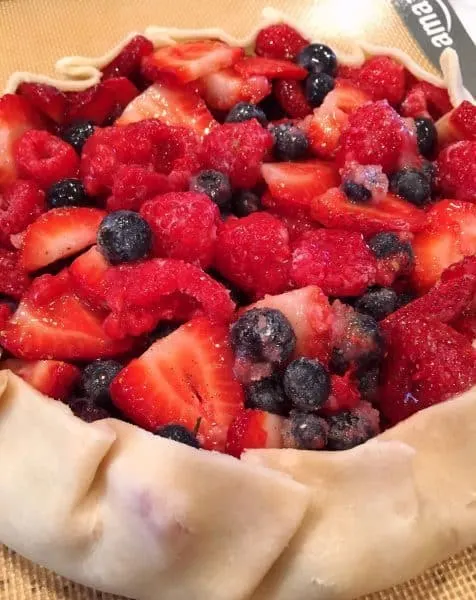
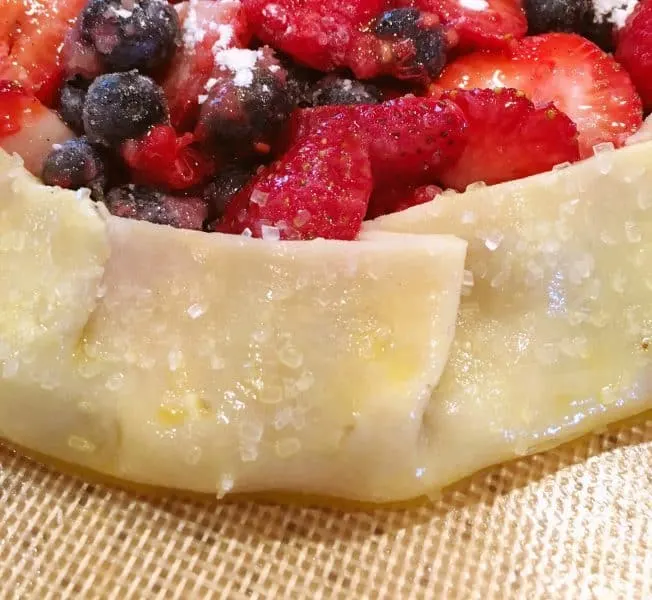
In a small bowl beat one egg with 1 tsp water to form an egg wash. Using a pastry brush, brush the outside edges of the Galette with the egg wash.
Tip: Be sure to squeeze that egg wash into those tucks. It will help them stick.
Sprinkle with Coarse baking sugar or regular sugar.
How to Bake a Galette
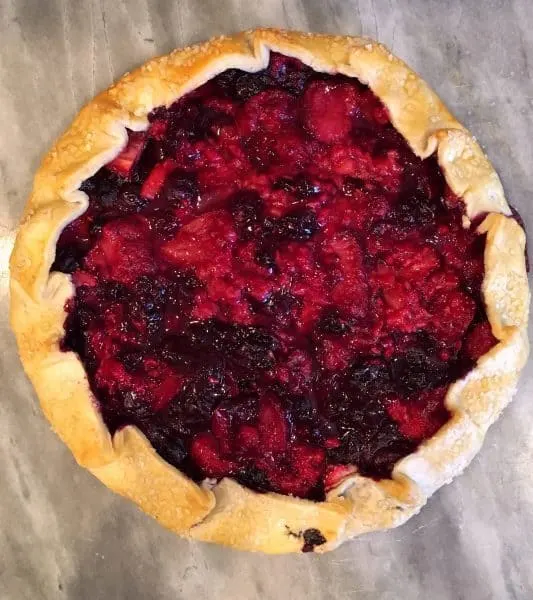
Place Galette in your preheated oven and bake for 30–40 minutes until edges are golden and filling is thick and bubbly. It may take a few more minutes. Each oven is different.
All to cool for about 20 minutes. Filling will continue to “set” as it cools.
Now we are going to test your balancing skills! Lol Get ready!
Run your spatula under the Galette to make sure it isn’t sticking anywhere.
Lift Galette off the baking sheet using the silicone mat. Place the mat, with the Galette still on it, halfway on the surface or serving dish you want the Galette on.
I decided to use my large marble board. I used a spatula to slide under the Galette while holding the mat in the other hand. (Hey! We are women…we are used to doing 20 things with only two hands. We invented the word “multi-task”!) Then I just slid it off. Easy Peasy! (It’s okay… I already know some of you will be using my name in vain!)
I garnished with fresh mint and a few extra fresh berries. Mars said it “needed some green”! LOL My new food stylist! (Insert eye roll!)
Isn’t it pretty? Ya know what’s better than how it looks? Ummm…how it tastes! This is one AMAZING Berry Galette!!! Not going to lie. I’m a little bit in love with Galettes…more than pie.
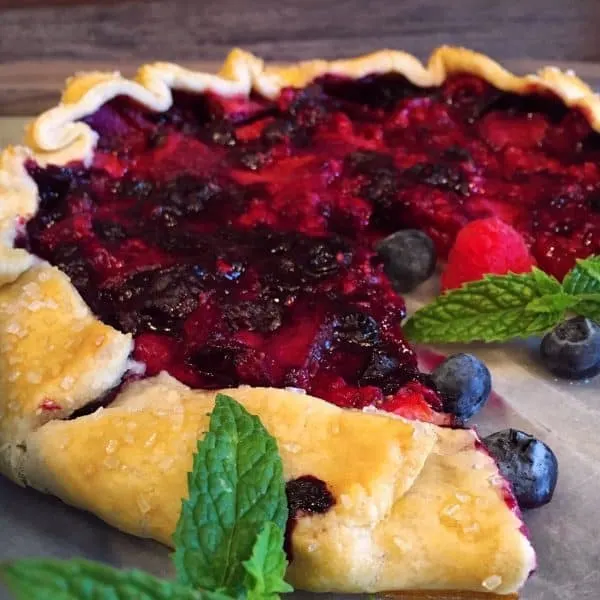
WHAT?!!! I know…gasp! I love that you don’t need a lot of fruit for the filling. It comes together quickly… 20 minutes from start to oven ready. It gives you all the deliciousness of a fruit pie without all that work! Win-win!!!
I love seeing all delicious red and blue filling.
Serve with a heaping scoop of vanilla ice cream and a sprinkle of fresh berries. I really loved mixing the fresh berries with the oven baked berries of the galette! YUM!!!
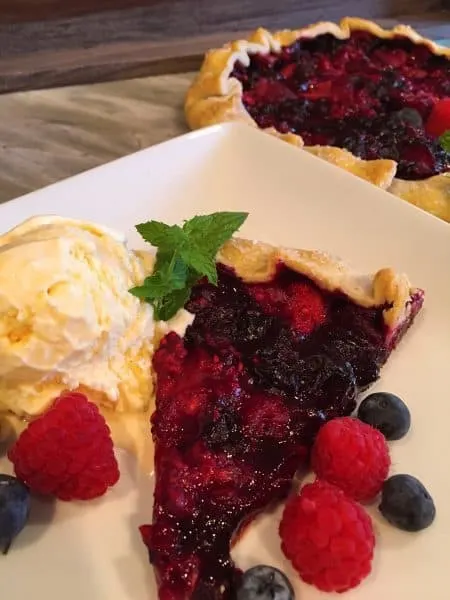
If you’re wondering if it really was as beautiful as the picture…the answer is “YES”! I honestly could not put my fork down when taste testing this stunning dessert. It’s SO good!!!
Before summer is over, make one of these spectacular desserts. They are the perfect finish to your outdoor cook out! I’m already thinking of other amazing flavors….like peach raspberry, apple blueberry, blackberry….you get the idea.
If you like this recipe you may also enjoy these other delicious Fruit Pie Recipes!
- Fresh Homemade Blueberry Pie
- Traditional Homemade Cherry Pie with Tart Cherries
- Cranberry Apple Pie
- Dutch Apple Pie
Remember to follow me on Facebook, Twitter, and Instagram to see all the new YUM going on here at my Nest!
Have a Fantastic Day. Thanks for stopping by!
Happy Nesting!

Fresh Triple Berry Galette
Ingredients
Pie Crust
- 1 Cup All-purpose flour
- 1/3 + 1 Tablespoon Crisco Shortening
- 1/4 tsp. salt
- 3 Tablespoons Ice Cold Water
- 1 large egg beaten with 1 tsp water.
- 1 Tablespoon Sugar for garnish
Filling
- 1 cup fresh raspberries
- 1 cup fresh blueberries
- 8-10 fresh strawberries sliced
- 1/3 cup sugar
- 3 1/2 Tablespoons flour
- 1 tsp Vanilla Bean Paste or 1 tsp pure vanilla extract
- Fresh Berries and Mint for garnish if desired
Instructions
- Preheat Oven to 350°
Filling
- In a medium bowl mix together fresh raspberries, blueberries, and strawberries. Add 1/3 cup sugar, vanilla bean paste or vanilla extract, and flour. Gently mix until coated. Set aside.
Galette Crust
- In a small bowl add 1/3 cup + 1 Tablespoon Crisco Shortening, 1 Cup Flour, and 1/4 tsp. salt.
- Using a pastry blender cut shortening into flour mixture until small pea size crumble forms.
- Add 3 Tablespoons ice cold water to center of flour crumb mixture.
- Gently swirl bowl until a soft ball forms in the middle. Spread the fingers on one hand to create a "hand rake" and gently gather the remaining crumble mixture with your "hand rake" until it has formed a ball. (The less you handle the dough the flakier it will be)
- Flour your rolling surface. Place dough ball down on floured surface and gently press down. Flip flattened dough ball over so floured side is face up.
- Flour your rolling pin and roll pie dough into a 12-14 inch circle.
- Trim your edges so they are smooth and the dough is in a perfect circle. You can place a large bowl down and go around it with a sharp knife to get it perfect if desired.
- Place dough on a silicone mat lined pizza baking sheet.
Finish Galette
- Spoon Fresh berry filling into the center of the galette dough leaving a 2 inch boarder. Gently fold a small portion of the dough up and over the filling and create a "pleat". Grab another portion of the dough and repeat the process over until you have gone all the way around the Galette. Pinching your "pleats" as you go so they will stick together.
- In a small bowl beat one egg and add 1 tsp of water. Mix well.
- Using a pastry brush, brush the edges of the galette with the egg wash making sure to tuck it in the pleats to help hold them in place.
- Sprinkle with coarse baking sugar or regular sugar.
- Place in oven and bake for 30-40 minutes until the Galette edges are golden brown and the filling is thick and bubbly.
- Remove from oven and allow to cool for 20-30 minutes.
- Run a spatula under the Galette to loosen and remove to serving plate or surface.
- Garnish with fresh berries and mint.

Nikki
Saturday 19th of August 2017
This is a beautiful dessert! I wish I could reach in a grab a slice! Gorgeous!!
[email protected]
Monday 21st of August 2017
Hi Nikki! Thank you so very much! I wish you could just come over and have a slice! ;) Happy Nesting! ~Norine
The Better Baker
Saturday 19th of August 2017
What an awesome demonstration! This is such a beautiful dessert. Thanks for sharing. I adore your sense of humor too! :-*
[email protected]
Monday 21st of August 2017
Awww! Thank you so very much! You bring so much joy to my life. I appreciate your sweet kind comments. Happy Nesting! Norine