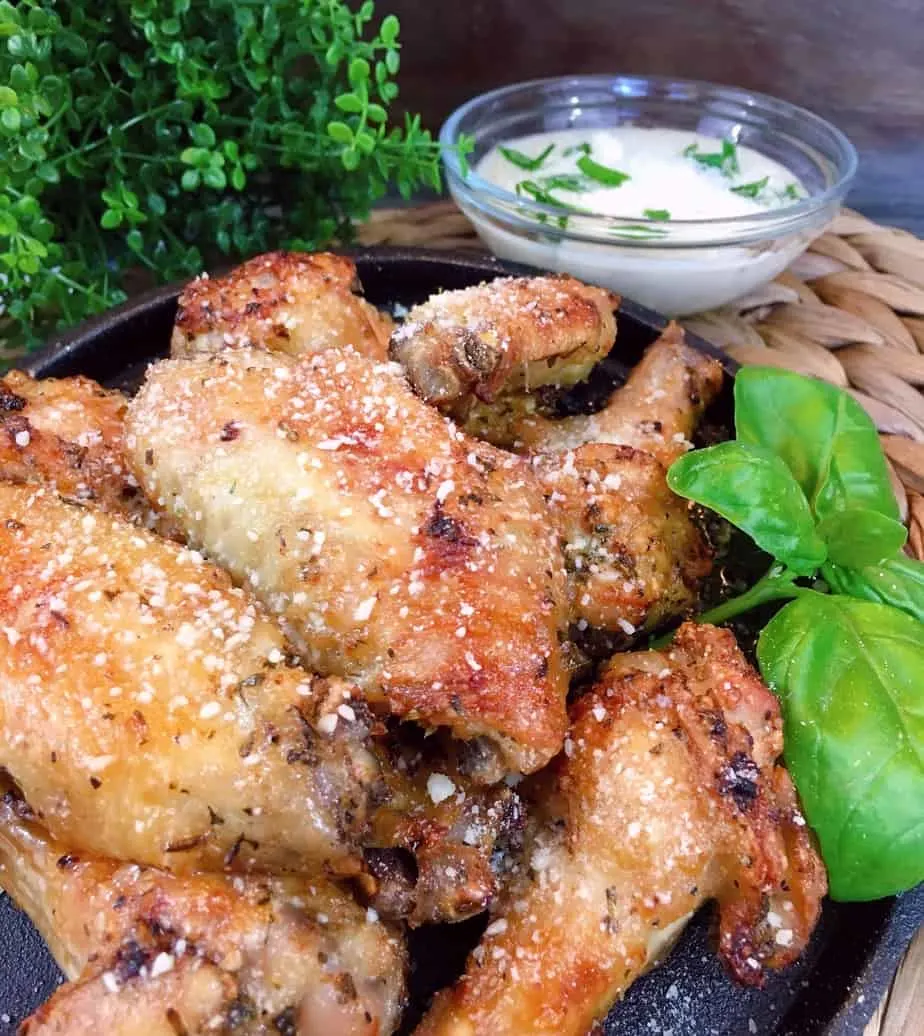
These juicy and flavorful Air Fried Garlic Parmesan Wings are so crispy you won’t believe they weren’t deep-fried! Thanks to my new Mealthy CrispLid they are so easy to make!
Disclosure… I am a Mealthy affiliate…which means, at no additional cost to you, I will earn a commission if you click through and make a purchase.
Back in May I went to my first Bloggers Conference. While I was there I met the Representatives from Mealthy! A wonderful company whose motto is “Home Cooking Made Easy”! What’s not to love about a company with that motto!! (Now to find the “Clean Up Made Easy” company!)
While I was there, I took advantage of the time I had to check out their products! I was so impressed with the quality of their home cooking products. What really caught my eye…was their latest and greatest product! The CrispLid! A lid that turns your Instant Pot into an Air Fryer! WHAT!!???? Whoa!
I have been wanting an Air Fryer! However, I am out of room in the pantry for another big bulky kitchen appliance! New shelves had to be added for the Instant Pot…so if I cherished my life, I had best not bring home another big appliance for the “Mister” to find a space for! So needless to say, the good folks at Mealthy had my attention with their CrispLid!
I can’t wait to share this product with you! I’ve used it numerous times over the past few weeks and every time I do, I’m more impressed than the time before!
How To Make Air Fried Garlic Parmesan Wings
Let’s start with the main event…the wings! (There are thousands of wingless birds out there roaming around the chicken farms because of this recipe! Lol So let’s show our respect for the Wings!)
You’ll need 2 pounds of chicken wingettes. (Wingettes are wings that have been cut into flats and drummies!) In a medium size bowl add wings and 1 Tablespoon olive oil. Add 3 teaspoons minced garlic, 1/4 teaspoon dried crushed rosemary, garlic salt and black pepper to taste.
TIP: The key to truly crisp wings in an air fryer is to toss them with a small amount of oil! This will give you a really crispy skin and help release the flavors of the dried spices!
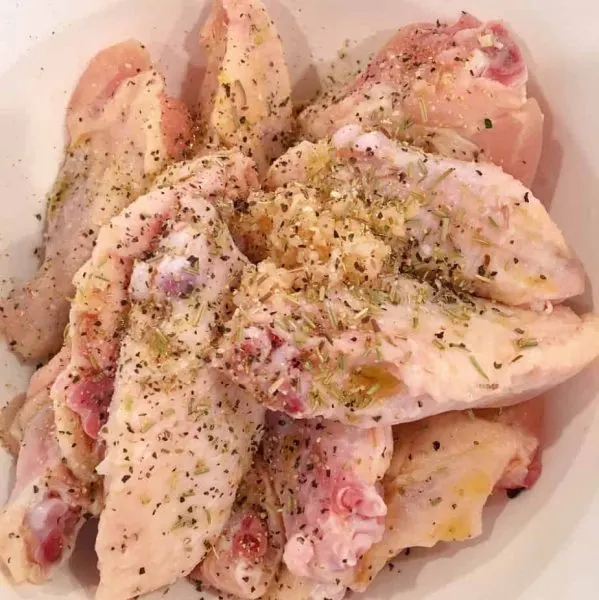
Add 1 Tablespoon chopped fresh basil and 4 Tablespoons grated Parmesan Cheese! Gotta have that cheese! It gets the lips a smackin’….
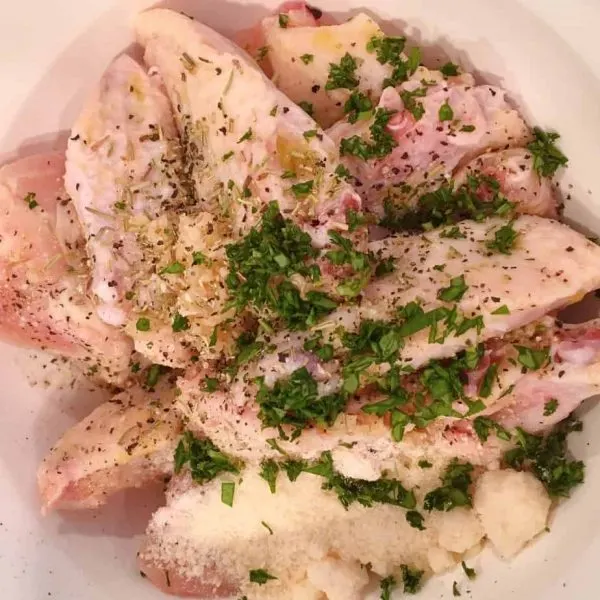
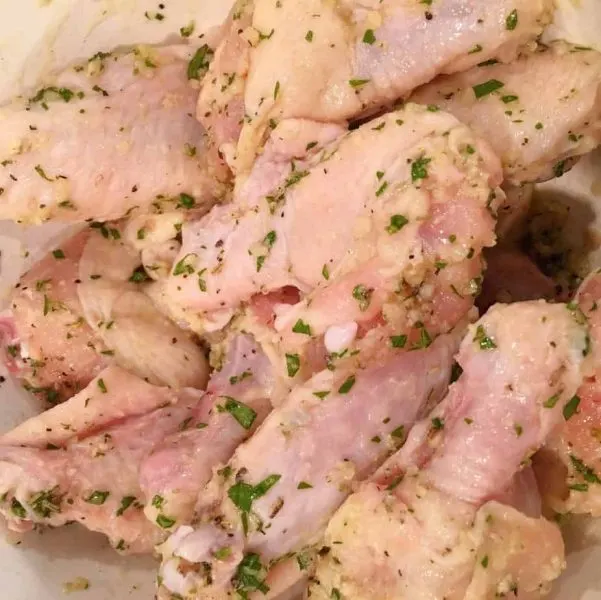
Using a spoon or spatula toss the chicken wings to evenly coat them.
Cover the bowl and place the wings in the refrigerator to chill for at least 2 hours up to 24 hours. I waited 24 hours…and they were perfect!
How To Use the Mealthy CrispLid
Please be sure to read ALL safety and user instructions BEFORE using! The CrispLid gets extremely hot during cooking, and it is necessary to remove it and replace it during cooking. So it’s very important you understand all the safety measures.
The Mealthy CrispLid comes with a taller roasting rack to bring the food up close to the radiant lid. It also comes with a fry basket, tongs, a silicone trivet to place the hot CrispLid on during cook time, and of course, the actual CrispLid.
Place the tall roasting rack inside your Instant Pot. To make clean up easier lightly spray your instant pot with non-stick cooking spray.
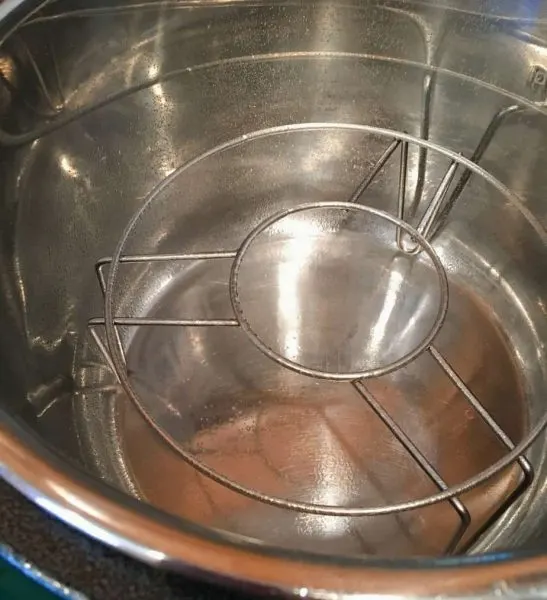
Spray your fryer basket with non-stick cooking spray to keep the chicken wings from sticking to the basket. Place the CrispLid fryer basket on top of the rack inside your Instant Pot.
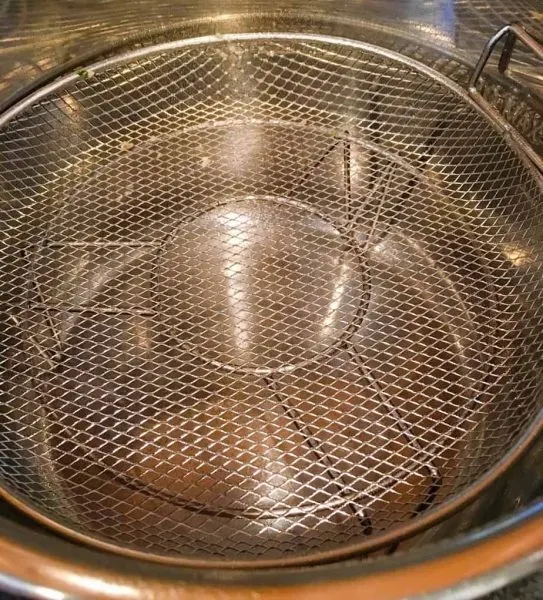
Using the tongs, add the wings to the basket in a single layer. They can get cozy with each other, snuggle up and hug…we just don’t want them on top of each other. It’s important that the radiant light from the CrispLid air fryer shine down on each of those wings so that they “tan” evenly! (Everyone likes a nice even tan…even chicken wings!)
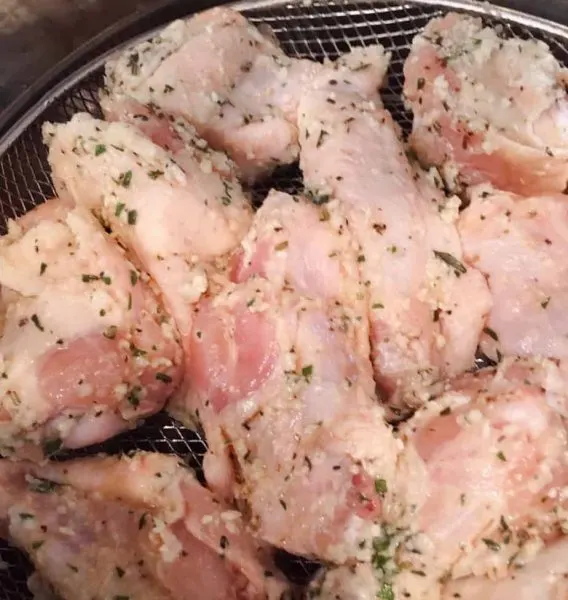
Place the CrispLid on Top of the Instant Pot!
I know this is going to seem redundant…but you don’t plug in your Instant Pot!! You are just using that as the base for the CrispLid! You plug in the CrispLid! (I’m not going to say I made this mistake and this is why I’m telling you…cause that would just be silly stupid!)
To turn the Unit on, push the handle all the way down! To turn it off, you lift the handle on the lid up and remove the lid being EXTREMELY Careful to place the lid on top of the provided silicone mat!
Set the temperature to 375° for 5 minutes.
The control panel is super easy to understand. Temp and time. Plus or minus. Arrow for start! That’s it! I love easy to use products! I deal with enough technical stuff to make me crazy, so I truly appreciate when a product is easy to use.
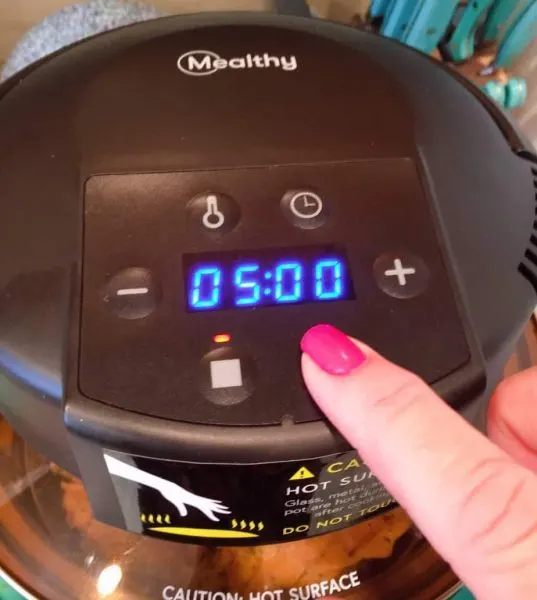
This is one HOT lid when it starts doing its thing so please…PLEASE, use caution when using it and remember to read those simple safety instructions.
The lid sits on top of the Instant Pot. It does not snap on, so know that it does sit a little loose on top. The radiant light will click on and off during cooking as will the “air” fan. It’s so much fun to watch!
The unit will automatically start. It will beep when done.
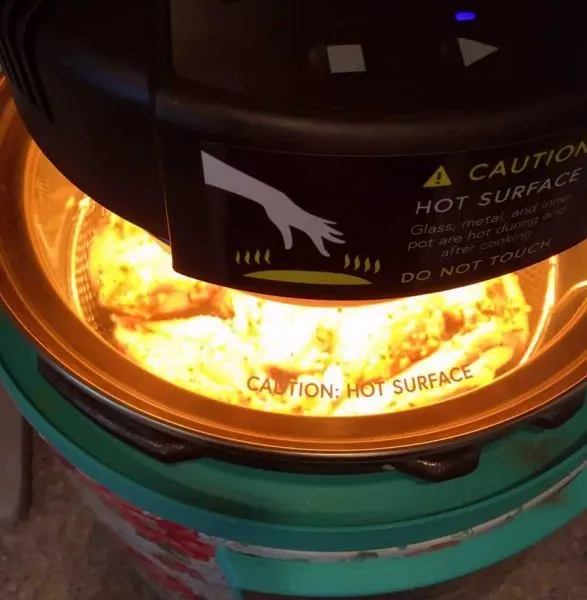
Remove the lid, using the tongs, carefully turn each wing over so that the lily-white side of the wing can get tan!
Replace the lid and push start. The unit will remember the previous time and temp.
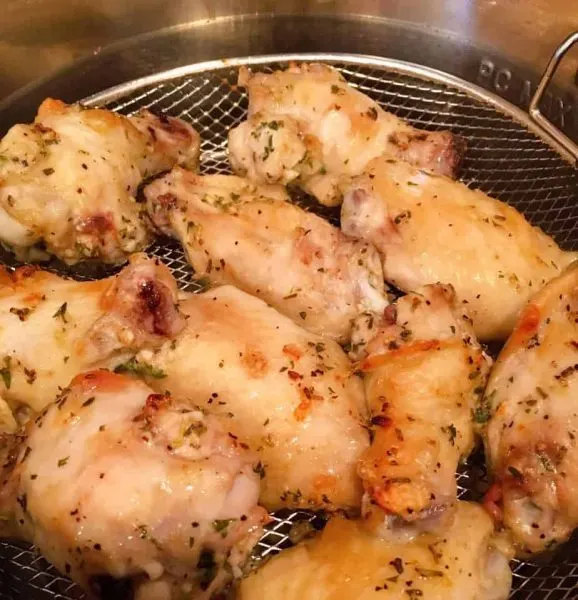
When the time goes off, remove the lid, place it on the silicone trivet again and turn the wings over using the tongs.
This time turn the temp up to 400° and set the cook time for 10 minutes!
The GREAT thing about this CrispLid is that you won’t get splattered by oil. You don’t have to stand over a hot pot of oil the entire time hoping the wings don’t burn or overcook. I stay in the kitchen, but I can do other things, like make a salad, while I wait for the timer to go off. I would never leave it unattended!
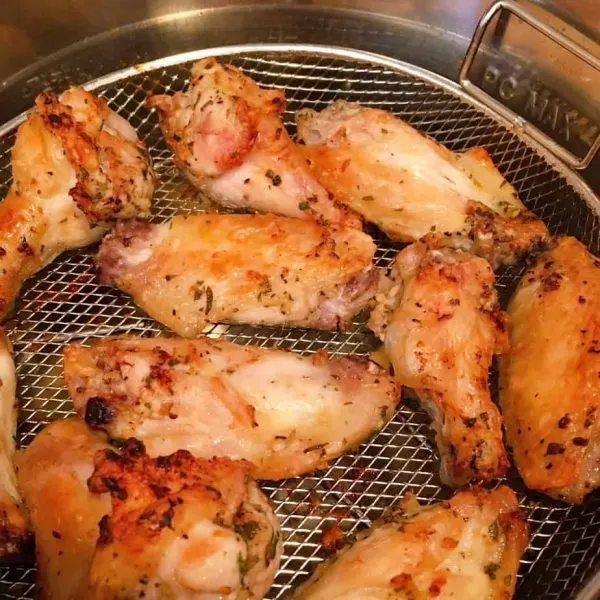
When the timer goes off again turn the wings over one more time, we are evenly tanning remember…and replace the lid and cook for another 10 minutes at 400°. Chicken internal temperature should be 165°.
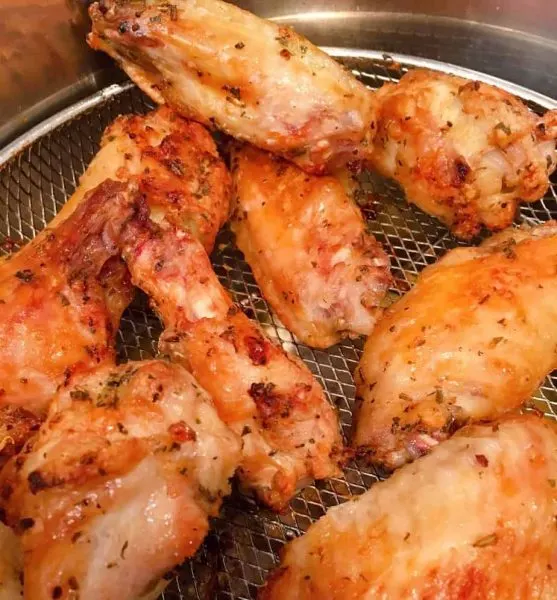
Aren’t they beautifully golden and crispy! Can you believe it!!! Only 1 Tablespoon of oil in the marinade! I have to admit I’m still unbelievably impressed!
Big BONUS points…it’s easy to clean when done. Just wipe the CrispLid with a clean warm cloth AFTER it has cooled down. Never submerge the unit in water! Just wipe it down, dry it, and store it away.
How To Finish Air Fried Garlic Parmesan Wings
Remove the wings, using the tongs, from the air fryer and place on a serving platter. In a microwave safe bowl or measuring cup, melt 1 Tablespoon of butter in microwave. Add 1/4 teaspoon garlic salt. Stir to mix until well combined. Drizzle over wings. Sprinkle with Parmesan Cheese.
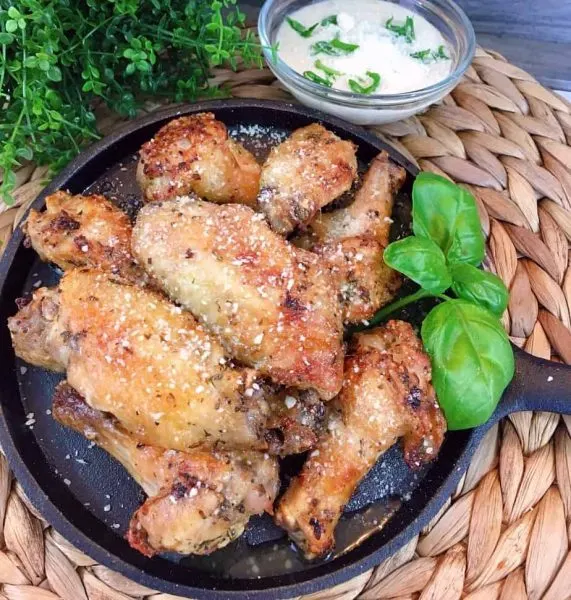
Serve with a side of Caesar Salad Dressing for dipping sauce, sprinkled with more Parmesan Cheese! Cause it is ALL about that Parmesan Cheese!!!
Mister Nest devoured these Garlic Parmesan Wings! (Yes! I helped! I believe in sharing similar interests as a couple!) He loved the flavor and how crispy they were without all the grease of deep-frying!
We are huge fans of the Mealthy CrispLid! The price point is spot on and it’s so wonderful to have another kitchen tool I can use without having to find extra room in the pantry!
Another great benefit of the CrispLid? When you cook something in your Instant Pot and you want it to have a nice browned top or a crispy crunchy topping…remove the Instant Pot lid, place the CrispLid on top and let it do its thing! It’s absolutely AMAZING!
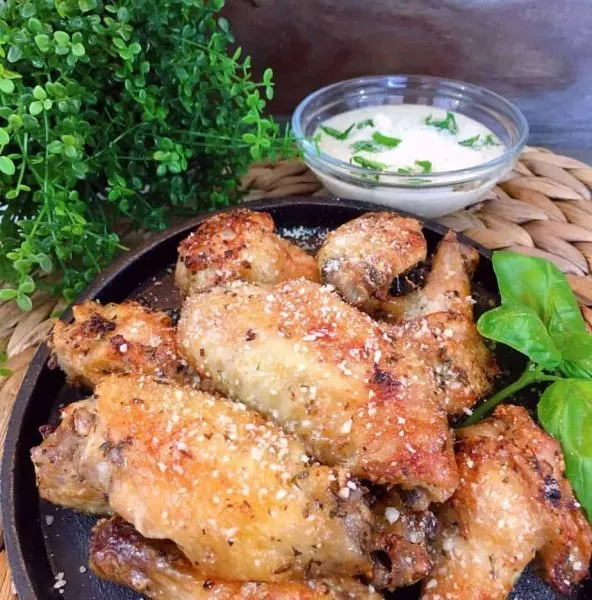
These wings are absolutely delicious! I hope you love them as much as we do! The printable recipe is below!
Other Great Air Fryer Recipes
- Air Fryer Toasted Turkey Sandwich
- Air Fryer Lobster Tail Recipe
- Easy Naan Breakfast Pizza’s
- Loaded Nacho Tater Tots
Thanks so much for stopping by, and I hope y’all have a GREAT day!
Remember to follow me on Instagram at either norinesnest. You can also follow me on Facebook and Pinterest! I’d love to have you join me for more great recipes every day!
Happy Nesting!


Air Fryer Garlic Parmesan Wings
Ingredients
- 2 lbs chicken wingettes
- 1 Tbs olive oil
- 3 tsp minced garlic
- 1 Tbs chopped fresh basil
- 1/4 tsp dried crushed rosemary
- garlic salt and black pepper to taste
- 4 Tbs grated Parmesan
- 1/4 teaspoon garlic butter
- 1 Tablespoon butter
- extra Parmesan Cheese for Garnish
- 1/2 cup Caesar dressing for dipping sauce
Instructions
- Place chicken wingettes in medium size bowl. Add olive oil, minced garlic, fresh basil, rosemary, garlic salt and pepper.
- Toss to coat. Cover bowl and marinate in refrigerator for 2 hours, up to 24 hours.
- Spray Air Fryer basket with non-stick cooking spray. Lay chicken wings in basket touching, but not on top of each other.
- Bake in air fryer at 375° for 5 minutes. Turn chicken wings over and bake for an additional 5 minutes at 375°.
- Turn wings over again and bake for 10 minutes at 400°. At end of cook time turn wings over again and bake for another 10 minutes at 400°.
- Remove wings and place on serving tray. In a microwave safe bowl melt 1 Tablespoon of butter. Add garlic salt. Mix until well combined. Drizzle over wings and sprinkle with additional Parmesan cheese. Serve with Caesar dressing for dipping sauce.
