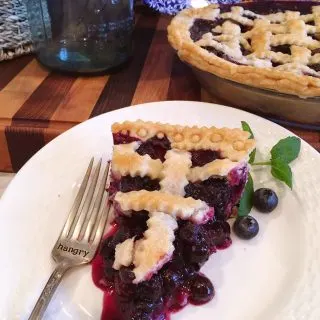
Deep purple plump orbs of juicy blueberries stuffed in a flaky tender crust with subtle hints of cinnamon combine to create the perfect Fresh Classic Blueberry Pie!
I am almost embarrassed to say that until a week ago…I’d never had Fresh Blueberry Pie! Oh, sure I’ve had store-bought pie with the gloppy canned blueberry pie filling. Nasty…just nasty.
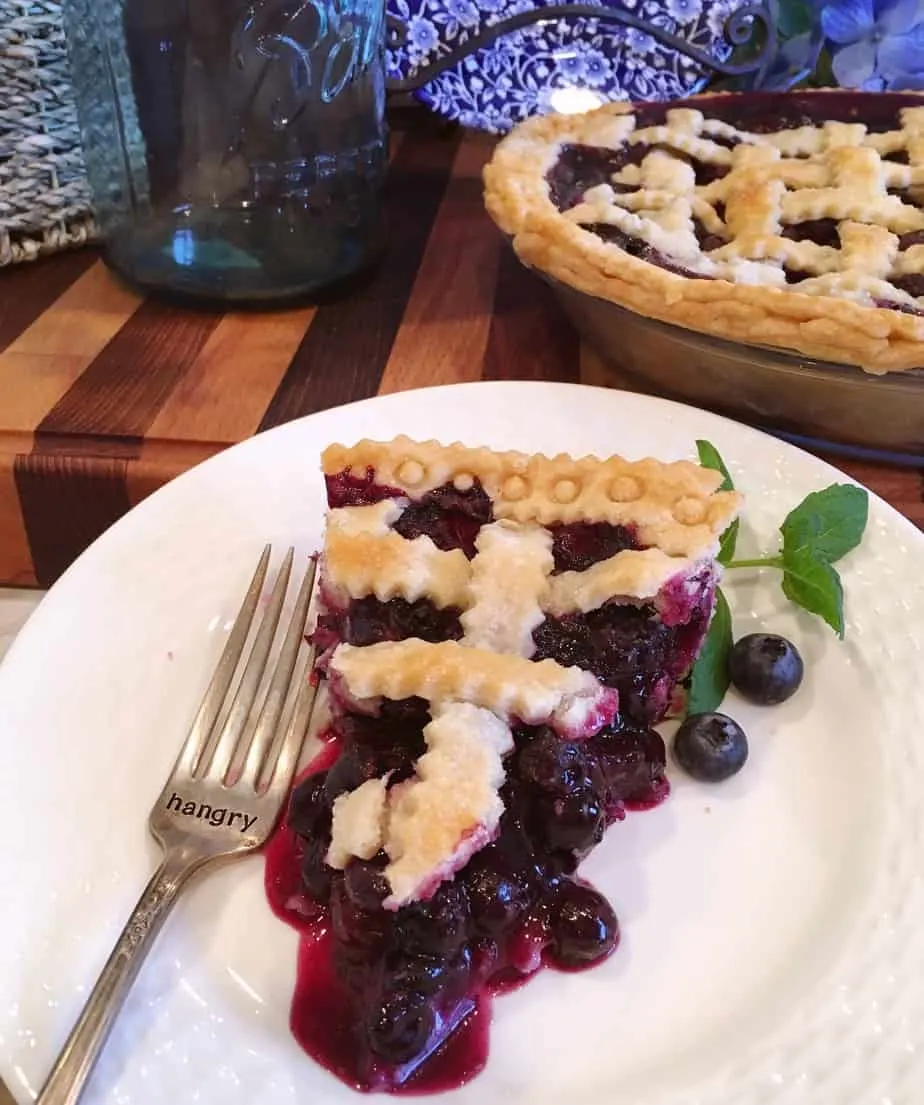
I think those poor sacrificed blueberries scared me for life from ever even wanting to make a blueberry pie. (Add this to the therapy list…it’s long my friends!)
A friend said they wanted a blueberry pie. So I whipped one up. Ya know what? It looked good. REALLY GOOD! I wanted to steal a piece of that pie. My grandma’s voice, from the grave, informed me how tacky that would be…so I didn’t turn to a life of crime.
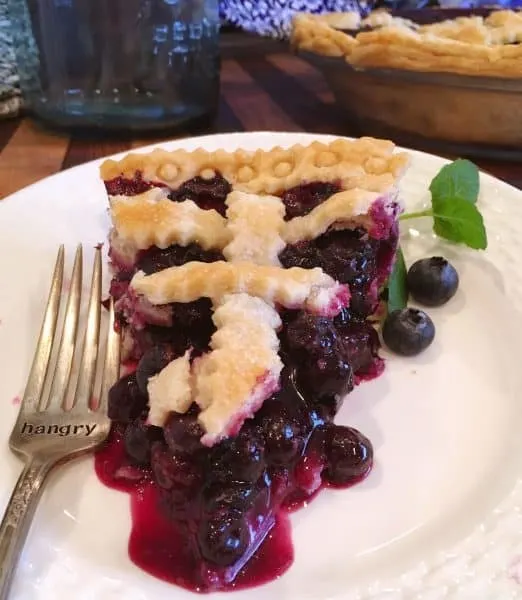
A week later I decided I needed to make another one to “photograph” for the blog, so I could share it with y’all. I still hadn’t tasted it…but my friend said it was good…so it must be right? Plus I wanted to make all of you happy. This had nothing to do with me. Nope. It was all on you my friends. (Are you absorbing this “mom” guilt I’ve spent years perfecting!)
As soon as that photo shoot was over… I picked up that “hangry” fork and took a bite. Oh. My. Goodness! My eyes rolled back in my head…the heavens opened…choirs sang…and a new love story began! (Que sappy love songs…sigh! Insert slight silent sobs…lost years of blueberry pie calories filled my soul with sadness.)
How to Make The Perfect Pie Crust
Any pie is only as good as its crust! Truly.
You can have a great filling and if the crust is tough and thick…game over! To help you avoid this travesty I’m sharing my recipe for pie crust in this post… as well as how to make this beautiful easy blueberry pie.
I promise if you follow my directions you will make the BEST award-winning pie crust on the planet.
In a medium size bowl add 2/3 cup plus 2 Tablespoons shortening…good ol’ Crisco! Repeat after me…”I will only use Crisco”! Good. We can move on.
Add 2 Cups flour and 3/4 teaspoon salt.
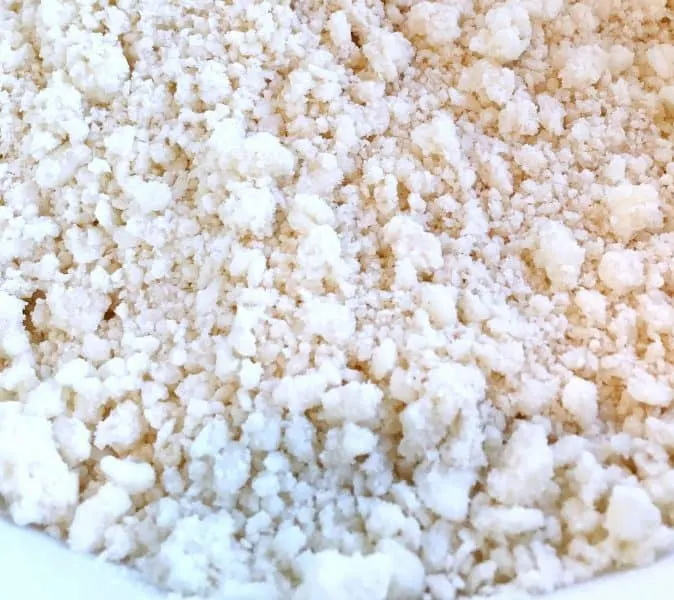
Using a pastry blender cut the shortening into flour and salt, until a fine crumb forms.
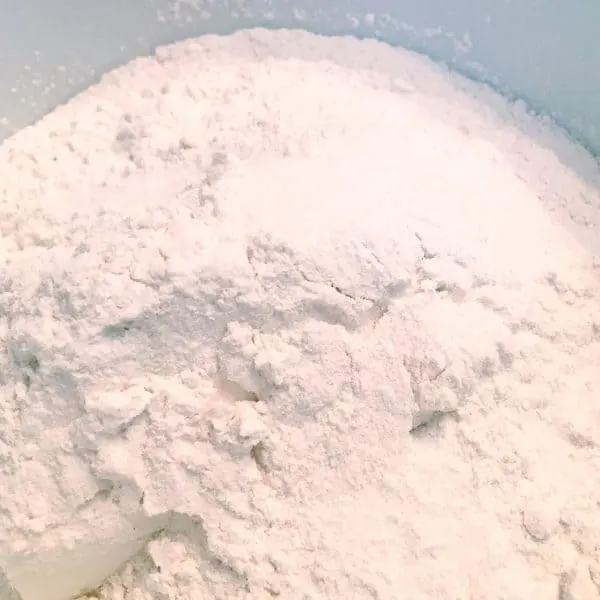
Make sure the crumb is no bigger than pea size. I like to blend until I have a really nice fine crumb.
In the center of the pie crust mixture, add 5 tablespoons cold water. Gently shake the bowl back and forth until soft balls begin to form. The reason I do this? The key to a flaky crust is not to over handle the dough. Gently shaking the bowl to gather the dough means less time I’ve got hands on that dough.
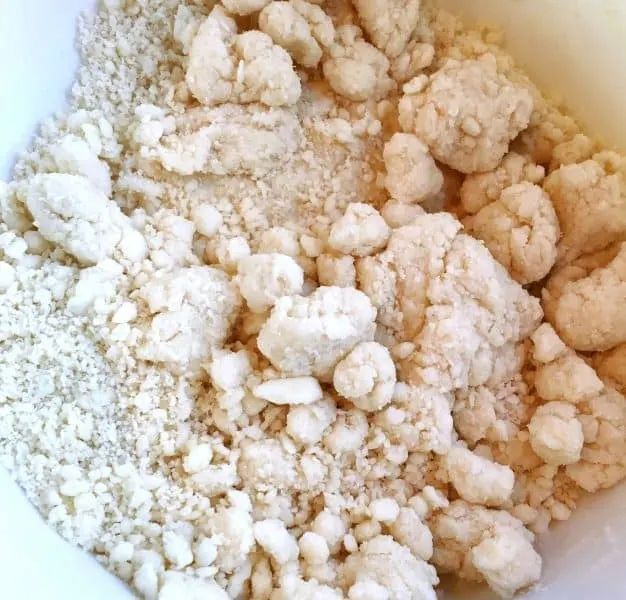
Using your fingers on one hand, spread your fingers out like a rake and gently rake the dough to gather it together to form two separate balls.
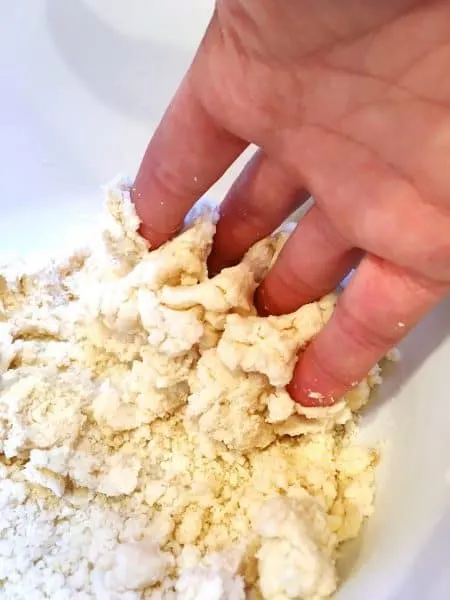
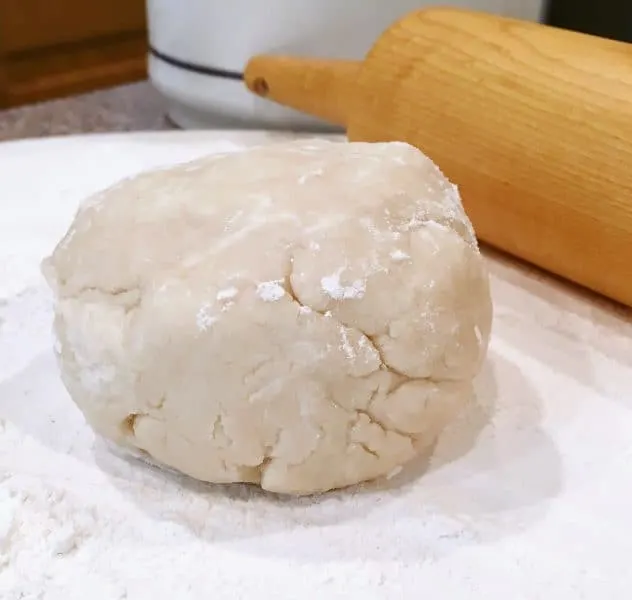
Form the dough into two separate balls. One for the top crust and one for the bottom crust.
I find that one ball is usually slightly smaller than the other. I use the smaller ball for the bottom crust and the larger one for the top. I do NOT refrigerate my crust. I immediately roll it out.
Flour a dough disc with 1/4 cup of flour. Spread it around to cover the entire board. (My favorite kitchen tool next to my KitchenAid is my dough disc with its removable cloth cover! I’ve included a link in the recipe card.)
Flour the rolling-pin. Press the dough down to slightly flatten it with the palm of your hand. Sprinkle flour on top of the dough ball. Flip the ball over so the bottom, that was on the floured surface is now on top. Begin rolling dough out into a circle. Large enough to cover the bottom of a 9-inch pie plate.
TIP: I frequently, about 3-4 times, carefully turn the dough over from top to bottom and back again as I am rolling it out. It helps to keep if floured preventing it from sticking to the rolling pin.
Fold the pie crust in half. Place the pie crust in the bottom of a 9-inch pie plate.
I do this for two reasons. First it keeps the crust from tearing while moving it. Second it helps me place the pie crust with the fold directly in the center of the pie plate thus, centering the pie crust.
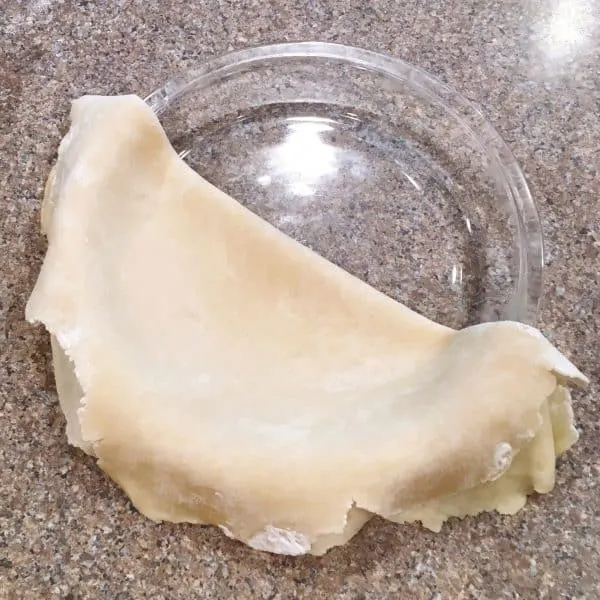
Gently unfold the crust to cover the entire base of the pie plate. Press crust down into the pie plate.
Using kitchen scissors, trim around the edge of the pie plate, removing excess pie dough. You now have the bottom of your pie crust ready to go.
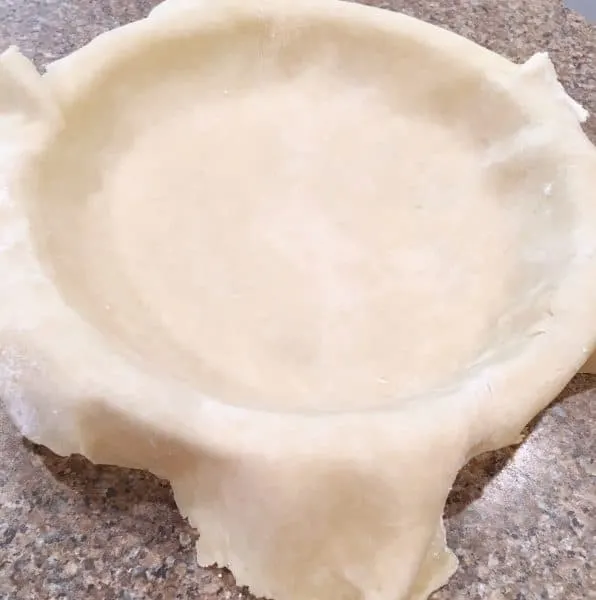
How To Make Classic Fresh Blueberry Pie Filling
Place 5 1/2 cups to 6 cups of fresh blueberries in a strainer and rinse. Allow to drain slightly.
Aren’t those blueberries beautiful? They were the biggest most beautiful blueberries I’ve ever seen!
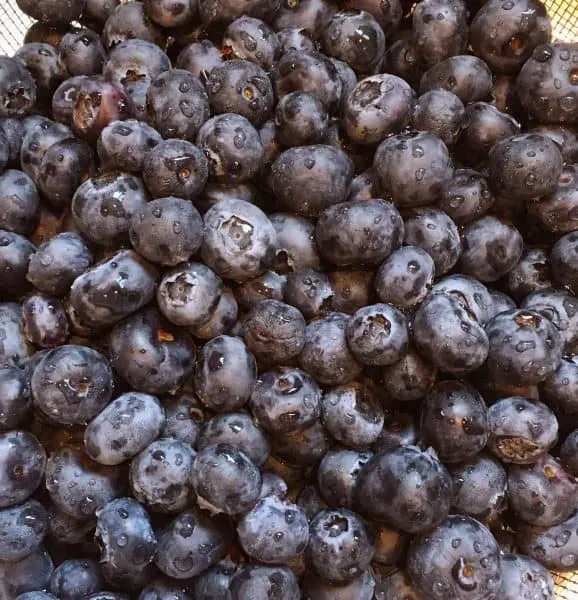
Place blueberries in a medium bowl.
Add 3/4 cup sugar, 1/4 teaspoon salt, 4 1/2 Tablespoons cornstarch, and the secret ingredient to this amazing pie…1/2 teaspoon cinnamon!
That’s it! Please I beg you…do not overcomplicate this filling. It’s going to create magic during the baking process. Magic!!!
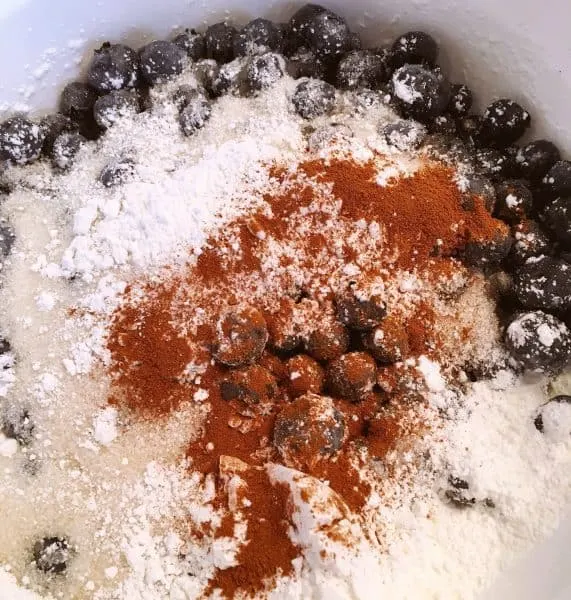
Using a rubber spatula, carefully mix until berries are completely coated.
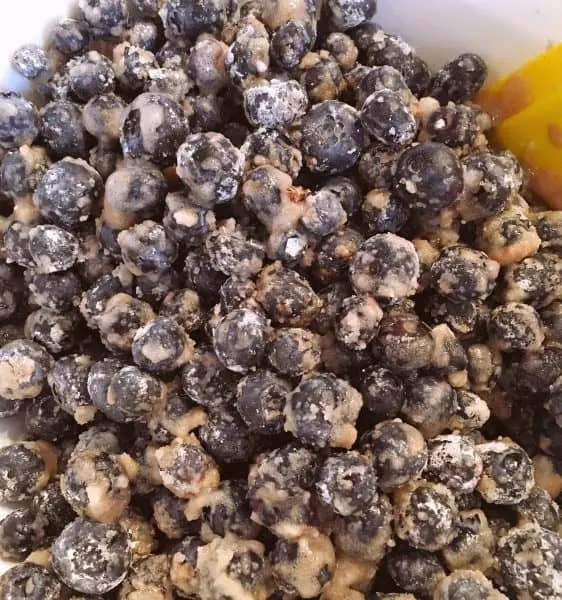
Place berries in the bottom of pie crust. Make sure none of those little glorious balls go wandering off. They all need to stay put! They are a lot like a one-year-old crawling off here and there! You chase those little buggers down!
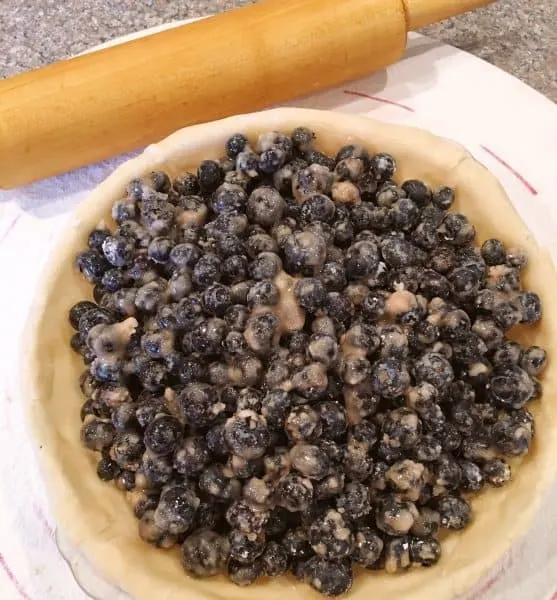
Dot the top of the blueberry filling with 1 Tablespoon of butter. Some believe adding bits of butter to a fruit pie helps to keep the filling from boiling over when cooking. Not true.
I think it helps add flavor…cause what is butter? FAT! What is FAT? Flavor!!! (I know I say this repeatedly! Sorry I want it ingrained in your head! I’m passionate about it…not all fat is bad!)
Repeat the same process for rolling out the top of the pie crust as you did for the bottom crust. You can make a solid two layer crust without going to the extra effort of doing a lattice top. I happen to love the lattice top on this particular pie! I think it’s stunning! (Plus I like playing with pie dough and making pretty pies! I was a master at Mud pies on the playground!)
How to make a lattice top pie crust
Using a knife, or special pie cutting tool, cut the rolled out pie crust into strips for the lattice crust. Begin by laying several strips all in one direction across the top of the pie leaving at least a 1/2 inch space between each strip of crust.
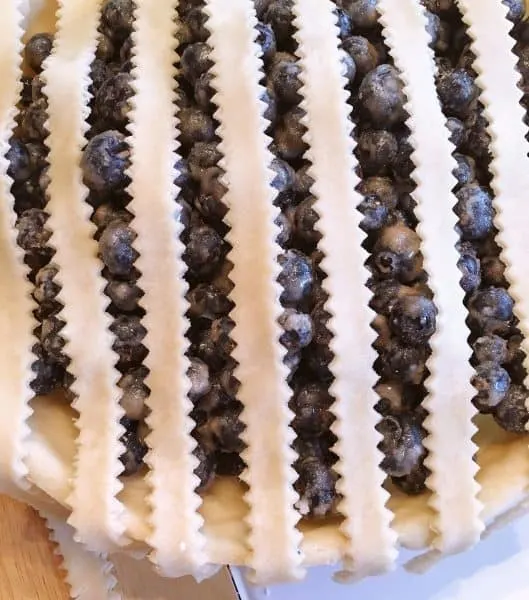
Trim the strips that are hanging over to match the edge of pie crust.
Lift every other row back half way. Lay another strip across in the opposite direction. Lay the folded strips down. Fold back the opposite strips and lay another strip down across the strips that are laying down. Continue until one side is done. Turn the pie around and do the other side of the lattice top.
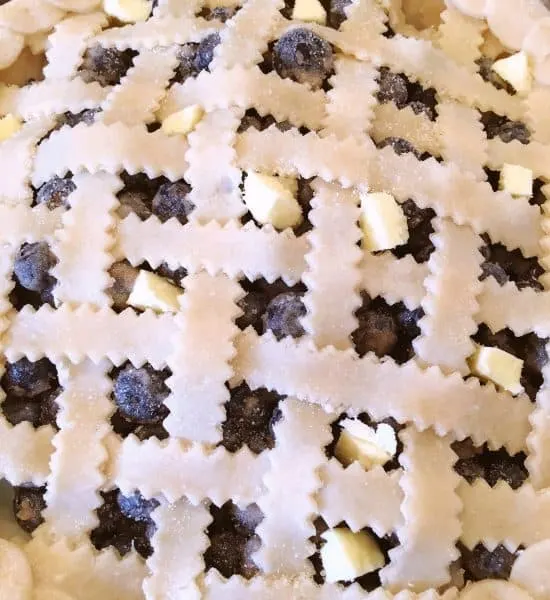
Press the lattice strips down into the bottom edge of the crust. Press the edges with a fork, or you can cut circles out and lay them around the edge of the crust.
On my second pie I used the extra lattice strips and laid them around the edge of the crust and used a small circular tool to press a design into the dough.
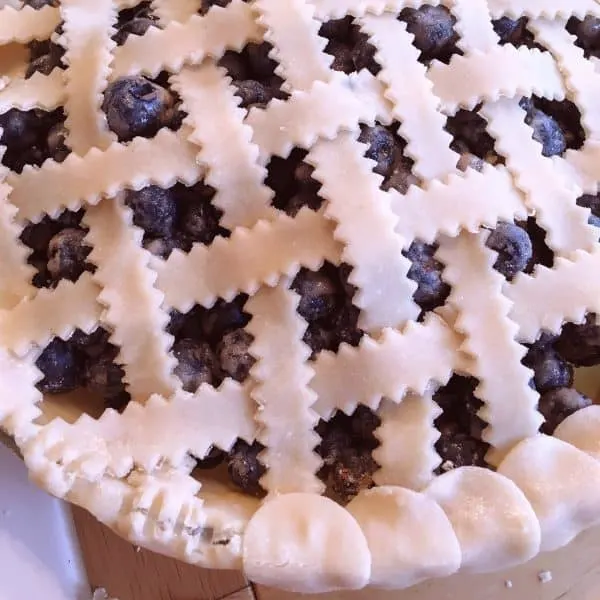
Brush the top of the pie with milk and sprinkle with sugar.

Line a baking sheet with foil and place the pie on top of the foil. This will protect your oven in the event your pie filling bubbles over.
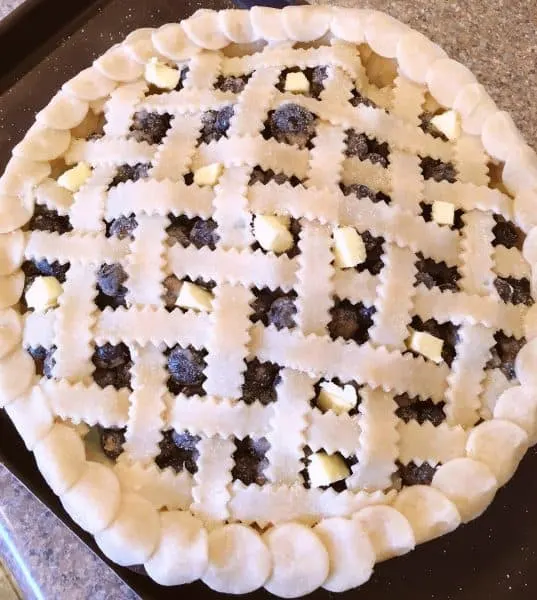
Preheat oven to 350° degrees. Bake for 1 hour or until blueberry filling begins to bubble up around the edge of the pie.
I’m a firm believer that a good fruit pie is done when the filling bubbles over the edge of the pie just slightly.
TIP: Check the pie during baking and if it is beginning to turn too brown make a foil tent to cover the entire crust until baking is done.
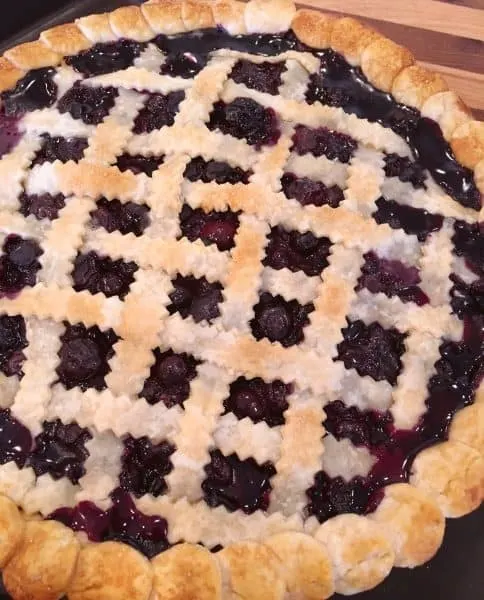
Allow pie to cool for 2–3 hours until the filling is set.
Isn’t she a beauty?!!! It was like my first child… I took so many pictures of this baby! I could bore you for hours, and we could have a never-ending drool fest!
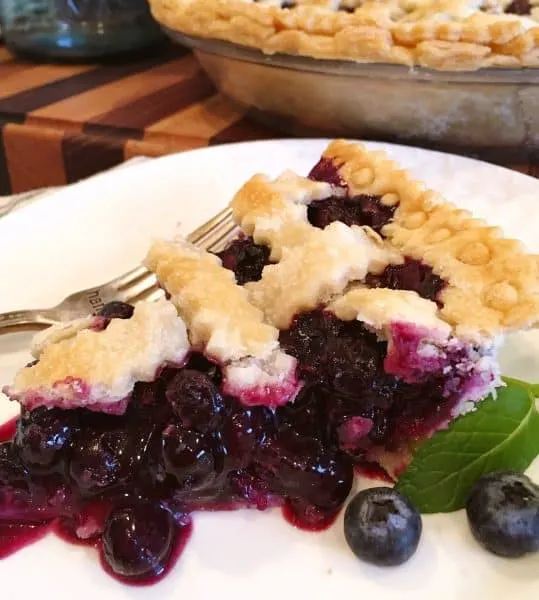
Oh my goodness! In all honesty I can’t compare it to any other blueberry pies…other than those horrible bakery drop-outs from the grocery store…which really isn’t a fair comparison!
Each forkful is a stunning combination of tender flaky crust and plump juicy blueberries with subtle hints of cinnamon. That filling is award-winning!!!
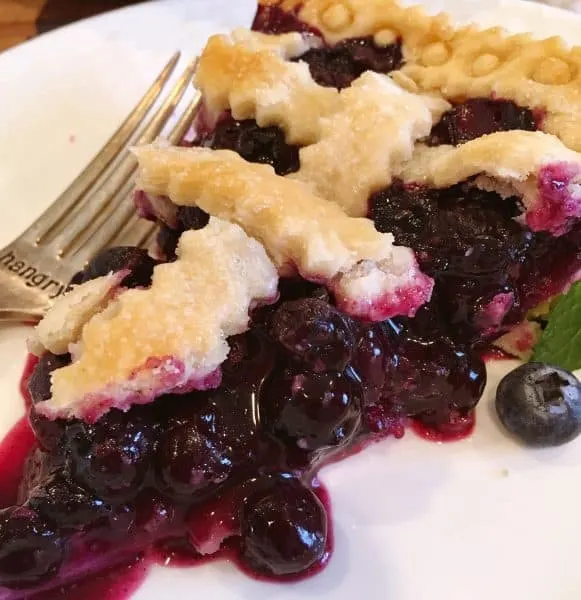
When the day comes…and it is my dream…that we open our little eatery in our country town…this Fresh Classic Blueberry Pie will be on the menu! Folks will come from all over to have a slice! (If you build it they will come! Gotta admit…this is WAY better than corn in a baseball field! Lol)
You know what they say…dream big or go home. I say “Dream big at home and have the best of both worlds!” Throw in this Easy Blueberry Pie and life just doesn’t get any better!
Favorite Homemade Fruit Pie Recipes
- Double Crust Purple Plum Pie
- Spiced Caramel Apple Pie
- Cranberry Apple Lattice Pie
- Traditional Homemade Cherry Pie
- Dutch Apple Pie with Crumb Topping
- Banana Cream Pie
- Cherry Cranberry Raspberry Pie
It’s like my tag line says…”Food, Fun, and Family!” I hope they come to Nest often at your home!
Happy Nesting Friends!

Fresh Classic Blueberry Pie
Ingredients
- 1 – 9 inch double pie crust
- 3/4 cup sugar
- 4 1/2 Tablespoon Cornstarch
- 1/4 teaspoon salt
- 1/2 teaspoon cinnamon
- 5 1/2 – 6 cups fresh blueberries
- 1 Tablespoon butter cut into bits
- 2 Tablespoons Milk
- 2 teaspoon sugar
Instructions
- Preheat oven to 350°
- In a large bowl combine blueberries, sugar, cornstarch, salt, and cinnamon. Using a rubber spatula gently mix until well combined.
- Place filling in the bottom of a 9 inch pie crust.
- Dot top of blueberry pie filling with butter.
- Cover with top crust. Making sure to cut slits, or use a lattice top, so steam can escape during baking. Brush with milk and sprinkle with additional sugar.
- Place on pie on foil lined baking sheet and bake for 1 hour or until filling is bubbling. Check pie crust half way through baking. If crust is getting too brown, cover with foil tent. Continue baking until done.
- Remove from oven and cool on rack for 2-3 hours until filling is set.

Teresa W
Friday 17th of September 2021
Thanks Norine I’ve made this pie about four times in the last three weeks! Definitely a keeper to my recipe box! Even my aunts who bake everything from scratch loved it and asked for another one! Thanks again!!!
Lina
Friday 31st of July 2020
Hi, Could I use frozen blueberries instead?
[email protected]
Tuesday 4th of August 2020
Hi Lina! Sorry I've been out of my office for a few days and just saw this comment. Yes you can use frozen blueberries. Add a bit more starch so that the filling will thicken...maybe about 2 teaspoons. Thanks for stopping by and enjoy the pie! ~Norine
Patricia Baranek-Weber
Sunday 26th of July 2020
THANK YOU... for preparing and baking a proper blueberry pie! Every recipe I see posted adds lemon juice to a blueberry pie..."WHERE DOES THIS COME FROM"? THANK YOU for treating this WONDERFUL and MOST AMAZING BERRY with the respect and dignity it deserves!
Happy Eating,
Chef Trish
[email protected]
Tuesday 28th of July 2020
Hello Chef Trish!
You are welcome...AND...Thank you SO much for the kind compliment! I was just thinking about making this pie again! It's one of my very favorite pie recipes. Blueberries are magical! I'm not sure why anyone would add lemon juice to a blueberry pie? I agree with you 100% that there is no need to do that. It's like everyone wants to pick on little ol' blue! Thanks for stopping by and I hope you have a great week! ~Norine
Easy Coconut Cream Pie | Norine's Nest
Friday 21st of June 2019
[…] Fresh Classic Blueberry Pie […]
Strawberry Rhubarb Pie! | Norine's Nest
Tuesday 14th of May 2019
[…] Fresh Classic Homemade Blueberry Pie […]