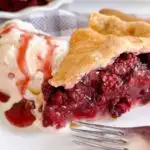
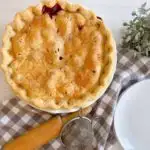
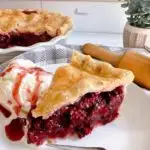
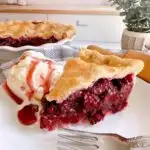
Fresh Homemade Blackberry Pie. Made with plump, juicy blackberries encased in a flaky, golden-brown cinnamon-sugar topped crust, baked to perfection, creating the perfect balance of tart and sweet.
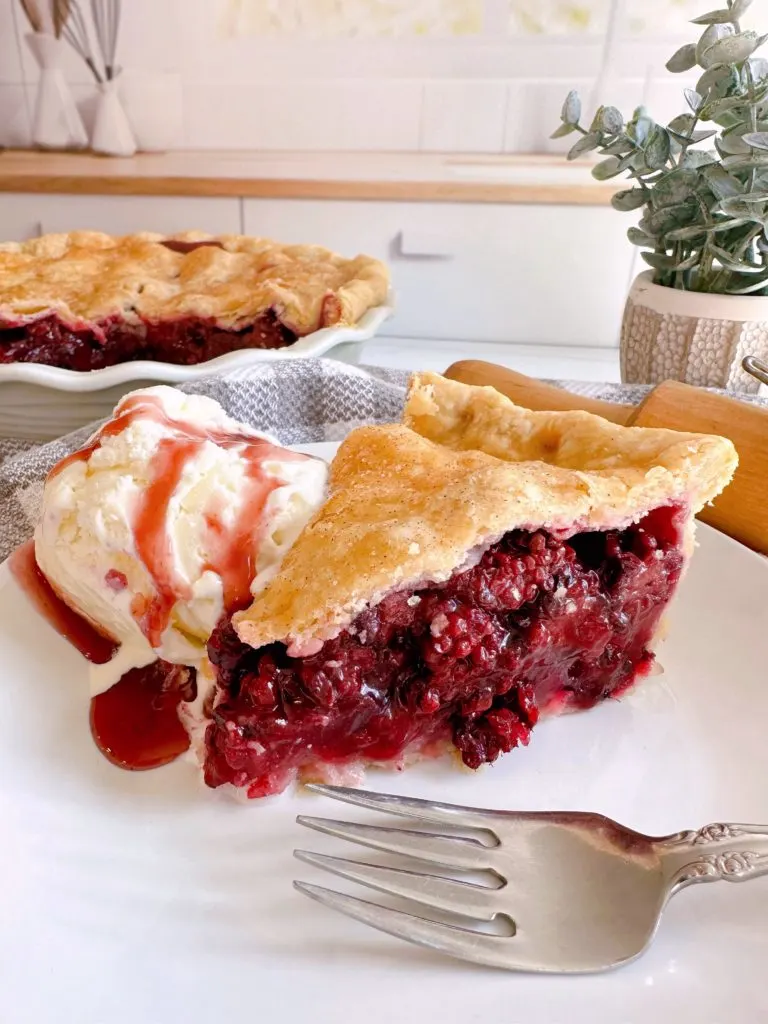
Fresh berry pies are my weakness! Let’s face it…all pies are my weakness, but there is something about plump, ripe, juicy blackberries turned into a scrumptious pie filling layered between a flaky crust that warms my soul and is reminiscent of a slow summer day!
This past week I found pints of blackberries on sale at my local grocery store, and they wanted to be made into a pie. (I speak “berry” fluently! Trust me, they wanted to be pie filling!)
Not one to disappoint, even a little blackberry, I brought them home and made them into this beautiful perfect blackberry pie with hints of cinnamon and almond extract! It is SO good, that my “non-pie” eating husband ate not one, but TWO slices of this pie!
So grab your apron and let’s get baking!
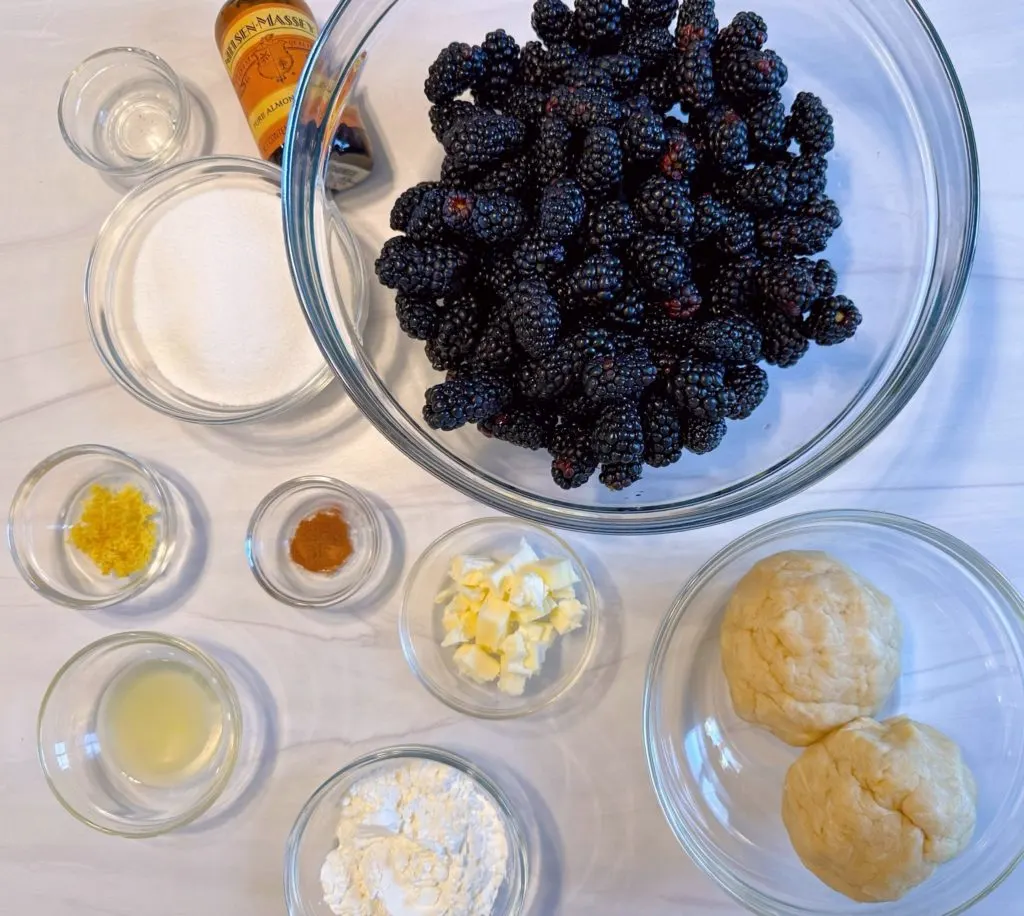
List of Ingredients
- 6 cups fresh blackberries, rinsed, patted dry. (I highly recommend using fresh berries, but if using frozen berries, defrost and drain them)
- ½ to ¾ cup sugar, depending on how sweet your berries are. I used ¾ a cup because my berries were a tad tart.
- 1 teaspoon lemon juice and 1 teaspoon lemon zest
- ½ teaspoon ground cinnamon
- ¼ teaspoon almond extract (optional)
- 6 tablespoons cornstarch. (You may need to adjust this to 5 tablespoons depending on how ripe your berries may be.)
- 1 double crust pie dough recipe.
- 2 tablespoons of butter, cut into small cubes.
- 1 Tablespoon of milk and 3 tablespoons of sugar for the top of the pie crust.
How To Make Old Fashioned Blackberry Pie
The thing about any pie, is that there are two crucial elements for success.
First is the Pie Crust! I know that making homemade pie crust can be super intimidating, but honestly, once you know the basics, it is SO easy! You can find my recipe and “how to” video for Homemade Pie crust here on the blog. It’s a simple pie crust recipe that yields great results every single time.
Now, if making homemade crust is just too terrifying for you, I get it…and by all means, go ahead and use store-bought crust. You’ll get no judgment from me. My goal is for you to make a pie that is most comfortable for you.
Once you’ve made your pie dough, set it aside while you prepare the berry pie filling.
How To Make Blackberry Pie Filling
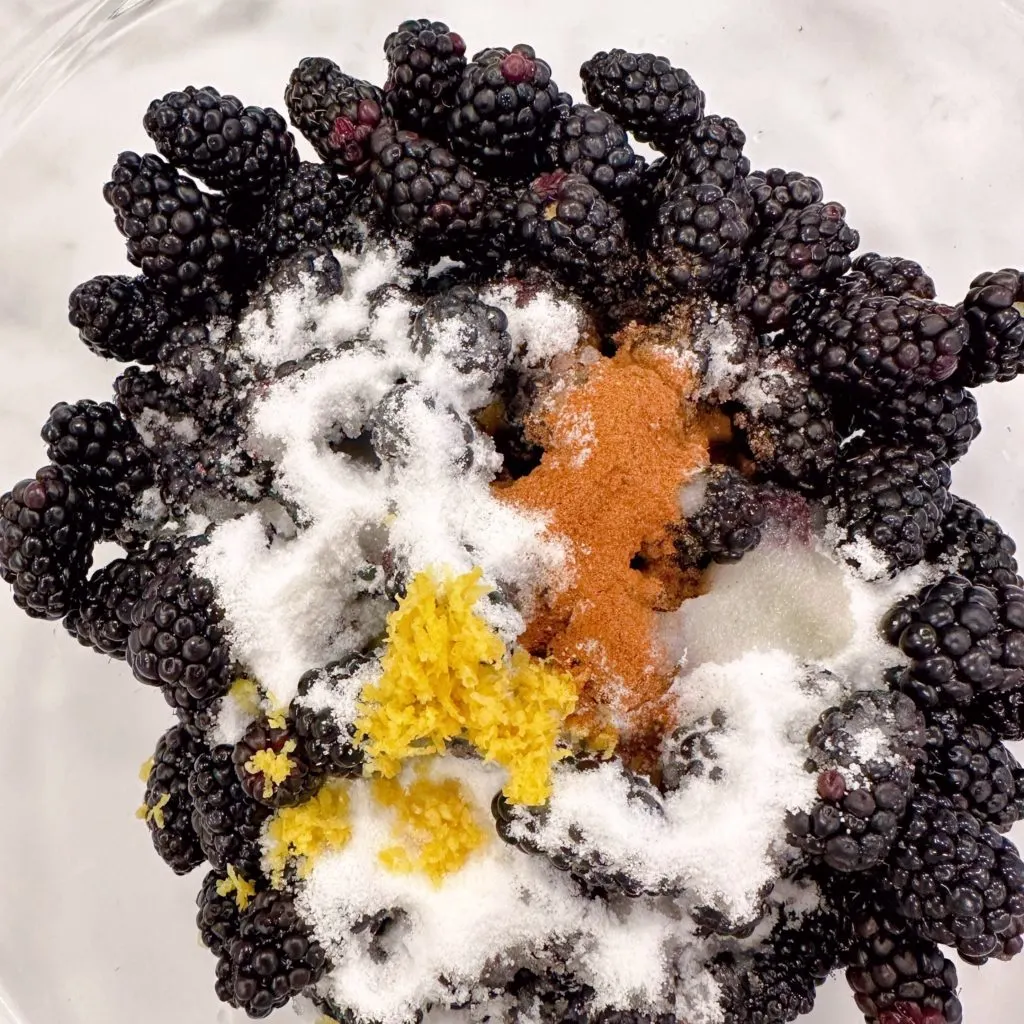
In a large bowl, add 6 cups of rinsed blackberries, 1 teaspoon of lemon juice, 1 teaspoon of lemon zest, sugar, cinnamon and almond extract.
Let’s pause for a second and talk about blackberries…
How to tell if blackberries are ripe?
Blackberries can tend to be a little bitter, or tart, if not ripe. Let’s face it, most, but not all, of the market berries you purchase are harvested before they are ripe. Once a blackberry is picked, that’s it!
So what is the best way to tell if the blackberries you are purchasing are sweet and ready to eat? (Just open them up and eat a few pints in the market…they won’t mind! I’m kidding! Don’t do THAT!!)
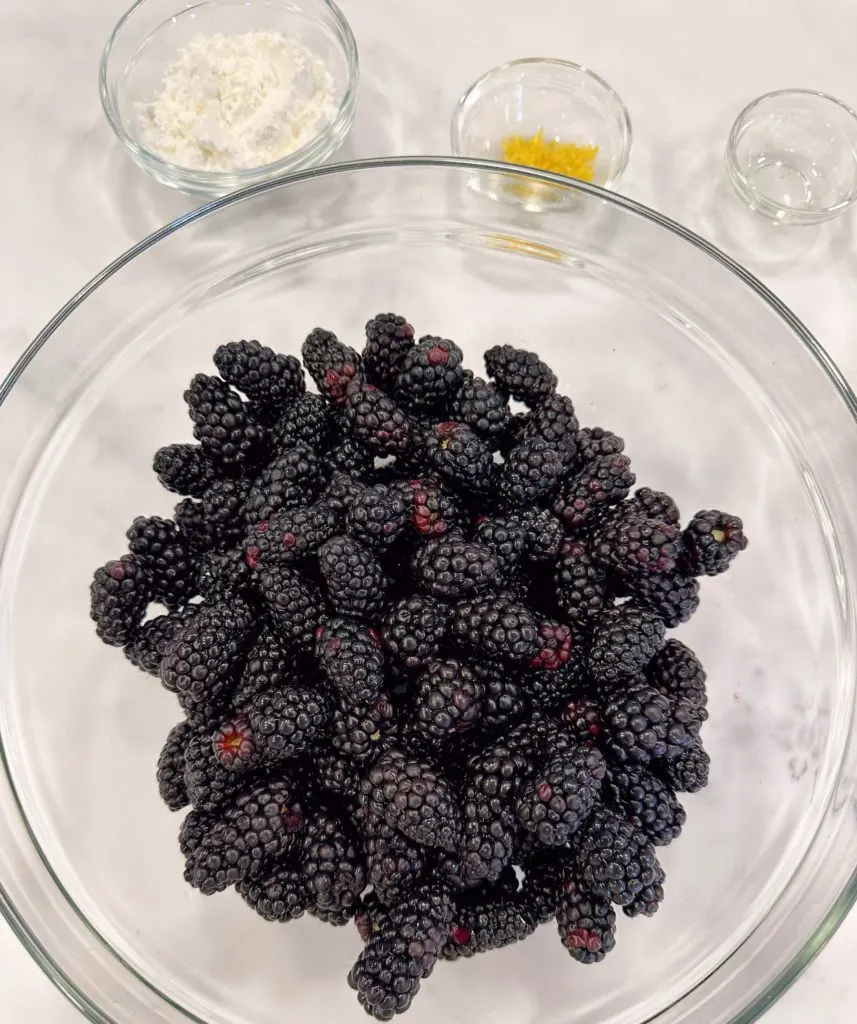
First understand that a single blackberry is a cluster of fruits called a drupelet. Like a teeny bunch of grapes. Each “nub” has a seed making them extremely high in fiber and loaded with antioxidants!
The color should be slightly dull, if they are super shiny, those are berries that tend to be more tart. They should be deep purple/eggplant color or blackish, depending on the variety. You also want to make sure the nubs on each berry are plump, but not leaking.
Finishing Blackberry Pie Filling
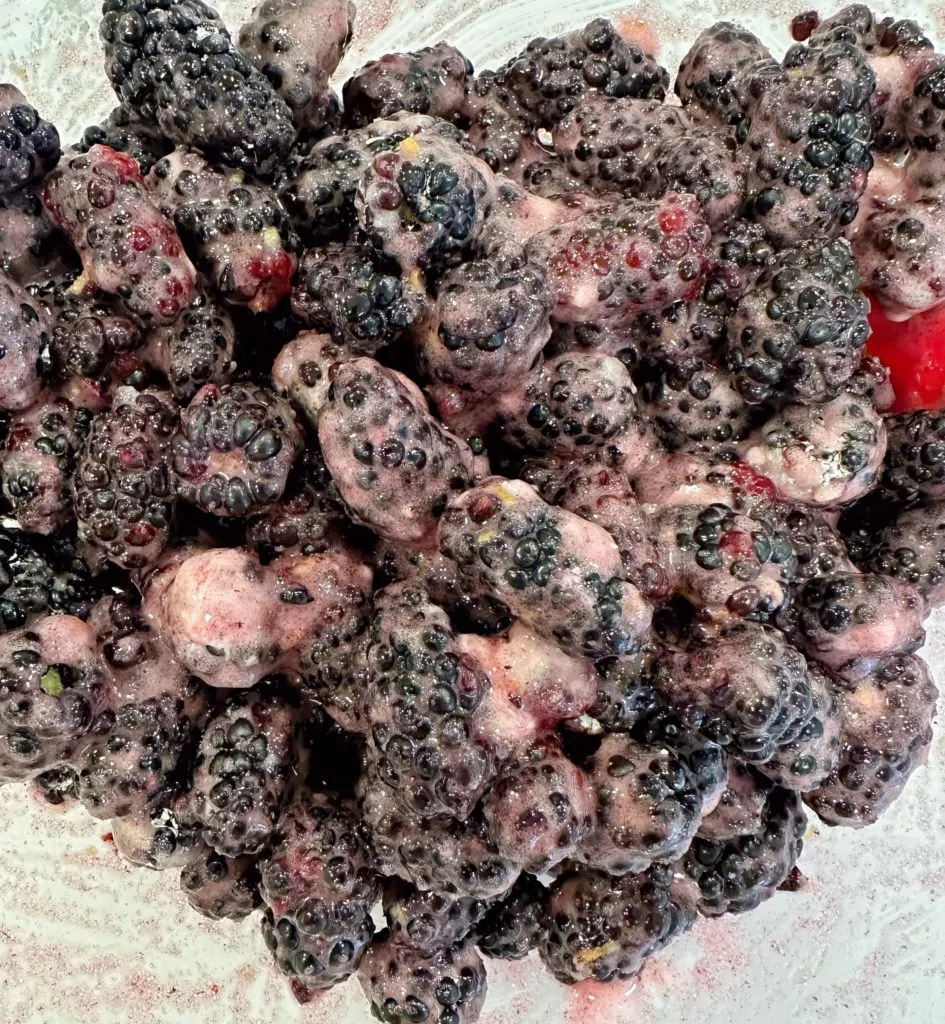
Once you have added the sugar, lemon zest, lemon juice, cinnamon and almond extract, you will want to add 5–6 tablespoons of cornstarch. If your fresh berries have big plump nubs… I’d add 6 tablespoons of cornstarch. You’ll need the extra thickening it provides to prevent your filling from being too runny.
Using a wooden spoon, or rubber spatula, carefully mix the berries to evenly coat them, without smashing them.
Allow the mixture to sit for 5–10 minutes. Let’s get that crust ready while these berries hang out!
Preparing Pie Crust
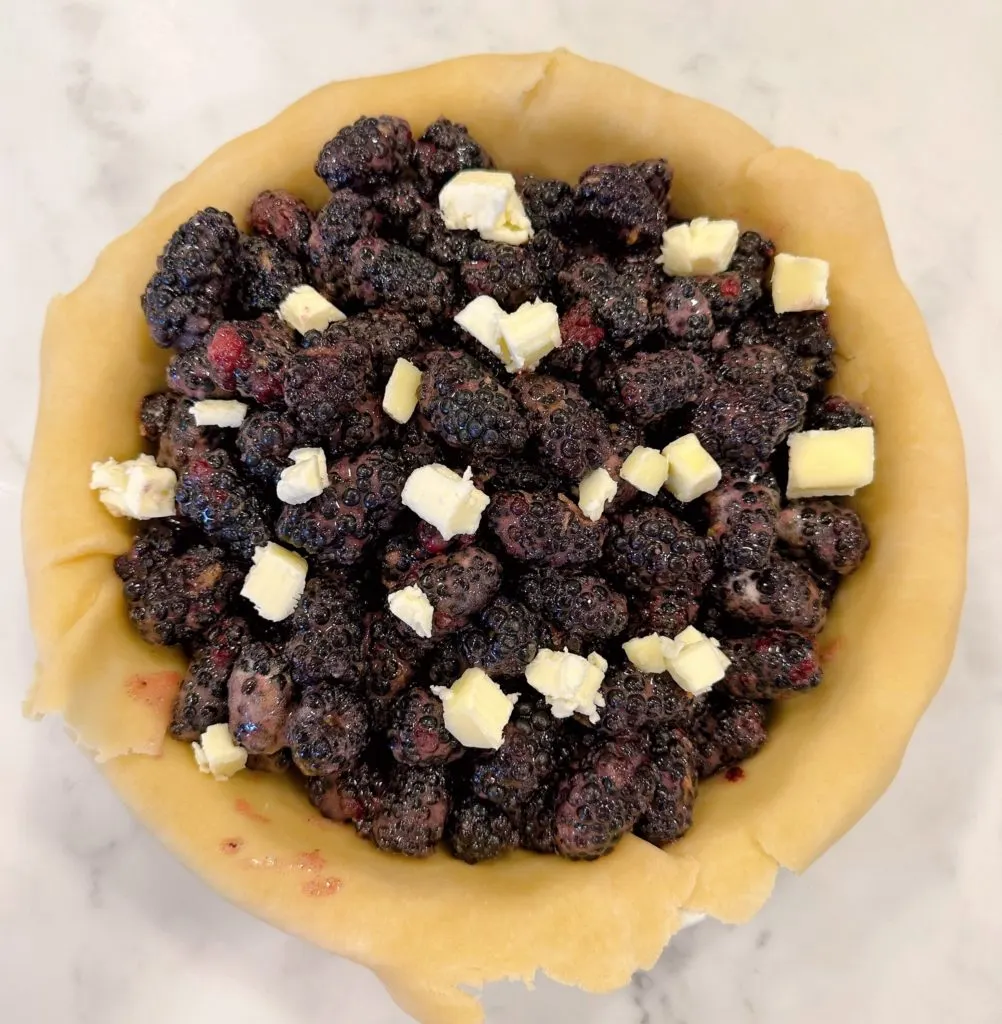
On a well floured surface, using a rolling pin, roll out the bottom crust. Place in a 9-inch deep dish pie plate.
Add the prepared blackberry pie filling, spreading it evenly on the bottom of the pie crust.
Dot the top of the pie filling with 2 tablespoons of butter cut into small cubes.
Roll out the top of the pie crust and place over the top of the blackberry pie filling.
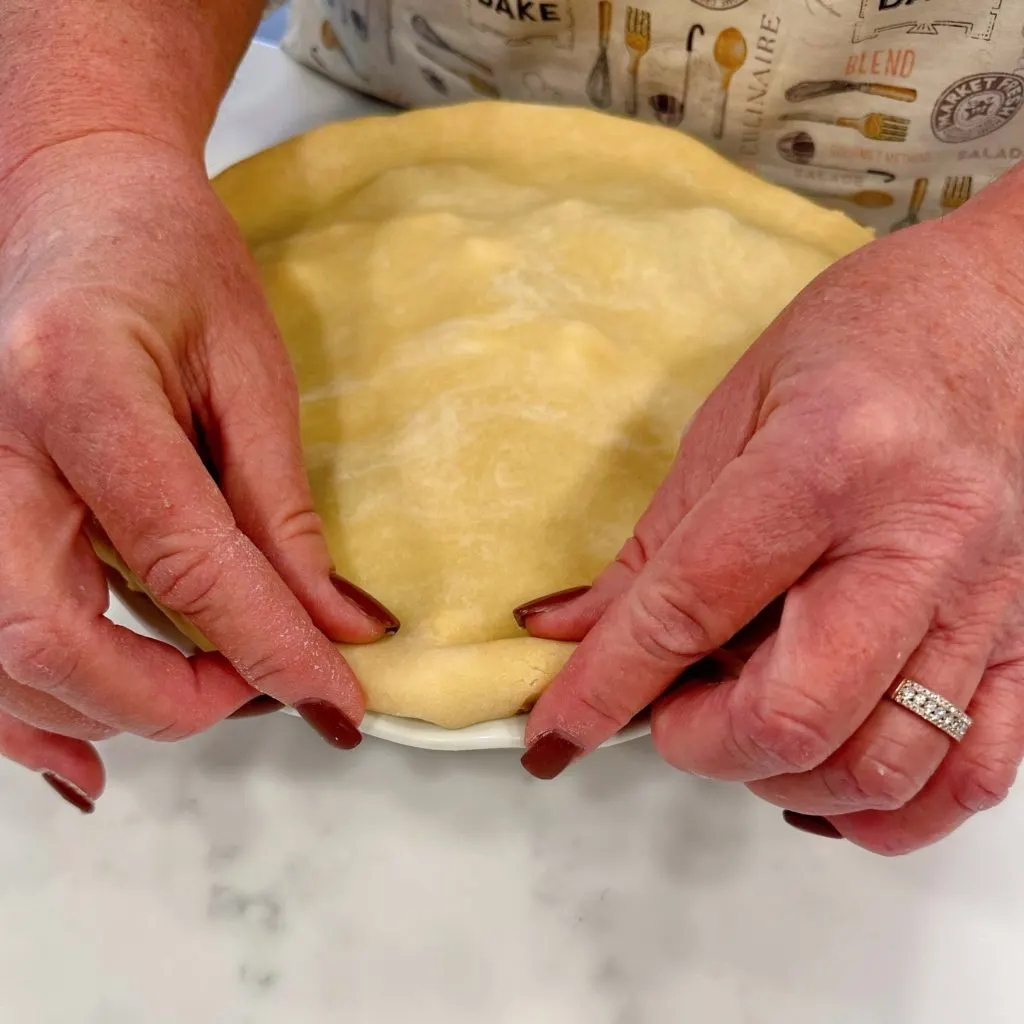
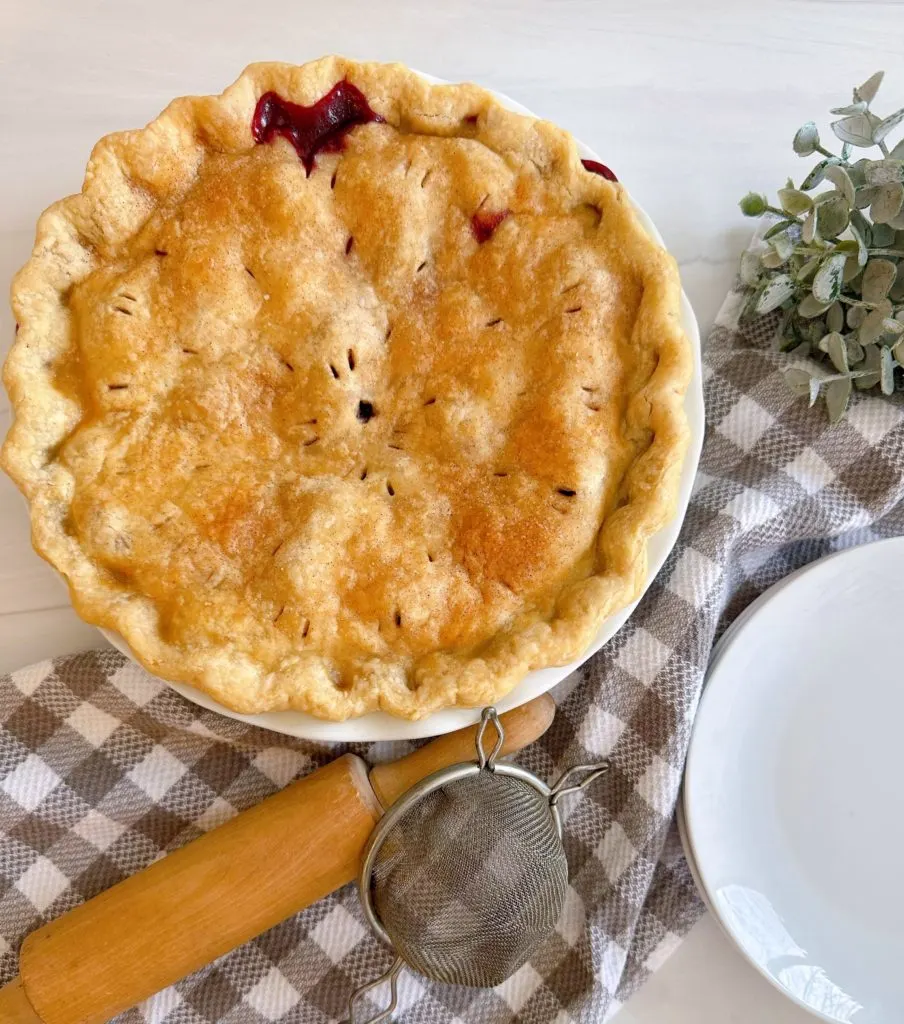
Seal and crimp the edges, using a sharp knife cut vents in the top crust for steam to escape. You can use any design you like. I went with a traditional vent on this particular pie crust.
PRO-TIP: If your pie filling is slightly uneven, you can gently place your hand on the top of your pie crust, once it is crimped, and gently press, moving the filling around to give you a more evenly baked pie.
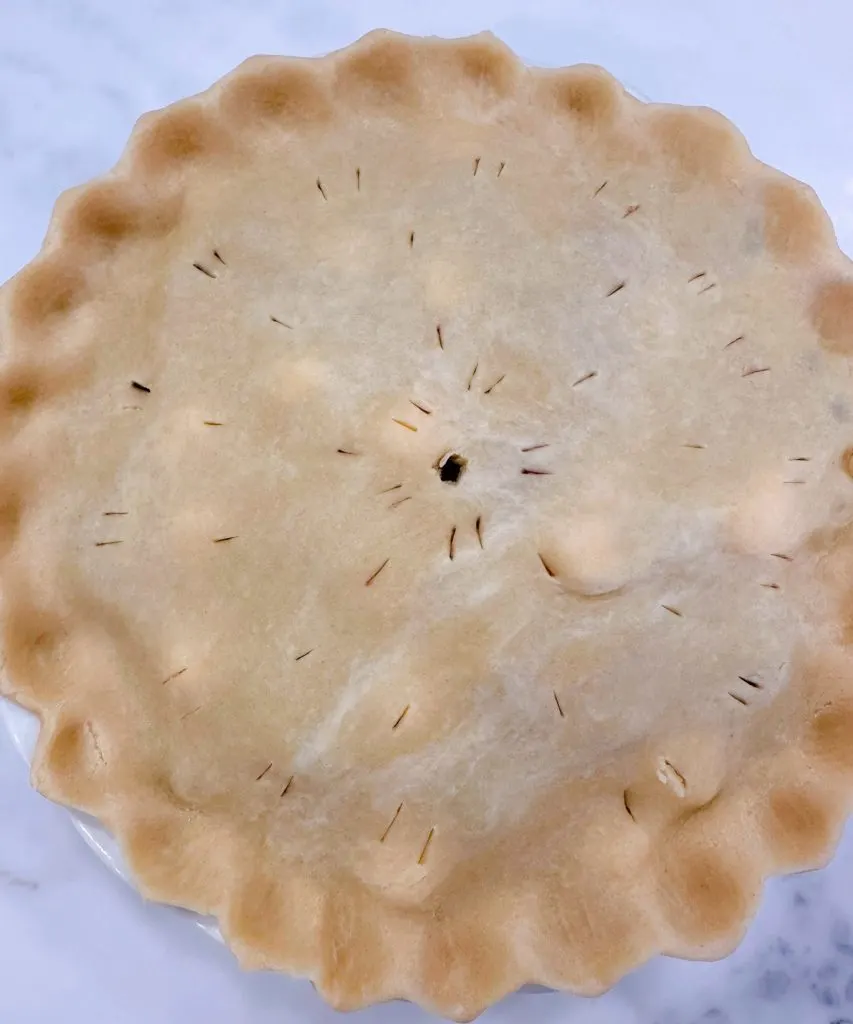
Finishing Pie and Baking
To give the pie a nice finished look, I brush the top of my pie with milk. Using a pastry brush and a tablespoon of milk, brush the top of the dough, making sure to completely cover the top of the crust with a light coating of milk.
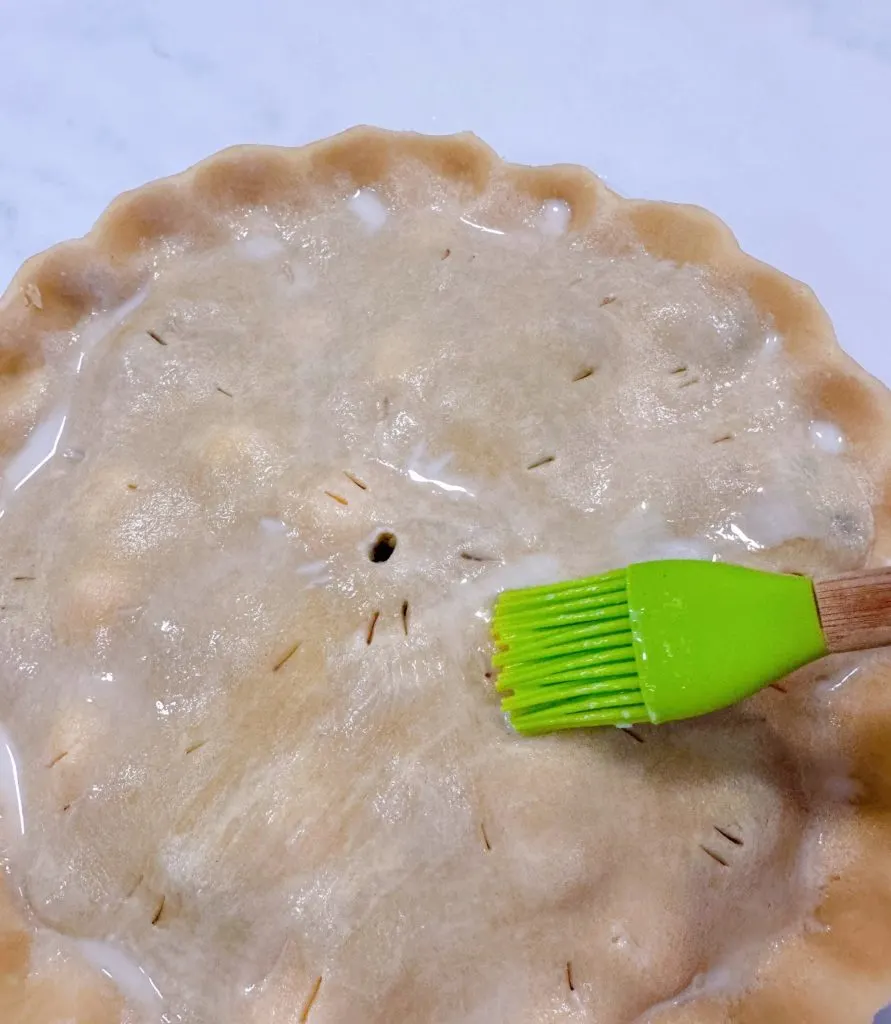
Once the top has been brushed with milk, sprinkle with sugar, or cinnamon sugar. I like to use cinnamon sugar on my berry pies, but you can certainly use regular granulated sugar.
PRO TIP: Place your pie on a parchment lined large baking sheet! This will allow the pie to bubble over onto the lined baking sheet and not burn on the bottom of your oven!
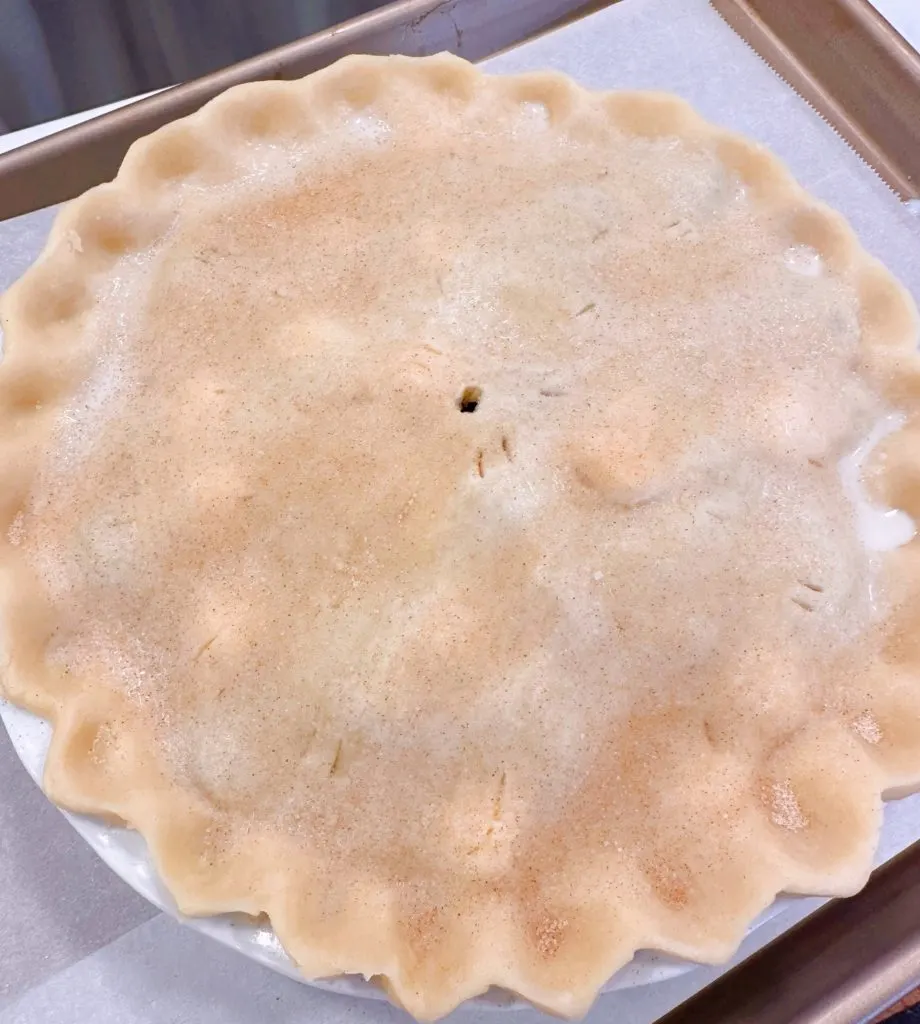
Bake the pie in the preheated 425° (F) oven for 15 minutes. Reduce the temperature of the oven to 350° degrees F (190 degrees C) and bake an additional 35 – 45 minutes, until the filling is bubbly, and the crust is golden brown. Cool on a wire rack.
PRO-TIP: If your pie begins to brown too quickly, make a tent out of foil and place lightly on top of your pie during baking, being very careful not to burn yourself!
It’s worth noting that the pie should cool completely in order for the filling to “set”! If you cut into any fruit pie before it has had a chance to cool, it will be runny! Remember the old westerns with a pie sitting on the window ledge cooling? There was a reason for that, my friends!
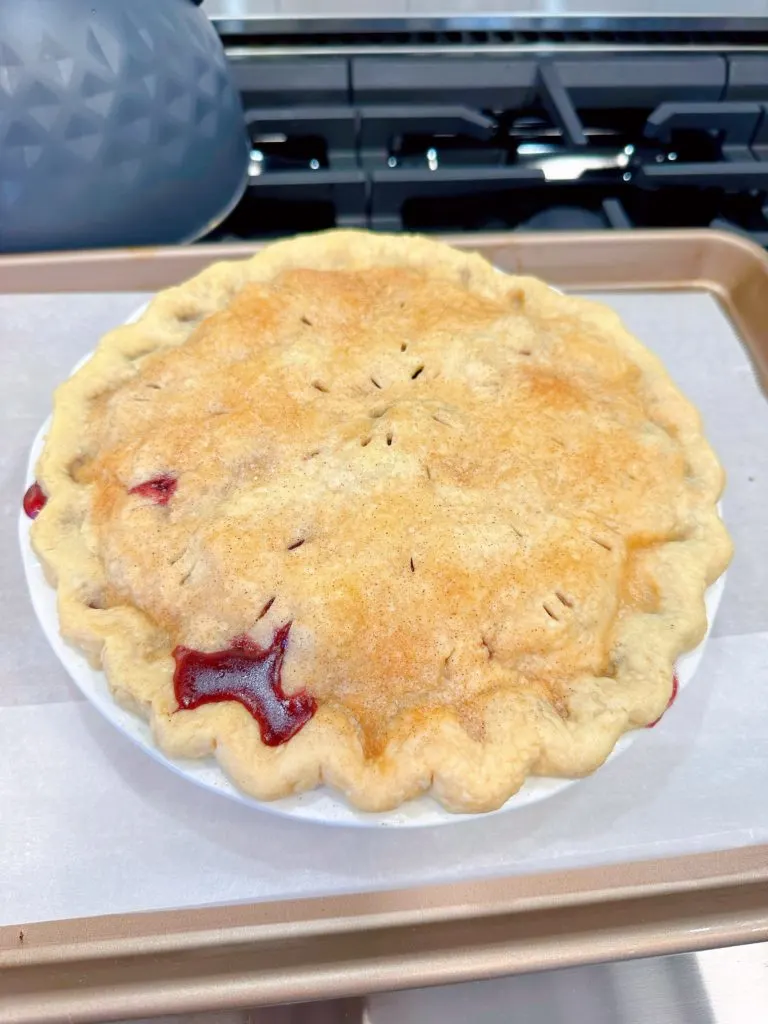
There you have it! Homemade Blackberry Pie just like Grandma used to make…only better because YOU made it!
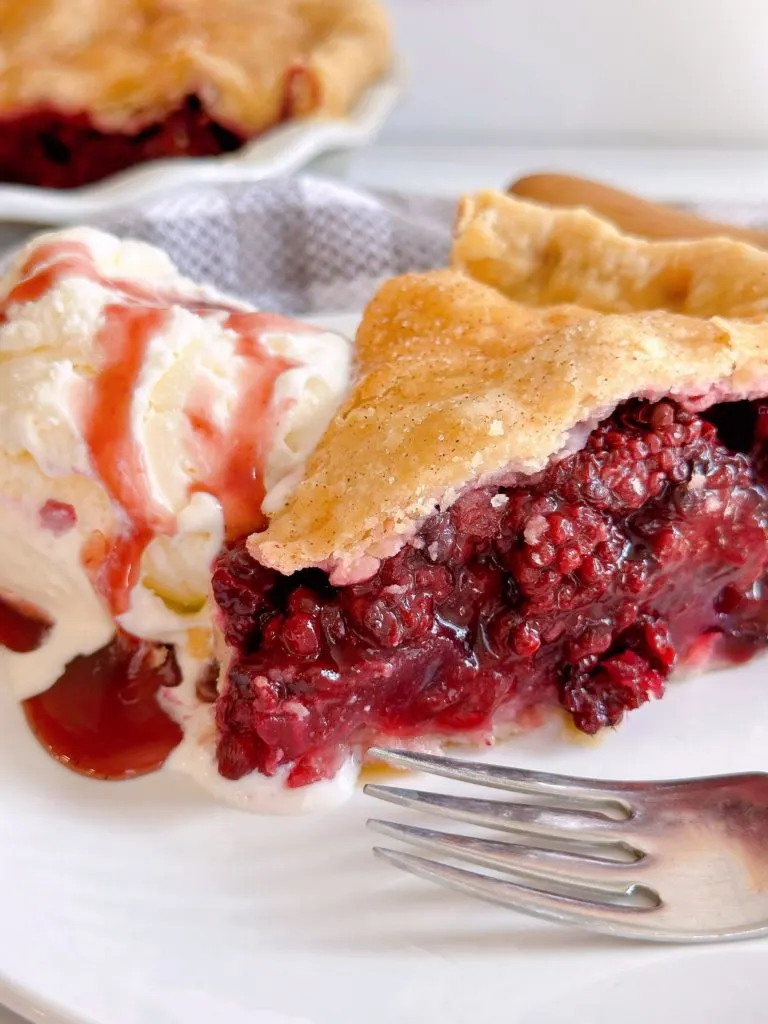
Are you a plain pie eater, letting the filling speak for itself, or do you like a scoop of vanilla ice cream on the side of your pie? Maybe even a dollop of whipped cream? I’m 100% an “à la mode” kind of girl! I love when the cream and the filling combine! So good!
Frequently Asked Questions and Answers
- How long can you store Fresh Blackberry Pie? You can store it covered for 2 days at room temperature or up to 5 days in the refrigerator. Please note that when you cover a pie, the crust tends to get a little soft. Let’s bring back the days of “Pie Safes”!
- Can this pie be frozen? If you intend to freeze the pie, go ahead and bake it in a foil pan. Wrap the whole pan in storage wrap, then wrap it again in foil. Freeze for up to six months. Reheat in the oven to keep the crust tender and flaky.
- Can this recipe be used with different berries? Yes! This recipe works well with Boysenberries! You can also use it for a triple berry pie using blackberries, raspberries, and blueberries.
Other Favorite Fruit Pie Recipes
- Best Strawberry Rhubarb Pie Recipe
- Dutch Apple Pie
- Fresh Classic Blueberry Pie
- Cherry Cranberry Raspberry Pie
- Fresh Strawberry Pie
- Nectarine Strawberry Pie from “A Red Spatula”
From April through August, blackberries are in season, making it the perfect time to make this classic dessert! Can’t you just see a summer filled with evenings out on the porch, or deck, a slice of blackberry pie, a tall pitcher of homemade lemonade, and soaking in the sunset at day’s end?
Pie invites you to slow down and soak in life. That’s an invitation we could all use, right?!!
I hope you’ll enjoy this pie as much as my husband does! As always, thanks so much for stopping by and visiting with me. The free printable recipe is below.
Happy Nesting!

Fresh Homemade Blackberry Pie
Ingredients
- 6 cups fresh blackberries rinsed, and patted dry (if using frozen berries, defrost and drain them)
- ½ to ¾ cup sugar depending on how sweet your berries are
- 1 teaspoon lemon juice
- 1 teaspoon lemon zest
- ½ teaspoon ground cinnamon
- ¼ teaspoon almond extract optional
- 5 –6 tablespoons cornstarch can substitute all-purpose flour
- 2 tablespoons butter cut into small cubes
- 1 tablespoon milk
- 3 tablespoons sugar or cinnamon sugar mixture
- 1 – double crust pie dough for top and bottom crust
Instructions
- Preheat the oven to 425 degrees F (220 degrees C).
- Combine the blackberries with sugar, cornstarch or flour, lemon juice, lemon zest, cinnamon, and almond extract in a large bowl. Spoon the mixture evenly into the unbaked pie crust. Cover with the top crust. Seal and crimp the edges, and cut vents in the top crust for steam to escape.
- Brush the top of the crust with milk and sprinkle with additional sugar.
- Place the pie on a parchment lined large baking sheet. Bake for 15 minutes in a preheated 425° (F) oven. Reduce the oven temperature to 350° and bake an additional 35–45 minutes until the filling is bubbly, and the top is golden brown.
- Remove from the oven and cool completely on a wire rack.
Nutrition
Meet The Author
Hi! I'm Norine, the cook, baker, and recipe creator behind Norine's Nest. I love sharing and creating recipes that invite family, friends, and neighbors to gather around the dinner table. Sharing good food and creating memories with those we love brings me happiness. Thanks for stopping by my Nest!

