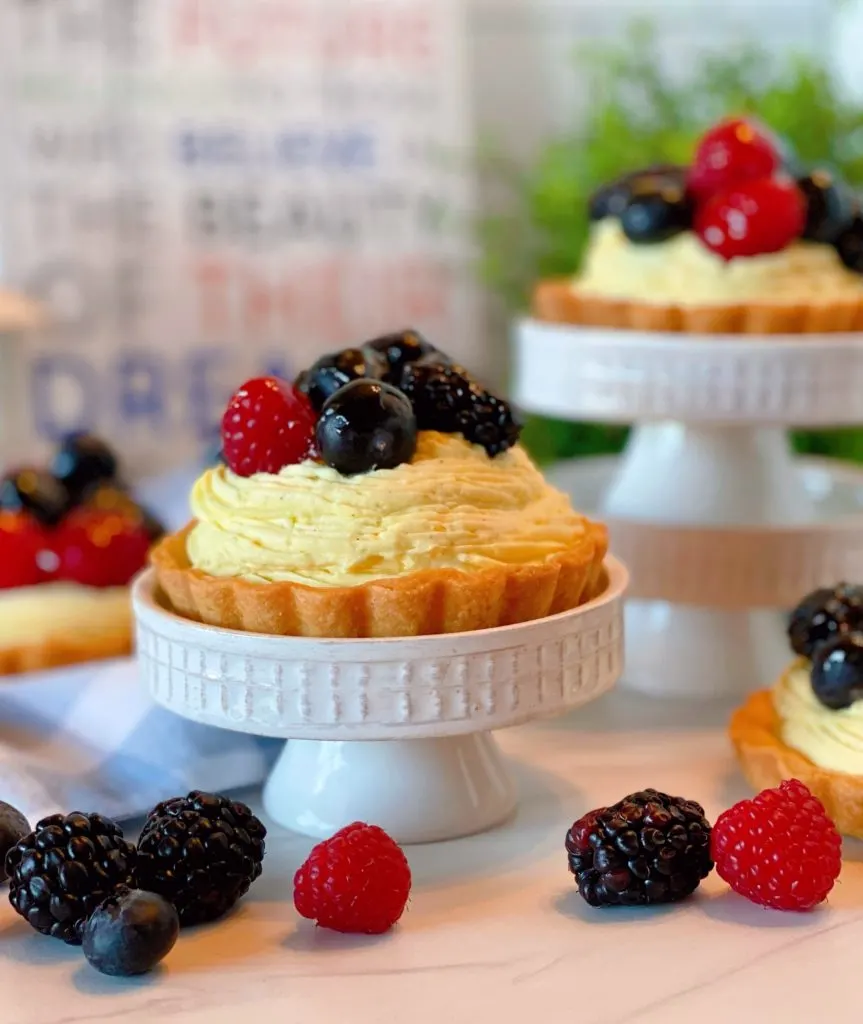
Mini Fresh Fruit Tartlets are made with a delicious, slightly sweet shortbread crust, and filled with a scrumptious easy Vanilla Bean Cream, topped off with beautiful fresh fruit. The perfect Spring dessert!
I’m always late to the party!
I’m not talking about the “Fruit Tartlet” Party! I’ve been attending those parties for years! I’m referring to the “Great British Bake-Off” Party!
Yep, I just recently started to watch…which turned into “Binge-watching”! (I own it!) I love that show! It could be a certain host with steel blue eyes and beautiful silver hair…or it could be all the wonderful desserts! Plus, they are the most polite competitors I’ve ever seen!
After watching 535 episodes… I was inspired! I got on Amazon and ordered a set of mini tart pans and started planning a way to make a beautiful Spring Fresh Fruit Tart filled with an easy vanilla cream! Why? Because I L.O.V.E. tarts!
The flaky shortbread crust is filled with a creamy filling and bursts of flavor from fresh fruit! They are the perfect dessert at this time of year!
How To Make Fresh Fruit Tartlets
To bake an amazing tart you need an amazing crust!
Tartlets crust vary from a standard pie crust. Just as there is a difference between a “tart” and a “tartlet”.
The term “Tart” used to be for small sized desserts…, but now it is reserved for large pastries baked in full-sized tart pans. Tartlets have replaced the term “Tart” for individual small-sized servings.
Tartlet crust is made with a rich, sweet shortbread crust that resembles a shortbread cookie. It is more stable, making it easier to handle. It’s also thicker and holds the cream, or lemon curd, of a mini tart without the crust becoming soggy. No one likes a soggy bottom!
How to make shortbread crust for a tartlet.
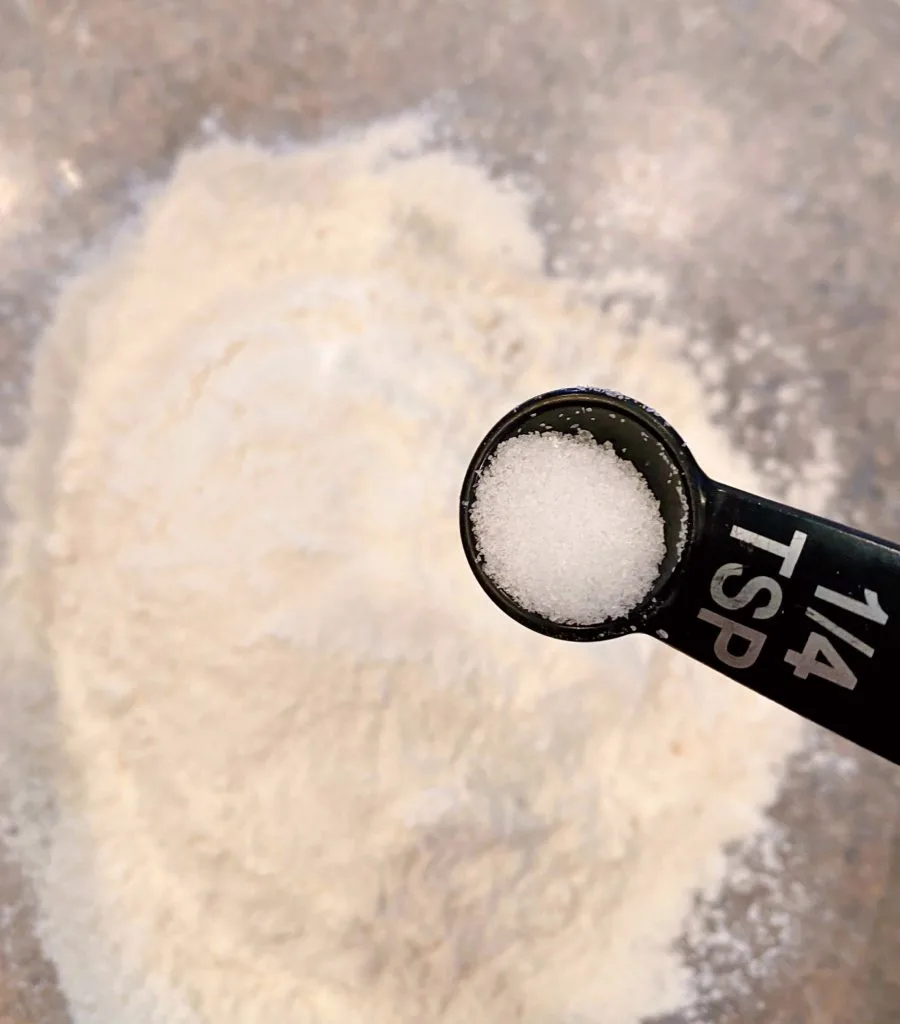
In a medium-sized bowl, place 1-1/2 cup all-purpose flour and 1/4 teaspoon of salt.
Add 1/3 cup confectioner’s sugar, sifted, to the flour and salt. The sifting will help break up any lumps in the powder sugar.
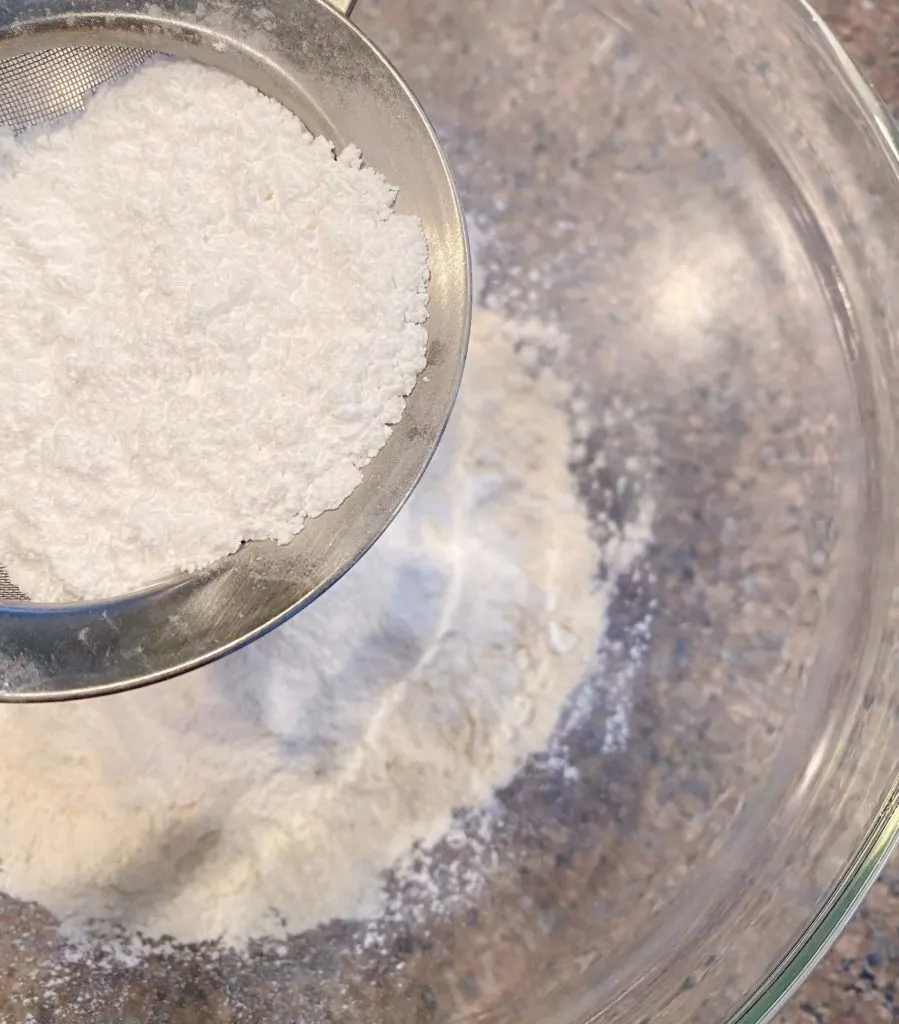
Using a whisk, combine the ingredients together. Whisking dry ingredients not only helps to incorporate them, but it emulates sifting, thus another way to remove unwanted lumps.
Add 1/2 cup (1 stick) of cold butter cut into small cubes.
TIP: You can freeze the butter and grate it to make it easier to blend the butter into the dry ingredients with a pastry blender.
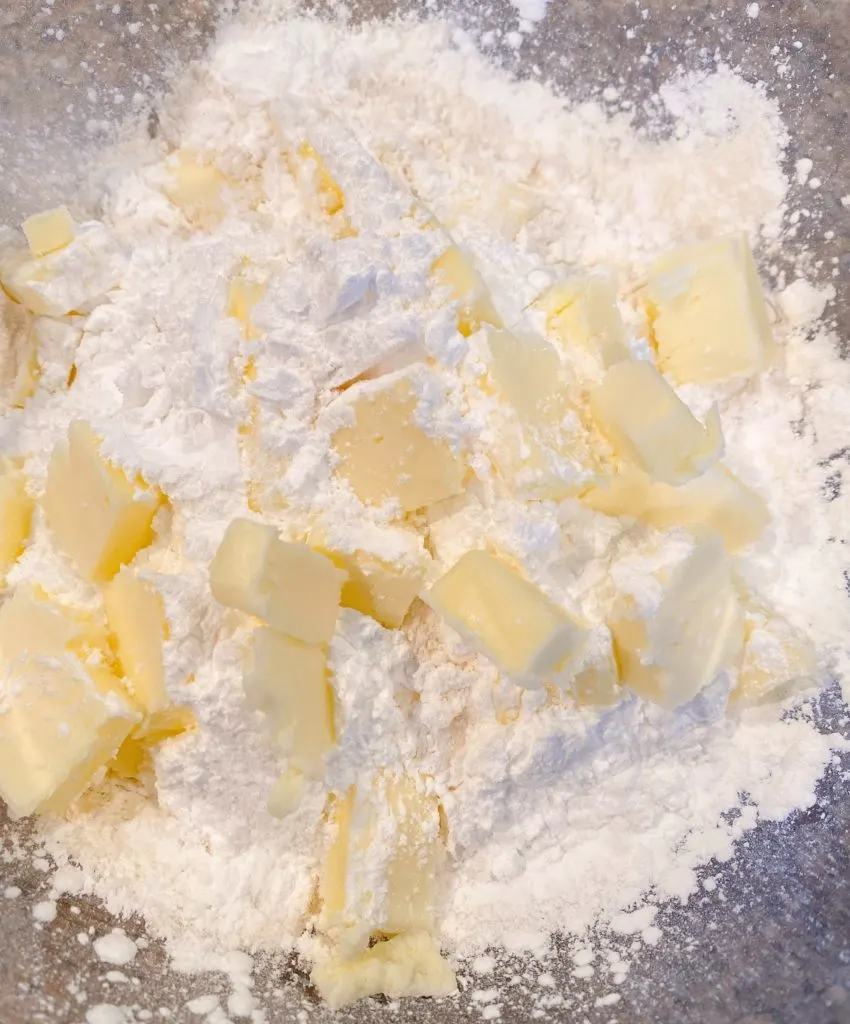
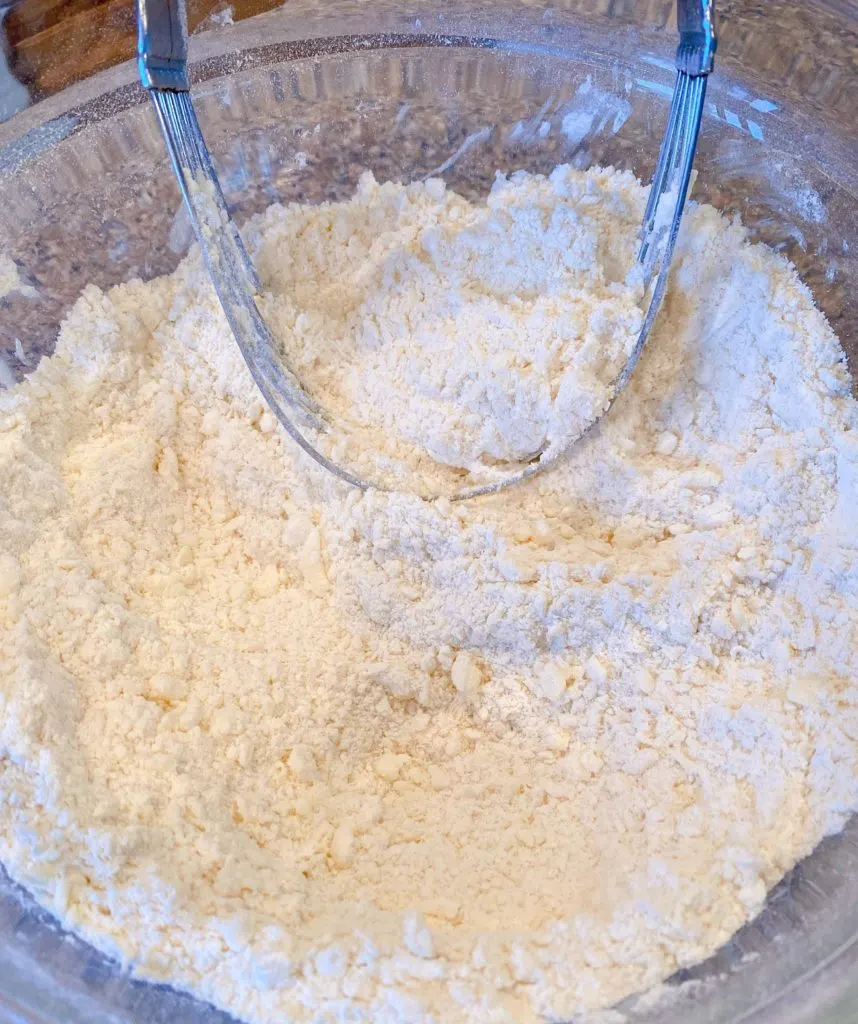
Cut the cold butter in with a pastry blender until the mixture resembles a coarse meal.
Add 1 large egg yolk, 4 tablespoons of heavy cream, and 1/2 teaspoon of vanilla extract.
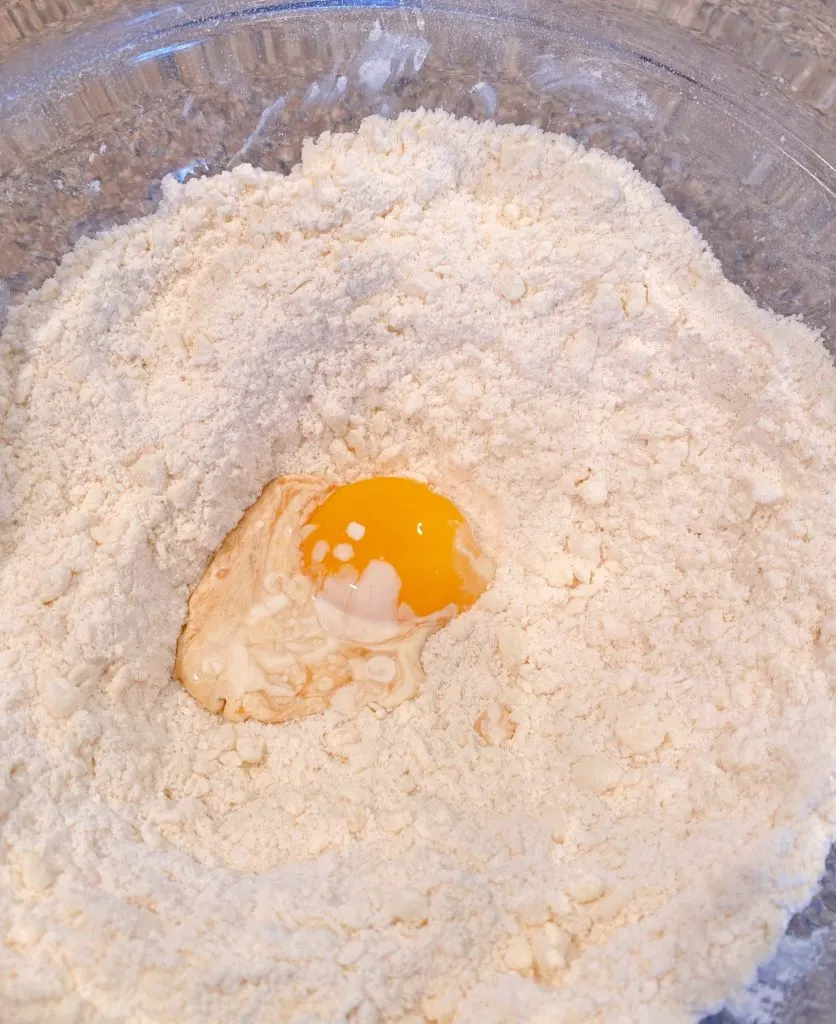
Stir until the dough gathers and pulls away cleanly from the sides of the bowl. You can use your hands to gather the dough into a ball. (I’m not much of a spoon mixer when it comes to pie and tart doughs. I wanna get in there and carefully handle the dough!)
TIP: You may need to add 2-3 extra tablespoons of heavy cream if the mixture is too dry!
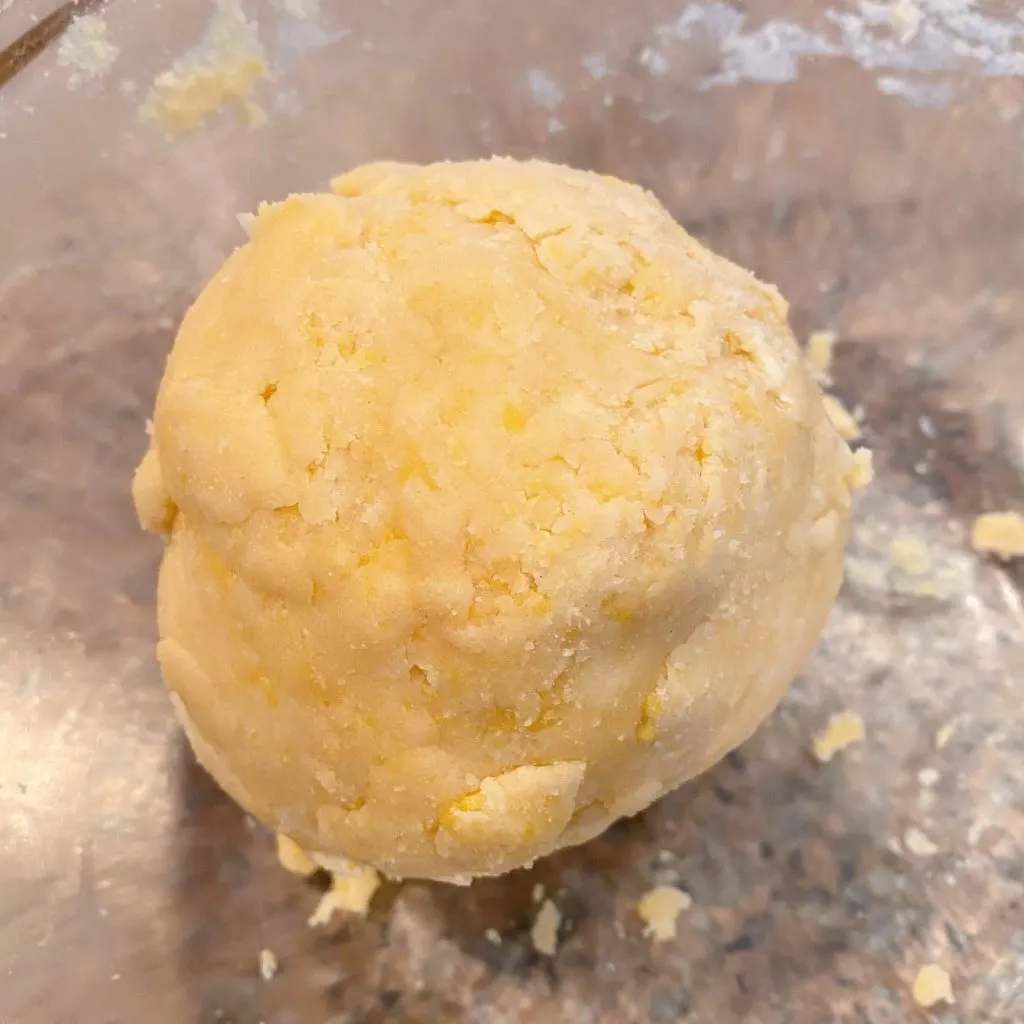
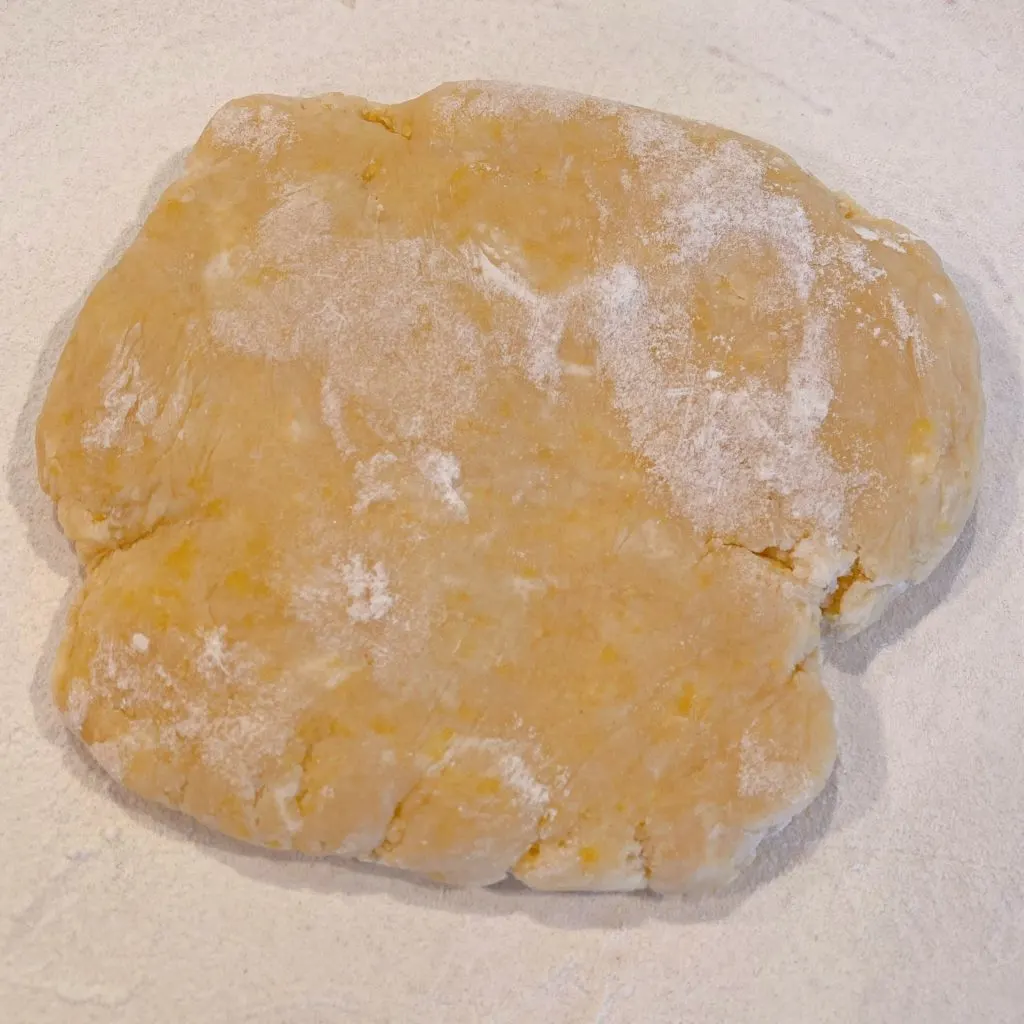
Stop! Take a look at this dough.
Can you see the little flecks of butter within the other ingredients? That’s exactly what you want in a good shortbread crust. The butter creates delicious flaky layers!
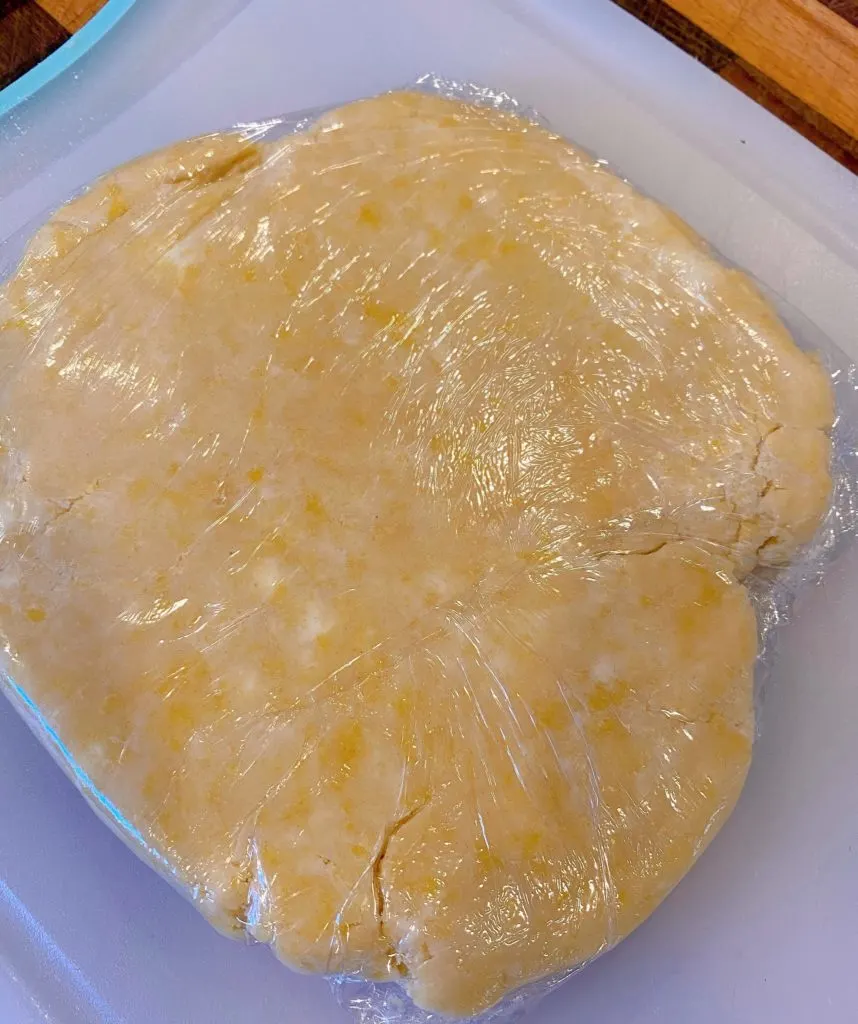
Wrap the dough as it is, in a ball. However, I prefer to flatten the dough with the palm of my hand, and then wrap the dough tightly in plastic wrap. Chill for 1 hour.
Tip: Flattening the dough before chilling makes it easier to roll out, and it chills better.
Easy Vanilla Bean Cream Filling
While the dough is chilling…you don’t get to! Nope! You have to get the cream filling ready!
In a large bowl, combine 2 (3.5 ounce) packages of instant vanilla pudding. Add 2 cups of heavy cream, 1 cup of milk, and 2 teaspoons of vanilla bean paste.
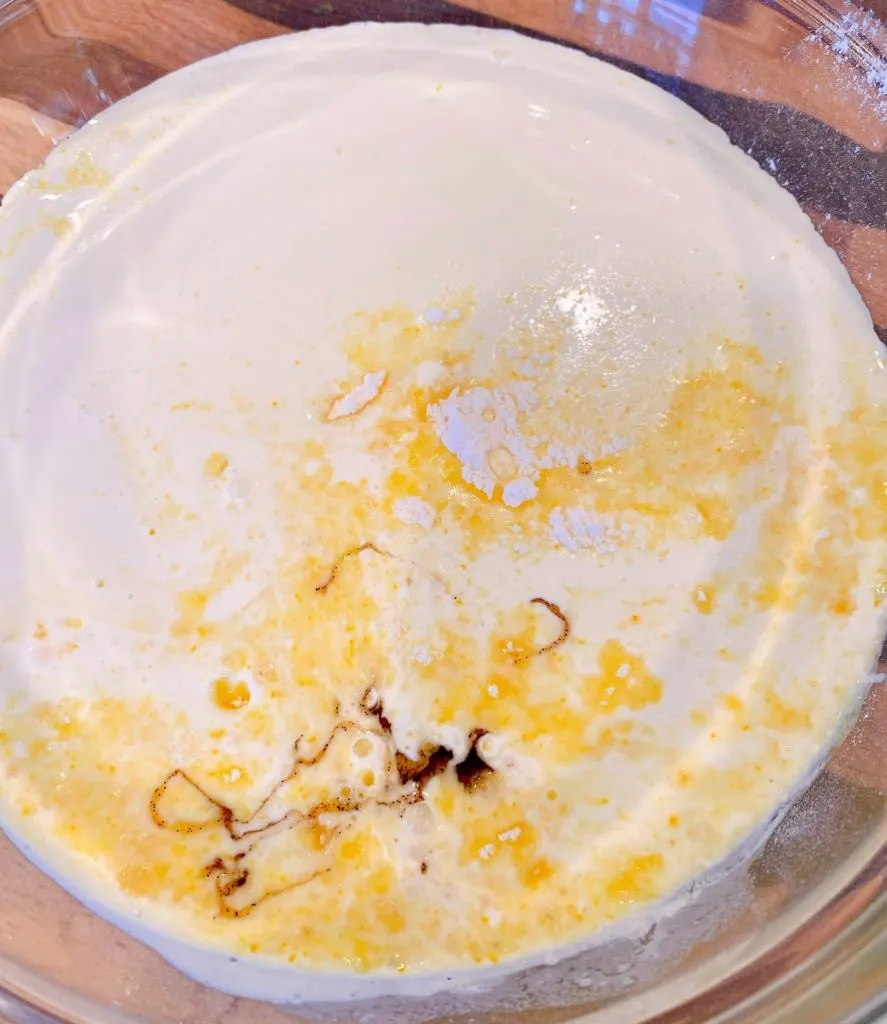
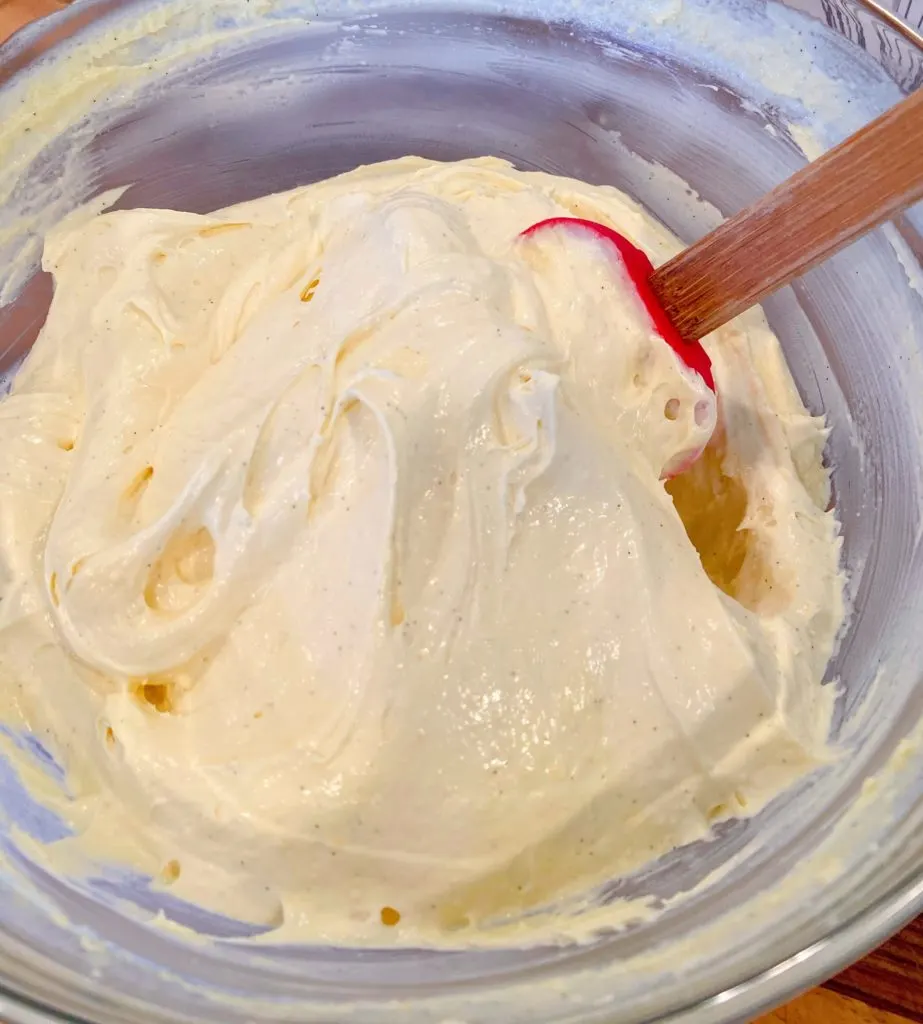
Use a handheld mixer, or find the strength of Superman, and mix ingredients on medium-high until the filling is light and fluffy.
Use a spatula to scrape down the sides and bottom of the bowl to make sure all the ingredients mix together well.
Cover the bowl and refrigerate until ready to use.
Rolling and Preparing Tartlets for baking
Preheat the oven to 400°. Place 4-inch tartlet pans on a baking sheet.
Unwrap the chilled shortbread crust. Place the dough on a lightly floured surface. I love to use my dough disc, and I’ll place a link for it in my recipe card. It’s one of my favorite kitchen tools.
Roll the dough, using a rolling pin, to a thickness of about 1/8 inch thick. Keep in mind the dough will puff slightly during baking.
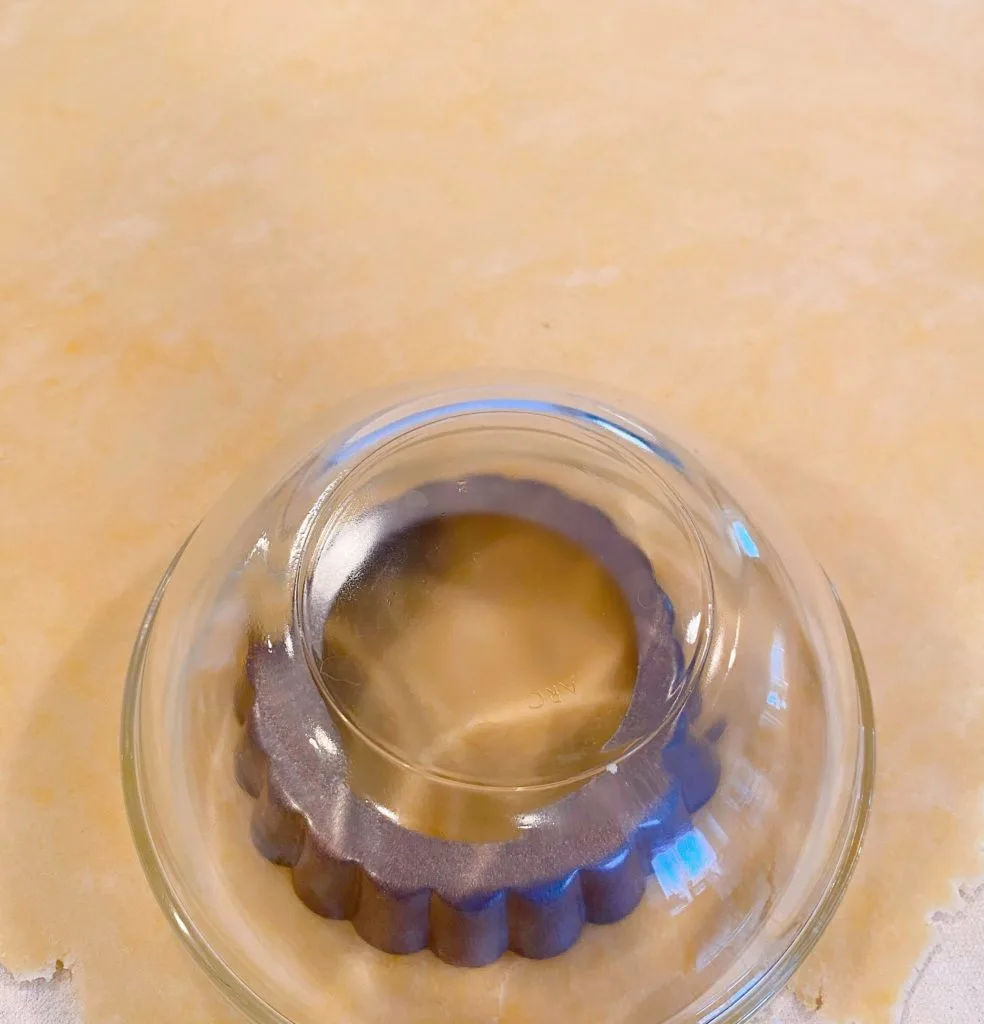
Cut the shortbread crust into circles 1/4 inch larger than the circumference of the tart pan. This will give you the extra dough you need for the crust to settle down into the tart pan.
TIP: Place one tartlet pan topside down on the dough. Place a slightly larger bowl over the top of the tartlet pan and trace with a sharp knife to create a perfect circle.
Do NOT grease the tartlet pans! Make sure the bottom plates are in the base of the tartlet pan before adding the crust! Just a friendly reminder.
Press the cut-out circle of shortbread dough, gently into the tart pan. Some dough will hang over the edge of the pan. That is okay.
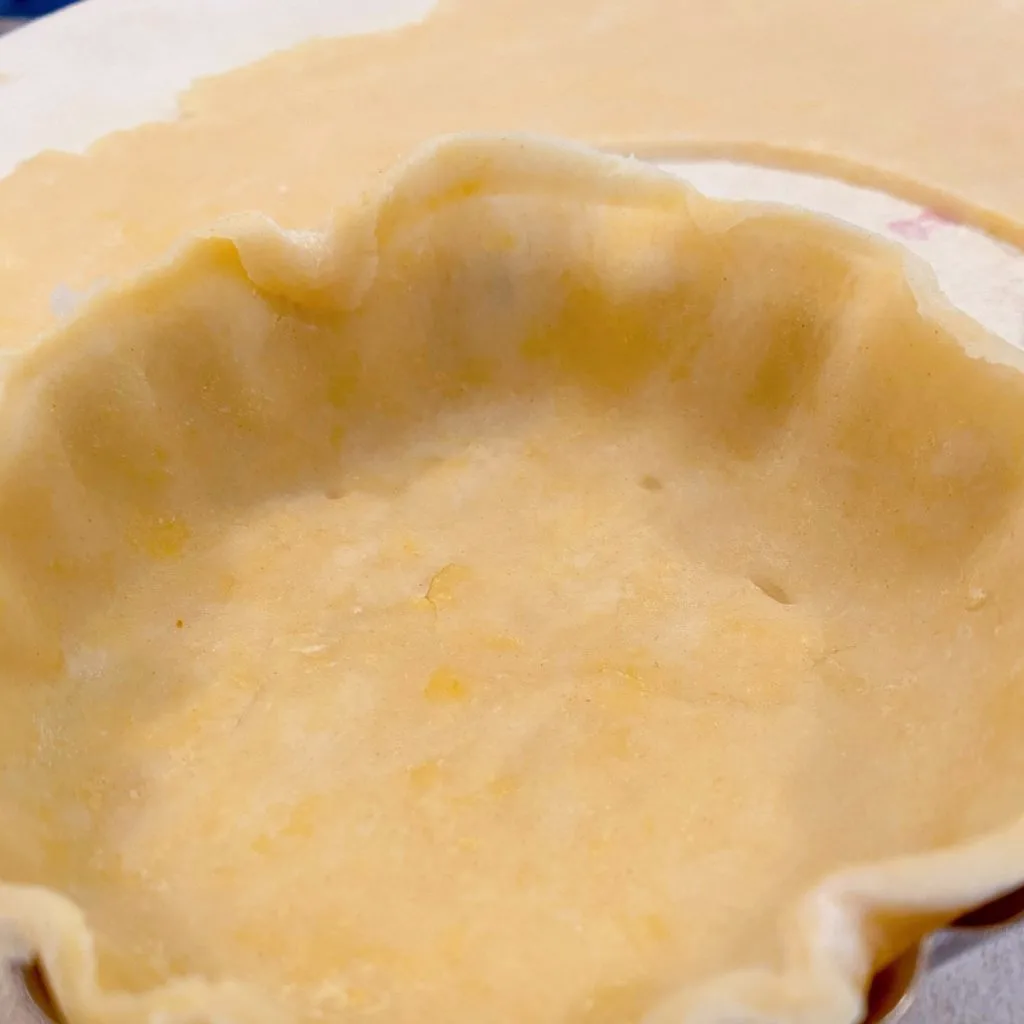
Using a knife, trim off any excess dough by going around the edge of the tart pan.
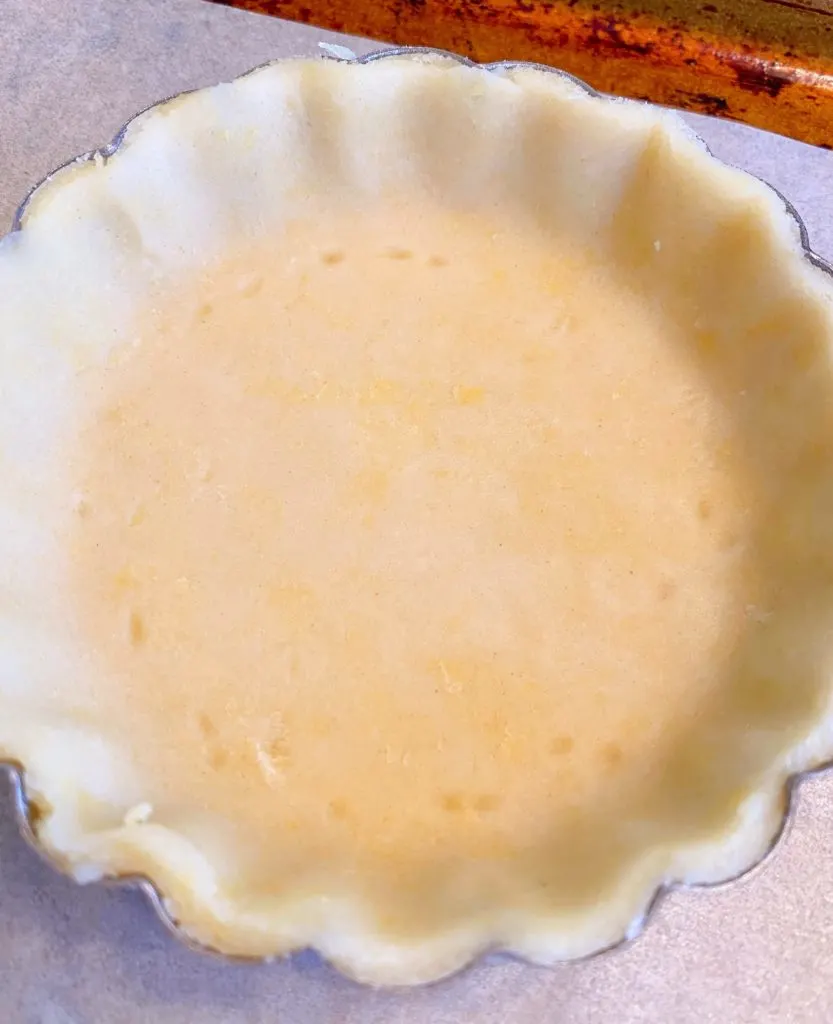
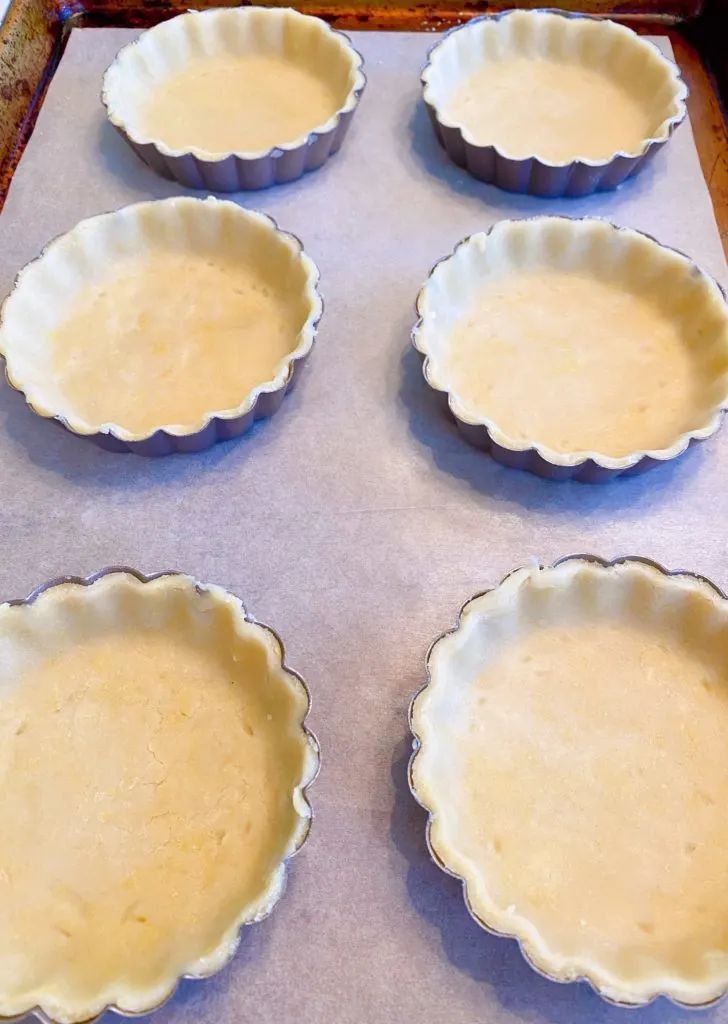
Place the tart crust on a lined baking sheet.
To keep the pastry from shrinking during baking, line each crust with a small square of parchment paper, and a handful of ceramic baking beads.
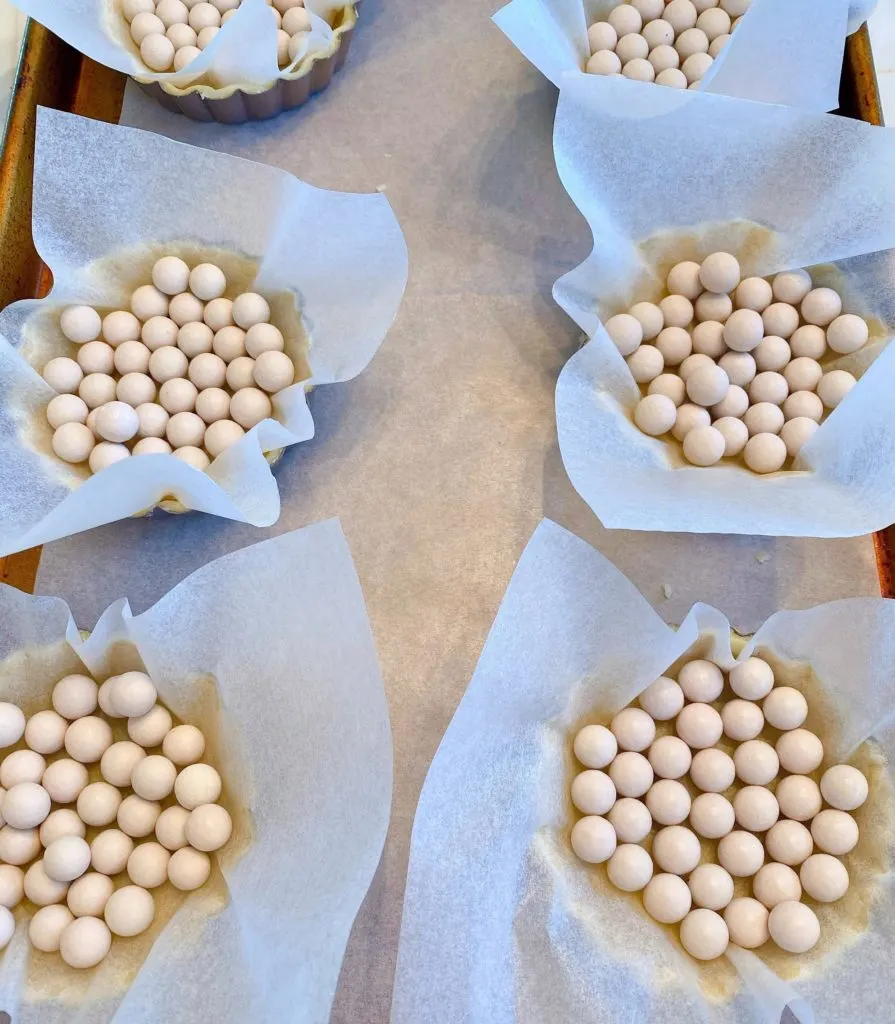
Bake until golden brown, about 15–18 minutes. Make sure the center is completely baked through! It should have a dry appearance and resemble a lightly golden shortbread cookie in the center.
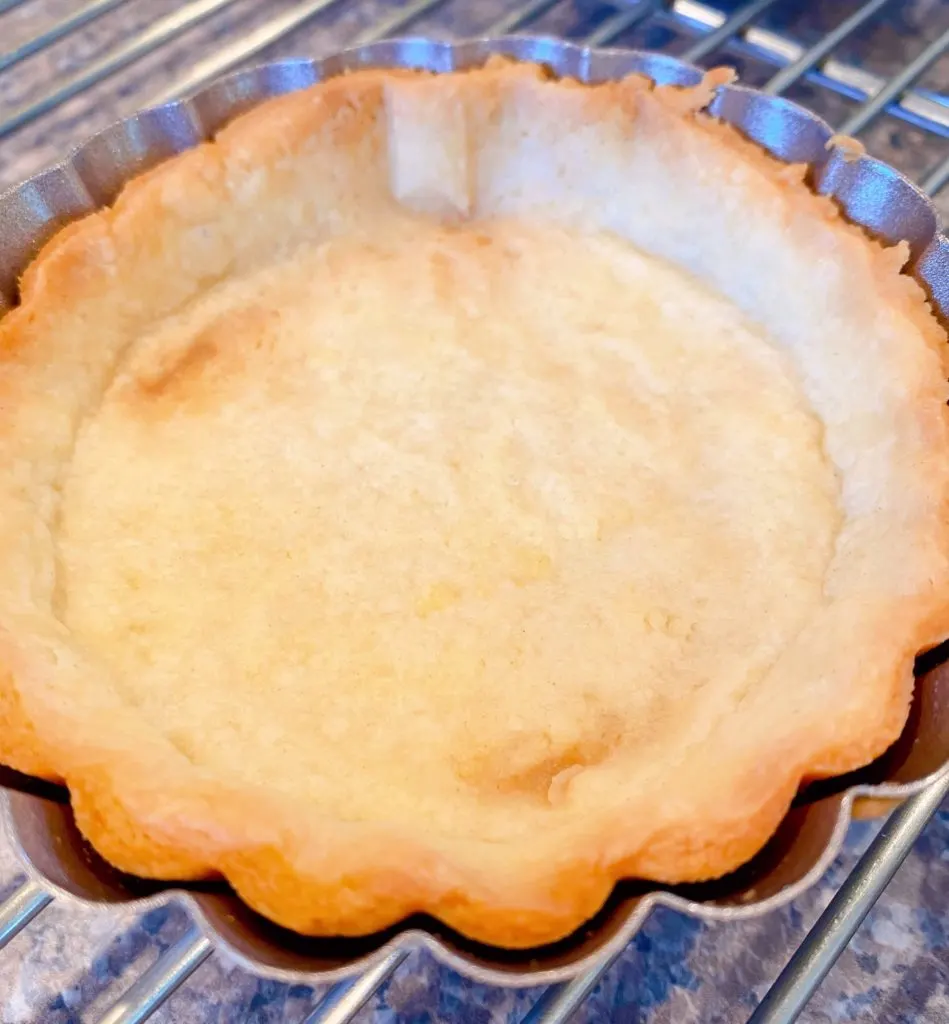
Allow the crusts to cool before removing the ceramic baking beads. Place the slightly warm crusts on a cooling rack and cool completely.
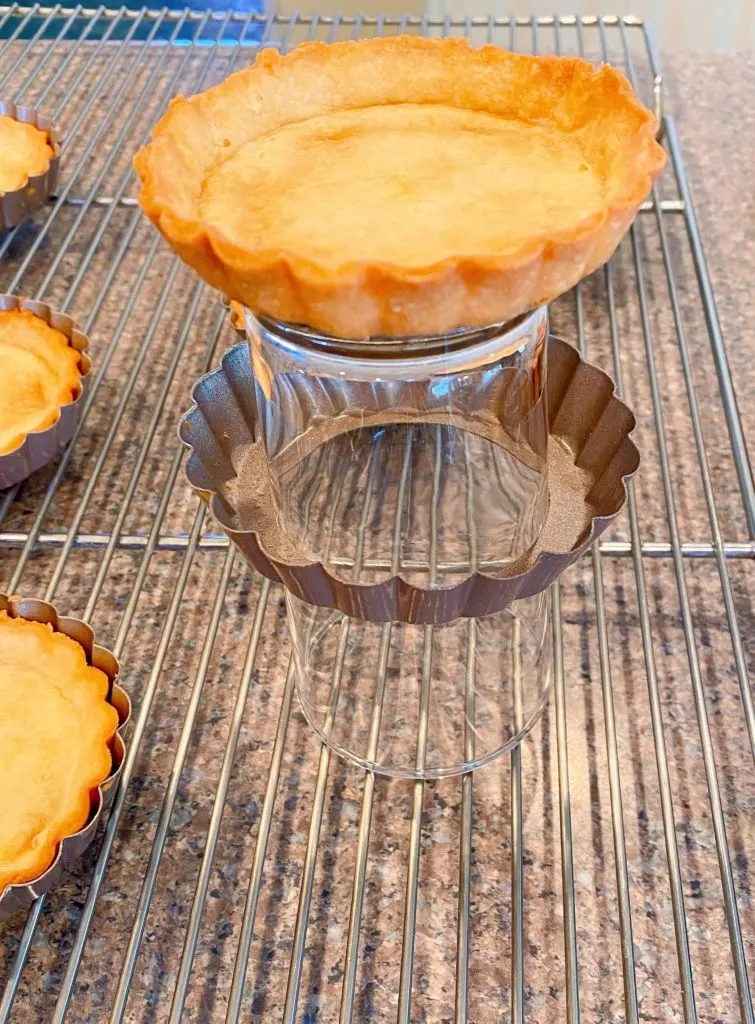
To easily remove the shortbread crust from the tartlet pan, turn a smaller glass upside down. Place the tart on top of the glass and gently slide the outer ring down the glass.
Gently pick up the tart crust and remove the bottom plate from the bottom of the tart.
Filling with Vanilla Bean Cream
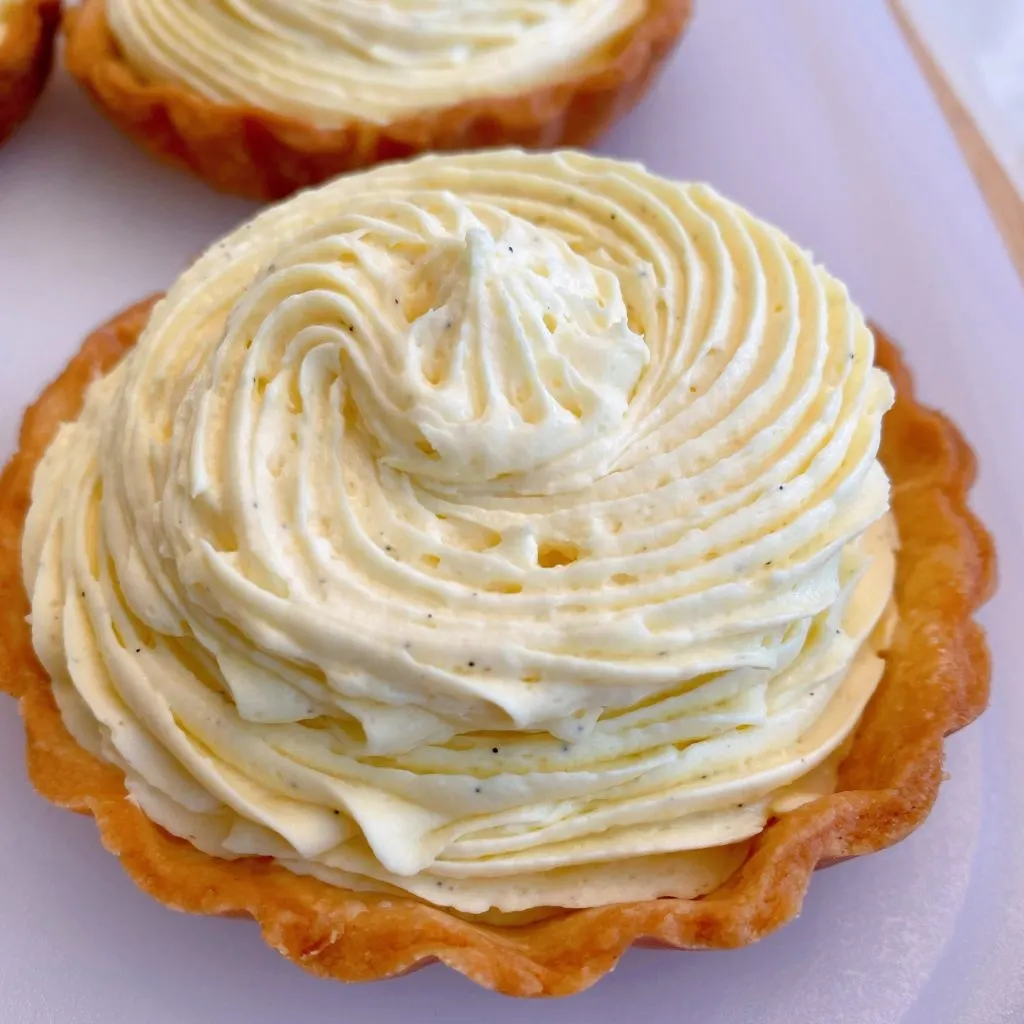
Fill a large pastry bag, or Ziploc bag, with chilled vanilla bean cream. Pipe the cream into each of the shortbread crusts.
Rinse 3/4 cup raspberries, 1/2 cup fresh blueberries, and 1 cup fresh blackberries. Drain well. Lay the berries on a paper towel to dry.
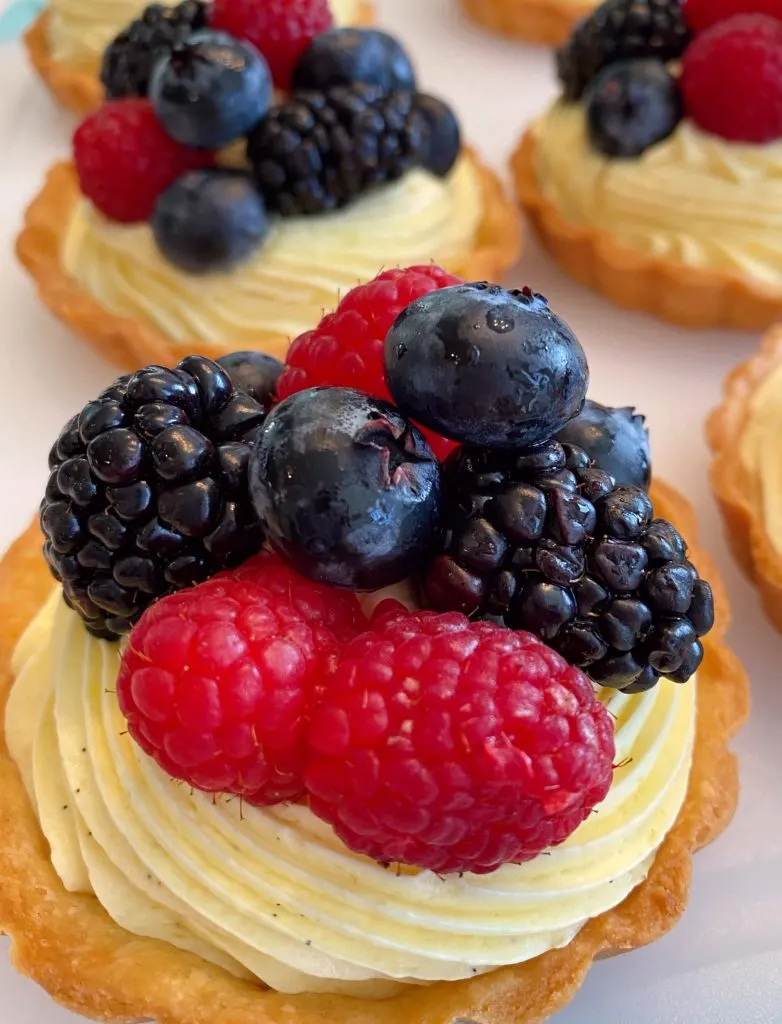
Place a combination of the berries on top of each of the cream-filled mini Tartlets. Don’t be afraid to pile it high!
Easy fruit topping glaze
Now back to our friend Paul Hollywood from that baking show…he said “You NEVER serve a tart without covering the fruit with a sweet glaze!”. Paul is the baking Lord! However, I really didn’t want to make a glaze from scratch!
I wanted to keep this recipe easy…so this is how I created an easy glaze for the fresh fruit on tarts!
In a microwave-safe bowl, add 1/2 cup of your favorite apricot jam.
Heat the jam in the microwave, on high, 1–2 minutes, until it is thin. Stir with a spoon. Place a small sieve over a larger bowl. Pour the jam through the sieve to strain out any chunks of fruit.
TIP: You may have to use a spoon to push the liquid through the sieve.
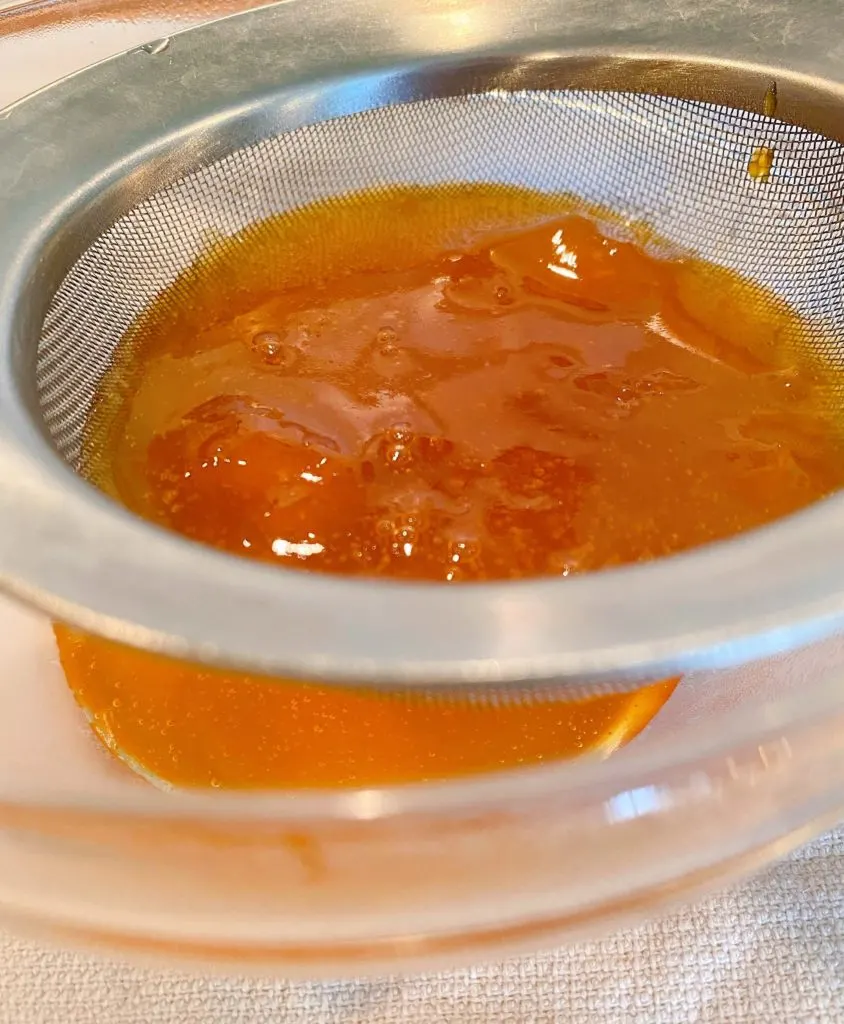
Drizzle the warm melted jam glaze over the top of the berries with a teaspoon. About 1 teaspoon per tartlet.
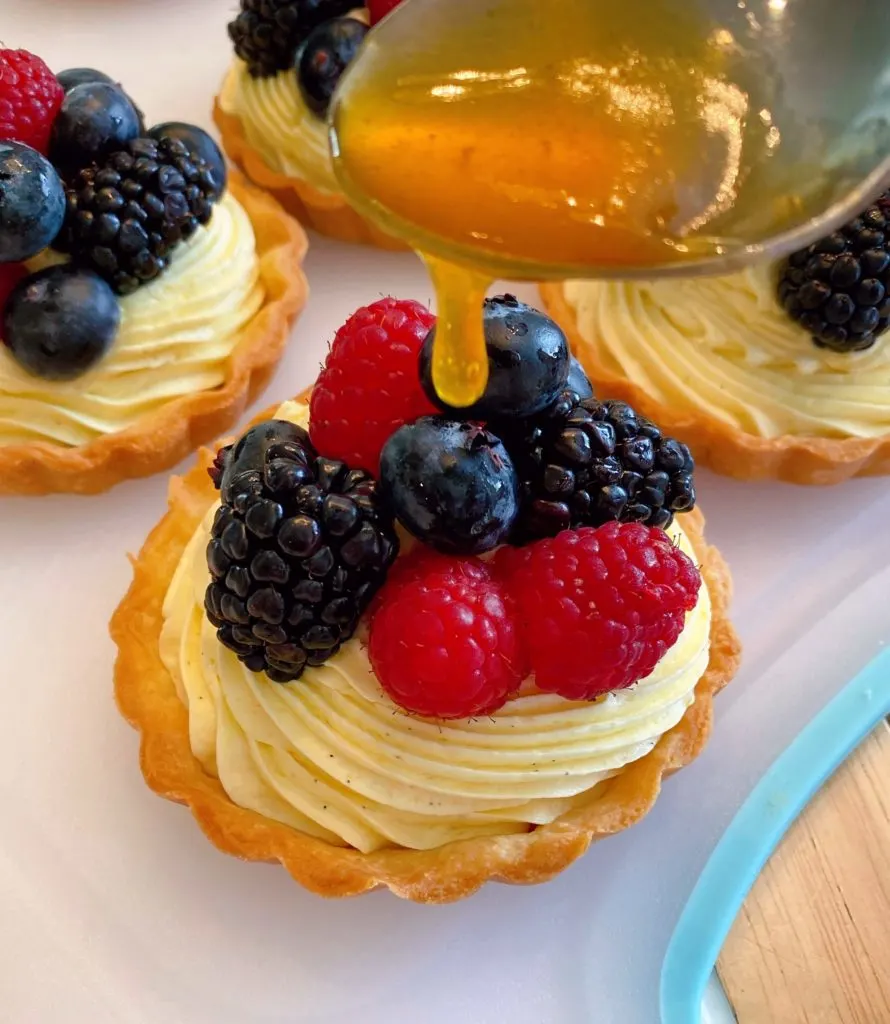
This Mini-Fruit Tart Recipe is so scrumptious! The perfect flaky buttery shortbread crust…and that vanilla bean cream is heavenly! The ripe fresh berries topped with the apricot glaze! YUM!!!
My husband, the picky dessert eater, went a little crazy over these delightful treats! I was holding my breath that there would be a few left for me…so I did what any red-blooded dessert-loving woman would do… hid some! (I am not above hiding treats! I have priorities!)
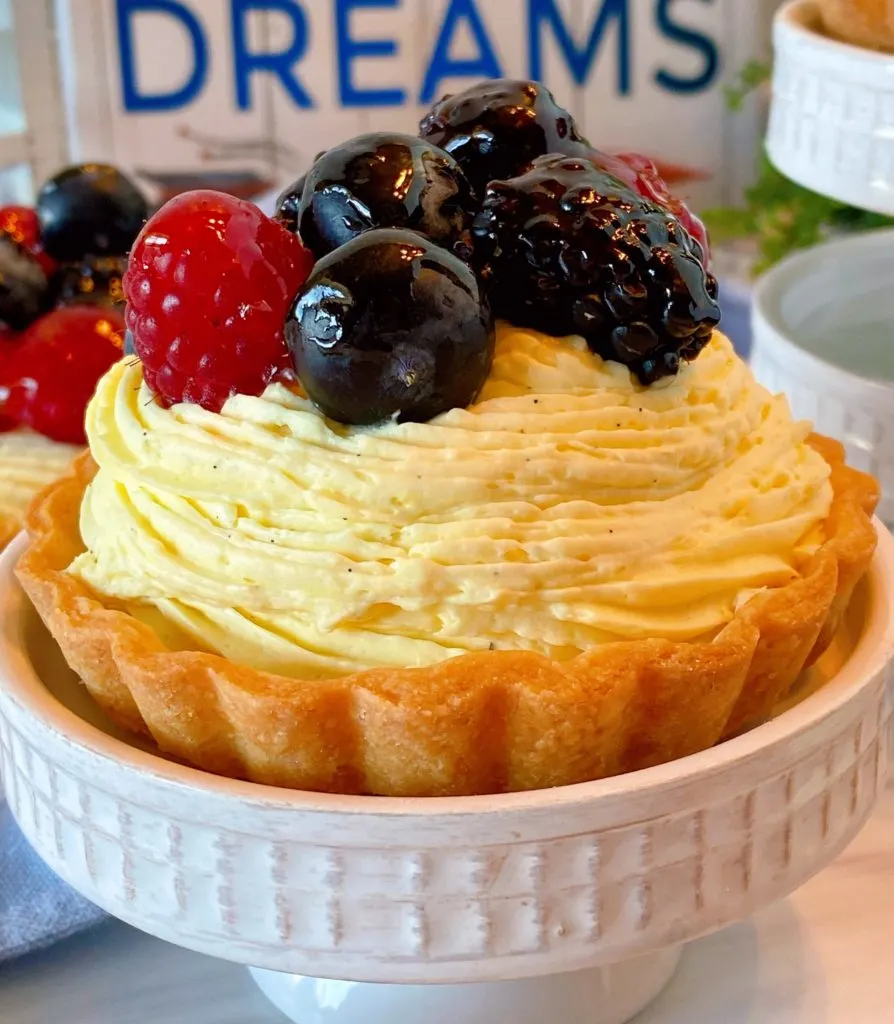
Aren’t they perfect for an Easter or Mother’s Day dessert? Maybe an afternoon tea with friends? A mom moment in the closet! (That may or may not have happened… I was, after all, hiding them.)
Yes, it takes a little bit of work…but sometimes it’s fun to step outside our comfort zone and try something new! Life, and Fresh Fruit Tarts, start at the end of our comfort zone! (I hire out for motivational speaking! Not really!)
Other Favorite Dessert Recipes
- Chocolate Raspberry Filled Cupcakes
- Homemade Fried Peach Hand Pies
- Double Crust Plum Pie
- Individual Raspberry Cookie Crumb Recipe
- Chocolate Chip Cookie Pie
- Raspberry White Chocolate Bars
- White Chocolate Macadamia Nut Pound Cake by Soulfully Made
- Chocolate Chocolate Chip Bundt Cake by The Fresh Cooky
I had so much fun making and eating these delicious mini-fruit-filled Tartlets. I know you’ll have fun making them too.
Thanks so much for taking the time to stop by and visit with me today…share a little dessert…and a few laughs. I hope you’ll stop back by again soon!
Happy Nesting!

Mini Fruit Tartlets with Vanilla Cream
Ingredients
- Shortbread Crust
- 1-1/2 cups all-purpose flour
- 1/3 cup confectioners sugar sifted
- 1/4 teaspoon salt
- 1/2 cup butter cold, cut into cubes
- 1 large egg yolk
- 4-5 Tablespoons heavy cream
- 1/2 teaspoon vanilla extract
- Vanilla Bean Cream
- 2 3.5 ounce vanilla pudding
- 2 cups heavy cream
- 1 cup milk
- 2 teaspoon vanilla bean paste
- Fruit Topping and Glaze
- 3/4 cup fresh raspberries
- 1/2 cup blueberries
- 1 cup fresh blackberries
- 1/2 cup apricot jam
Instructions
- To make the shortbread crust place flour, sifted sugar, and salt in a medium mixing bowl. Use a whisk to combine dry ingredients.
- Cut cold butter into the flour with a pastry blender until mixture resembles coarse meal. Make a well in the center of the flour mixture.
- Add the egg yolk, cream, and vanilla into the center of the well. Stir until dough gathers and pulls away cleanly from the sides of the bowl. If the mixture is too dry add another tablespoon heavy cream to the dough. Pat the dough into a disc and wrap tightly in plastic wrap. Chill for 1 hour.
- On lightly floured surface, roll the dough to a thickness of about 1/8 inch. Cut into circles 1/4 inch larger than the circumference of the mini tartlet pan.
- Press the dough gently into the mini tart pan trimming away any excess. Gather dough and repeat if necessary.
- Place a small piece of parchment paper on top of each shortbread crust and line with ceramic baking beads to keep the crust from shrinking during baking.
- Preheat oven to 400°. Place mini tart pans on a baking sheet and bake in the oven 15-18 minutes until shortbread is golden brown. Remove from oven and cool completely.
- While pastry cools, in a large bowl, combine vanilla pudding, heavy cream, milk, and vanilla bean paste. Mix with hand mixer until light and fluffy! Cover and chill until ready to use.
- Wash and dry berries. Remove shortbread crust from tart pans.
- Fill a large pastry bag, or large Ziploc bag, Fill each shortbread crust with vanilla cream. Top vanilla cream with fresh berries.
- Place apricot jam in a microwave safe bowl. Cook on high for 1-2 minutes until melted. Pour jam into a small sieve over a large bowl to remove any chunks of fruit. Using a teaspoon carefully drizzle apricot glaze over the top of the berries. Serve. Store extra tarts in air tight container and keep cool in refrigerator.
Nutrition
Meet The Author
Hi! I'm Norine, the cook, baker, and recipe creator behind Norine's Nest. I love sharing and creating recipes that invite family, friends, and neighbors to gather around the dinner table. Sharing good food and creating memories with those we love brings me happiness. Thanks for stopping by my Nest!


Cam
Thursday 23rd of December 2021
I absolutely adore this recipe. It has literally never failed me and is always a hit!
One question though. If I wanted to make a full sized tart using this dough recipe, how would I need to adjust the baking time?
[email protected]
Thursday 23rd of December 2021
Hi Cam! I love this recipe! Great question! I have never made this into a large tart, but I'd start with 5 minute increments and check it from time to time. As you know from making this recipe, it can brown quickly and since I've never done a large tart with this particular recipe, I'm not comfortable giving an exact time. If I had to guess I'm thinking you're going to need about another 10-15 minutes. But PLEASE check it during that additional time to be sure! Happy Baking and Happy Holidays! Norine