Big Fluffy Lion House Dinner Rolls are made in the bread machine and a family favorite at this Nest! The very BEST dinner roll recipe you’ll ever make!
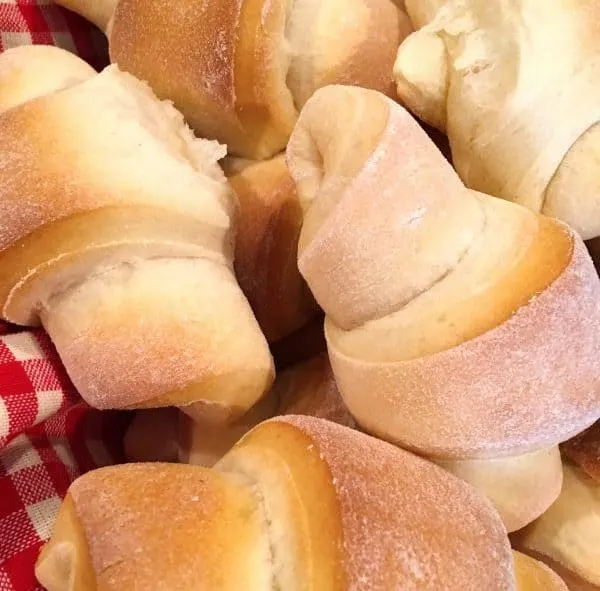
Attention All Bread Lovers! Allow me to introduce you to the “Holy Grail” of dinner rolls! Lion House Dinner Rolls! This is no ordinary little dinner roll! These gems are the primary reason why the world needs butter and raspberry jam! (Skip the main course! Just pass the basket of dinner rolls!)
My family ADORES these rolls! No joke! I think they may love these rolls more than me? However, since I’m the baker of the rolls, I’m allowed to stick around! Whew! (Never underestimate your worth! Lol)
If you’ve ever been to Salt Lake, and had lunch at the Lion House, you’ll understand why these rolls are so coveted! They are HUGE, Fluffy, and smell like Heaven! (I love the smell of baking bread! Mmmm!) The texture and flavor are pure perfection! Wanna know the BEST part of this recipe…besides how amazing they are….you make the dough in your bread machine! (SCORE!!! Team Mom!)
TIP: They can be made without the bread machine, so don’t sweat it!

So, first things first…go dig out that bread machine hiding in the back of the small appliance cupboard! You know, the one you just had to have 15 Christmases ago! You’re finally gonna use it!
If you don’t have one you can still make these rolls. You will need to mix them in your mixer, cover, let rise for one hour in a warm place, punch down, let rise again for 20 minutes or… if I may? I suggest checking your local thrift store for one. They run around $5.00 and worth every penny!
How To Make Lion House Dinner Rolls
Let’s get busy and make you a “Master Roll Maker”! (Remember, it will help solidify your position in the family!)
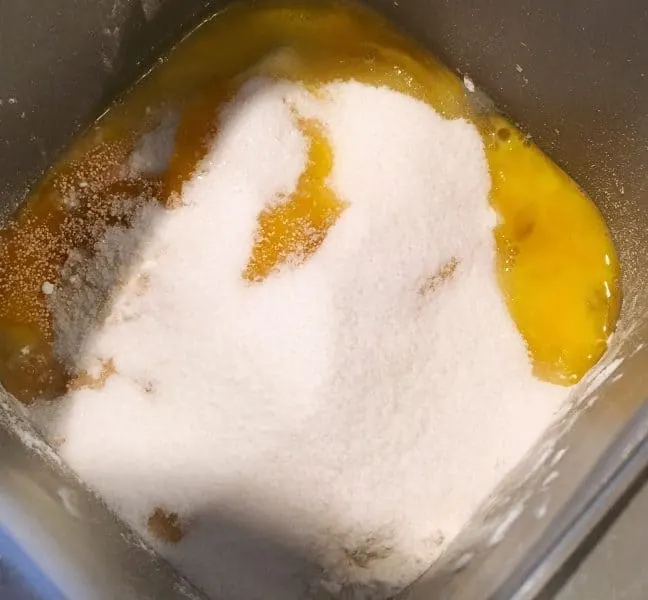
First step…is placing all the ingredients into the bread pan inside the bread machine! Here’s my nice shadowy picture of said step! (National Geographic wants to hire me for my photo skills! Insert eye roll!)
Water, flour, powder milk, butter, one beaten egg, sugar, salt, and yeast. So pretty! Okay, not really but…it will be! Make sure you select “dough” for the cook time! It should be about an hour and 20 minutes to an hour and a half.
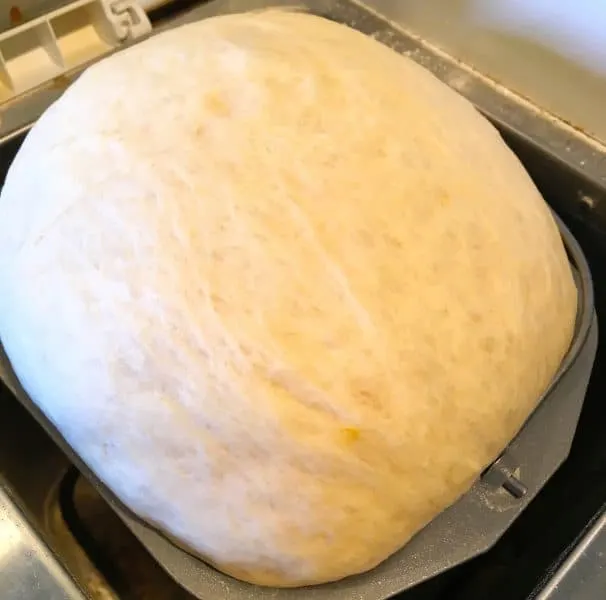
Once your bread machine has completed the dough cycle and the timer goes off, your dough should look like this. (This is after its second rise! If it hasn’t risen again, leave it for 20 minutes. It will.)
Look how light and fluffy that dough is! When you have a GREAT bread dough, and this is a GREAT bread dough, you know it by the feel and texture! This dough is so squishy and soft!
Once your dough is completed, remove it from the pan and place it on a well floured surface. Don’t worry… it will go down a little when you take it out of the bread pan or bowl. It’s supposed to. Never fear…it will rise again!
I use my “dough disc”. Let me just say this, about that! If I have one kitchen tool that is my VERY favorite tool…not appliance(that title belongs to my KitchenAid mixer)…but tool, it’s my dough disc!
I purchased mine 23 years ago, off QVC, and it is by far, the very best investment I have ever made! I roll out my pie crusts, sugar cookies, pizza dough, rolls, you name it…the dough disc is my “go to” tool for rolling things out. Nothing ever sticks to the cloth, and when I’m done I just throw the cloth in the wash. It’s amazing! I’m including a link to my current dough disc in the recipe card.
How To Roll out and Form Dinner Rolls
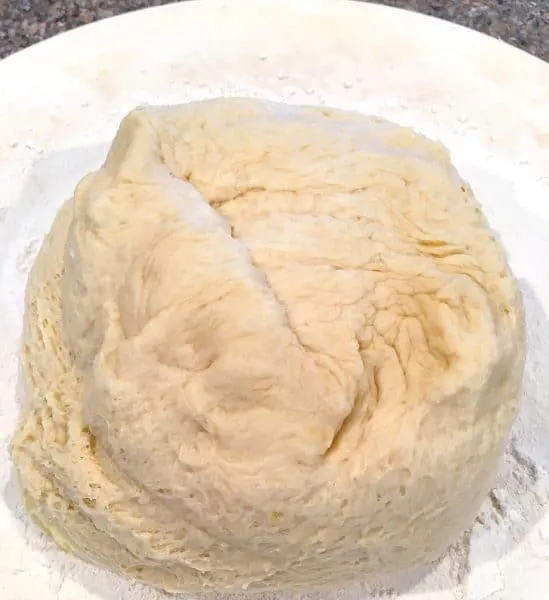
Make sure you have flour on both sides of your dough, so pick it up, and turn it over, and dust your rolling pin too.
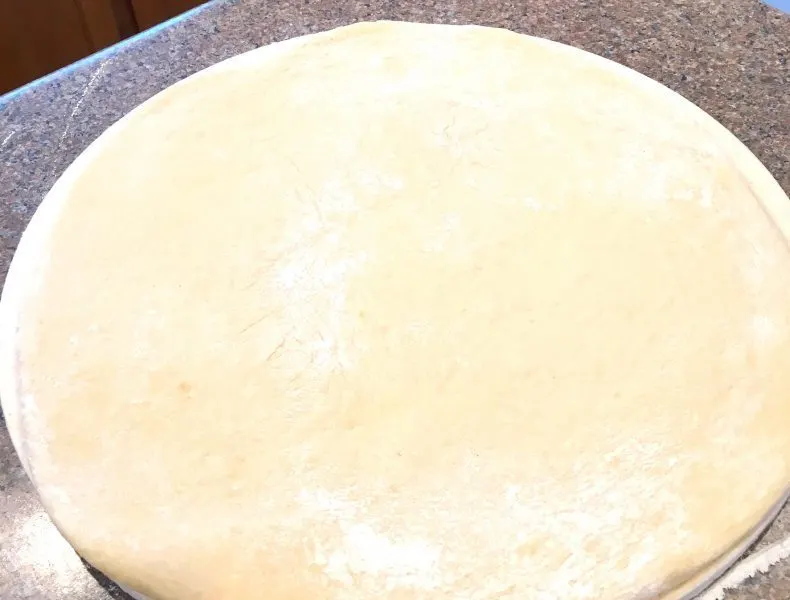
Begin to roll the dough out into one large circle. Like a pizza. I go right to the edges of my dough disc. Once it is all rolled out I use my pizza cutter to cut it… just like pizza slices or pie slices! Easy-P easy! This will give you “crescent” shaped dinner rolls.
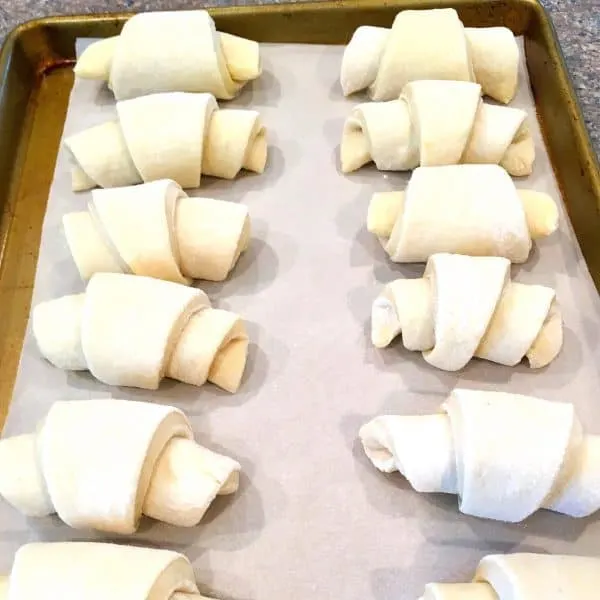
Starting from the large end, roll down to the point. Place them “point” side down, onto a lined baking sheet. You can use either silicone mats or parchment paper.
This recipe will make 12 rolls.
TIP: Make sure those points are down so that they stayed rolled while baking. I let my rolls “rest” at this point for about 10–20 minutes. This will allow them to rise a bit and make them extra fluffy and large.
Baking Dinner Rolls
It’s time! Into the oven they go! Check them after 15 minutes to be sure they are not over baking.
Every oven is different, and it’s always a good idea to keep an eye on your rolls when baking. They should be fluffy and golden brown.
See the difference in the two pictures? The before and after? In the before you have about a 1/2 inch in-between the rolls. After baking they are touching. This is PERFECT! I had help with these…the “flying nun” one… lol…is a good reminder… points down! Maybe you’re from the buckeye state and you want them to look like that! I say “go with it!”
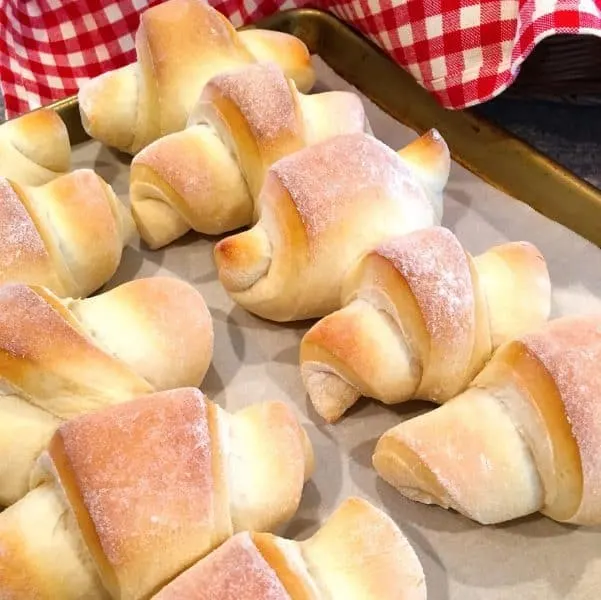
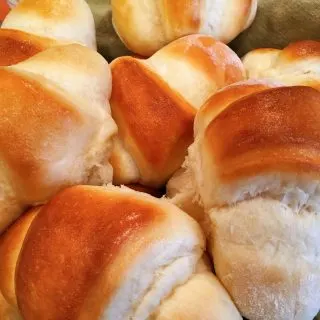
Could a dinner roll be any easier or more appetizing? I don’t know how!
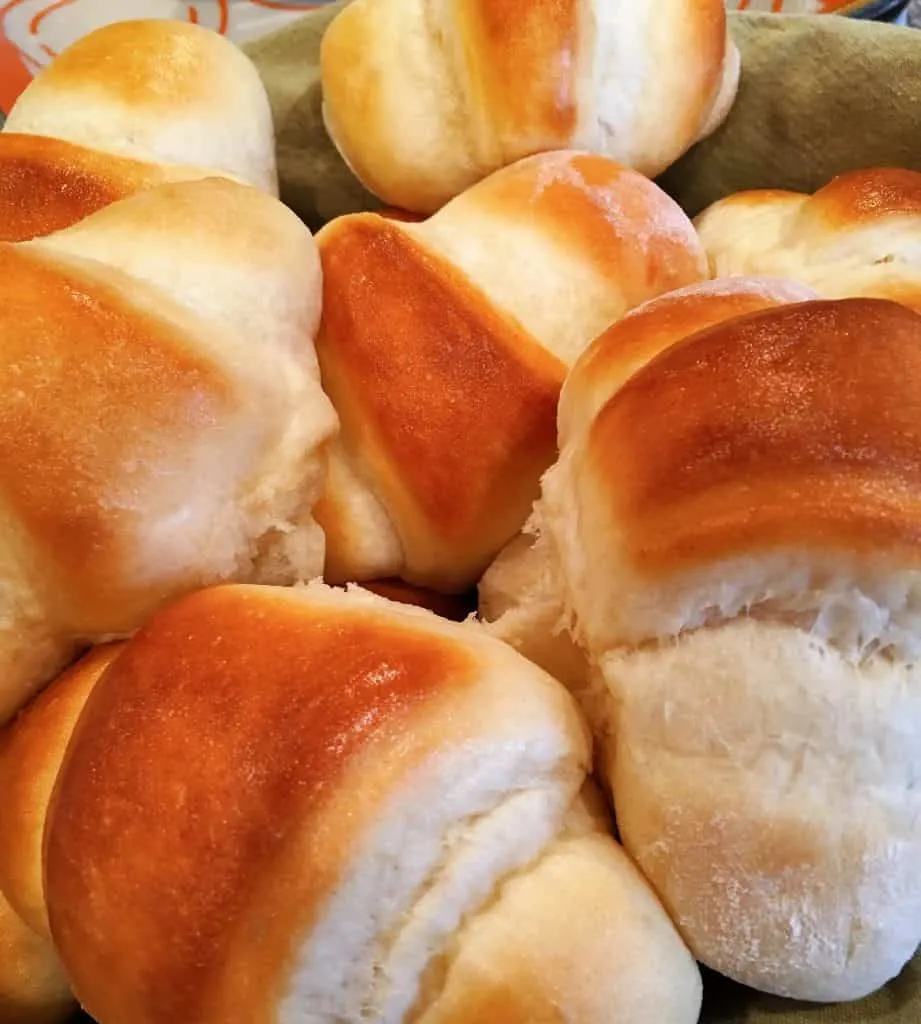
These are so lusciously perfect! No one can ever eat just one at our dinner table! We might be full, but by gosh, we are going to find a way to stuff one more down!
We love to smother them in butter and jam, or just bust right into them, pulling them apart, and folding them into our mouth, sinking our teeth into their fluffiness! They make a fab cinnamon roll too!
Favorite Bread Recipes
- Homemade Pan Dinner Rolls
- Traditional Indian Fry Bread
- Best Three Cheese Garlic Bread
- Easy Homemade Soft Pretzel Recipe
- Homemade Soft French Bread
- Sweet Molasses Brown Dinner Rolls from The Fresh Cooky
Now you are ready to impress the world with your warm, fluffy, homemade rolls! Your position in the household is now solid! You’ll be the hit at this year’s family Thanksgiving dinner! Which…is right around the corner…believe it or not!
Thanks for popping by! I’ve got the printable recipe below! I hope you make a batch of these wonderful rolls for your next family gathering! I know they’ll be a huge hit and a family favorite!
Happy Nesting!

Lion House Dinner Rolls
Ingredients
- 1 Cup warm water
- 2 1/2 Tbsp. butter
- 1/3 cup instant dry milk
- 3 1/4 cup all-purpose flour
- 1 Tbsp. yeast
- 1 tsp. salt
- 1 egg beaten
- 1/4 cup sugar
Instructions
- Layer ingredients in order listed.
- Mix on bread dough cycle (1 1/2 hours) (Mine is 1 hour 20 minutes)
- After finished, roll out in a circle.
- Cut like pie pieces, or pizza slices, and roll up like crescents from big end to point.
- Place on baking sheet lined with parchment paper or silicone baking mat.
- Let rise 10-20 minutes.
- Bake at 350 degrees for 15-18 minutes.
- Serve immediately.

Monica
Saturday 8th of April 2023
These were a hit, my whole family loved them, they were all gone my family now request these rolls for every holiday.
Dianne Ackenback
Saturday 3rd of April 2021
Hi! These won the baking contest with my friends. Thank you! I’d like to know if you can make brown ‘n serve rolls with this dough and, if yes, what would be the oven directions?
[email protected]
Monday 5th of April 2021
Hi Dianne! Congratulations on winning the baking contest!! Hooray! I have not tried making "brown and serve" rolls with this dough, but I have made the dough and rolled them into rolls placing them in a parchment lined baking sheet and then frozen them. Once frozen I remove them from the baking sheet and place in a Ziploc freezer bag and freeze up to a month. To use I just pop them out a few hours ahead of time (about 4 hours) and allow them to thaw then bake as per the baking instructions. They turn out fantastic! Would work for cinnamon rolls with this dough as well. I know this doesn't answer your direct question, but I hope it does offer another opportunity for saving time making these rolls. Thanks so much for stopping by and have a wonderful week! Norine
Elena Menta
Monday 24th of August 2020
HI Norinne, Love all your recipes, thanks for sharing. Just a question, can I use normal milk rather than milk powder?
Cheers, Elena
[email protected]
Monday 24th of August 2020
Hi Elena! First off...THANK YOU! You made my day! Yes you can use regular milk. Change the warm water for half warm water and half warm milk. It will work perfectly. Enjoy these rolls. They are my very favorite and the one my kids request over and over. Have a great week. Happy Nesting! ~Norine
Classic Grilled Chicken Cobb Salad | Norine's Nest
Thursday 6th of June 2019
[…] Lion House Dinner Rolls […]
Kathleen
Wednesday 20th of March 2019
Trying these today my friend! Having our sweet neighbor for dinner and pairing my Broccoli Cheese Soup and a salad! Can't wait!
[email protected]
Thursday 21st of March 2019
Hi Katheleen! I'm so happy you stopped by. I hope you loved these rolls. I love your video on IG! My family loves how big and fluffy these are and I love how easy they are to make. Thank You girl for picking these rolls to make...and even rolling them the right way! ~Norine